
Grosvenor: Project Recap
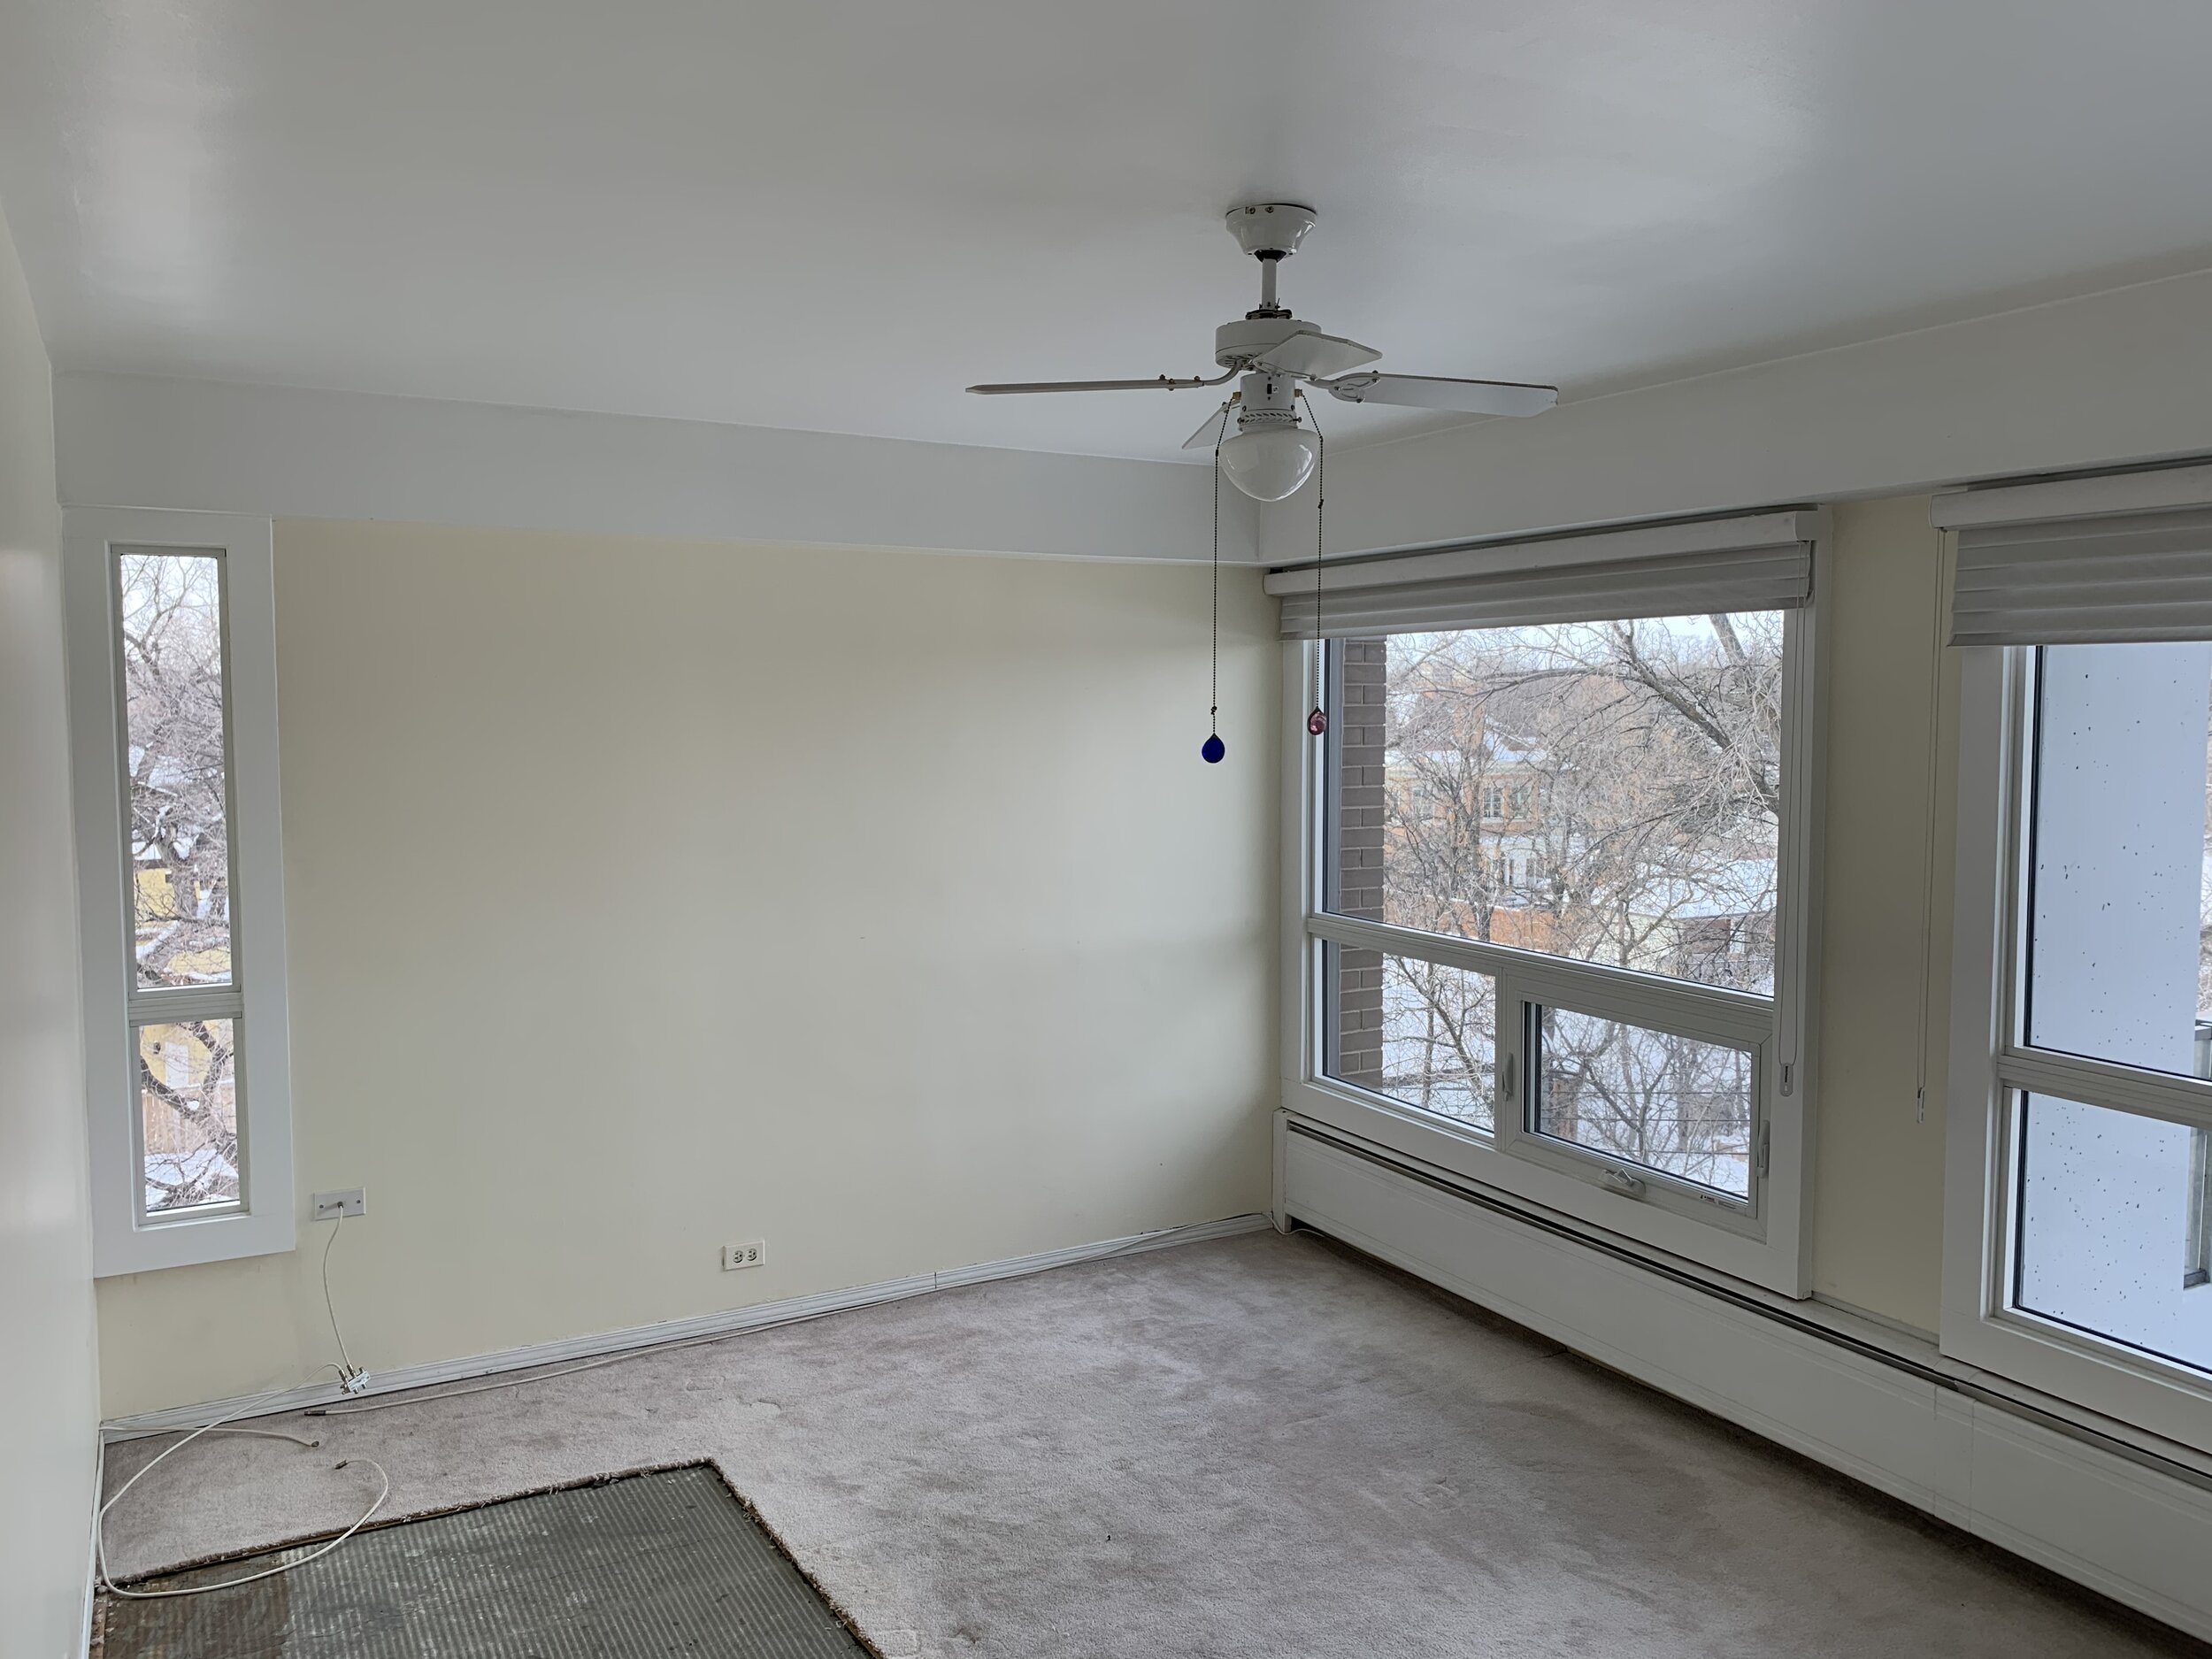
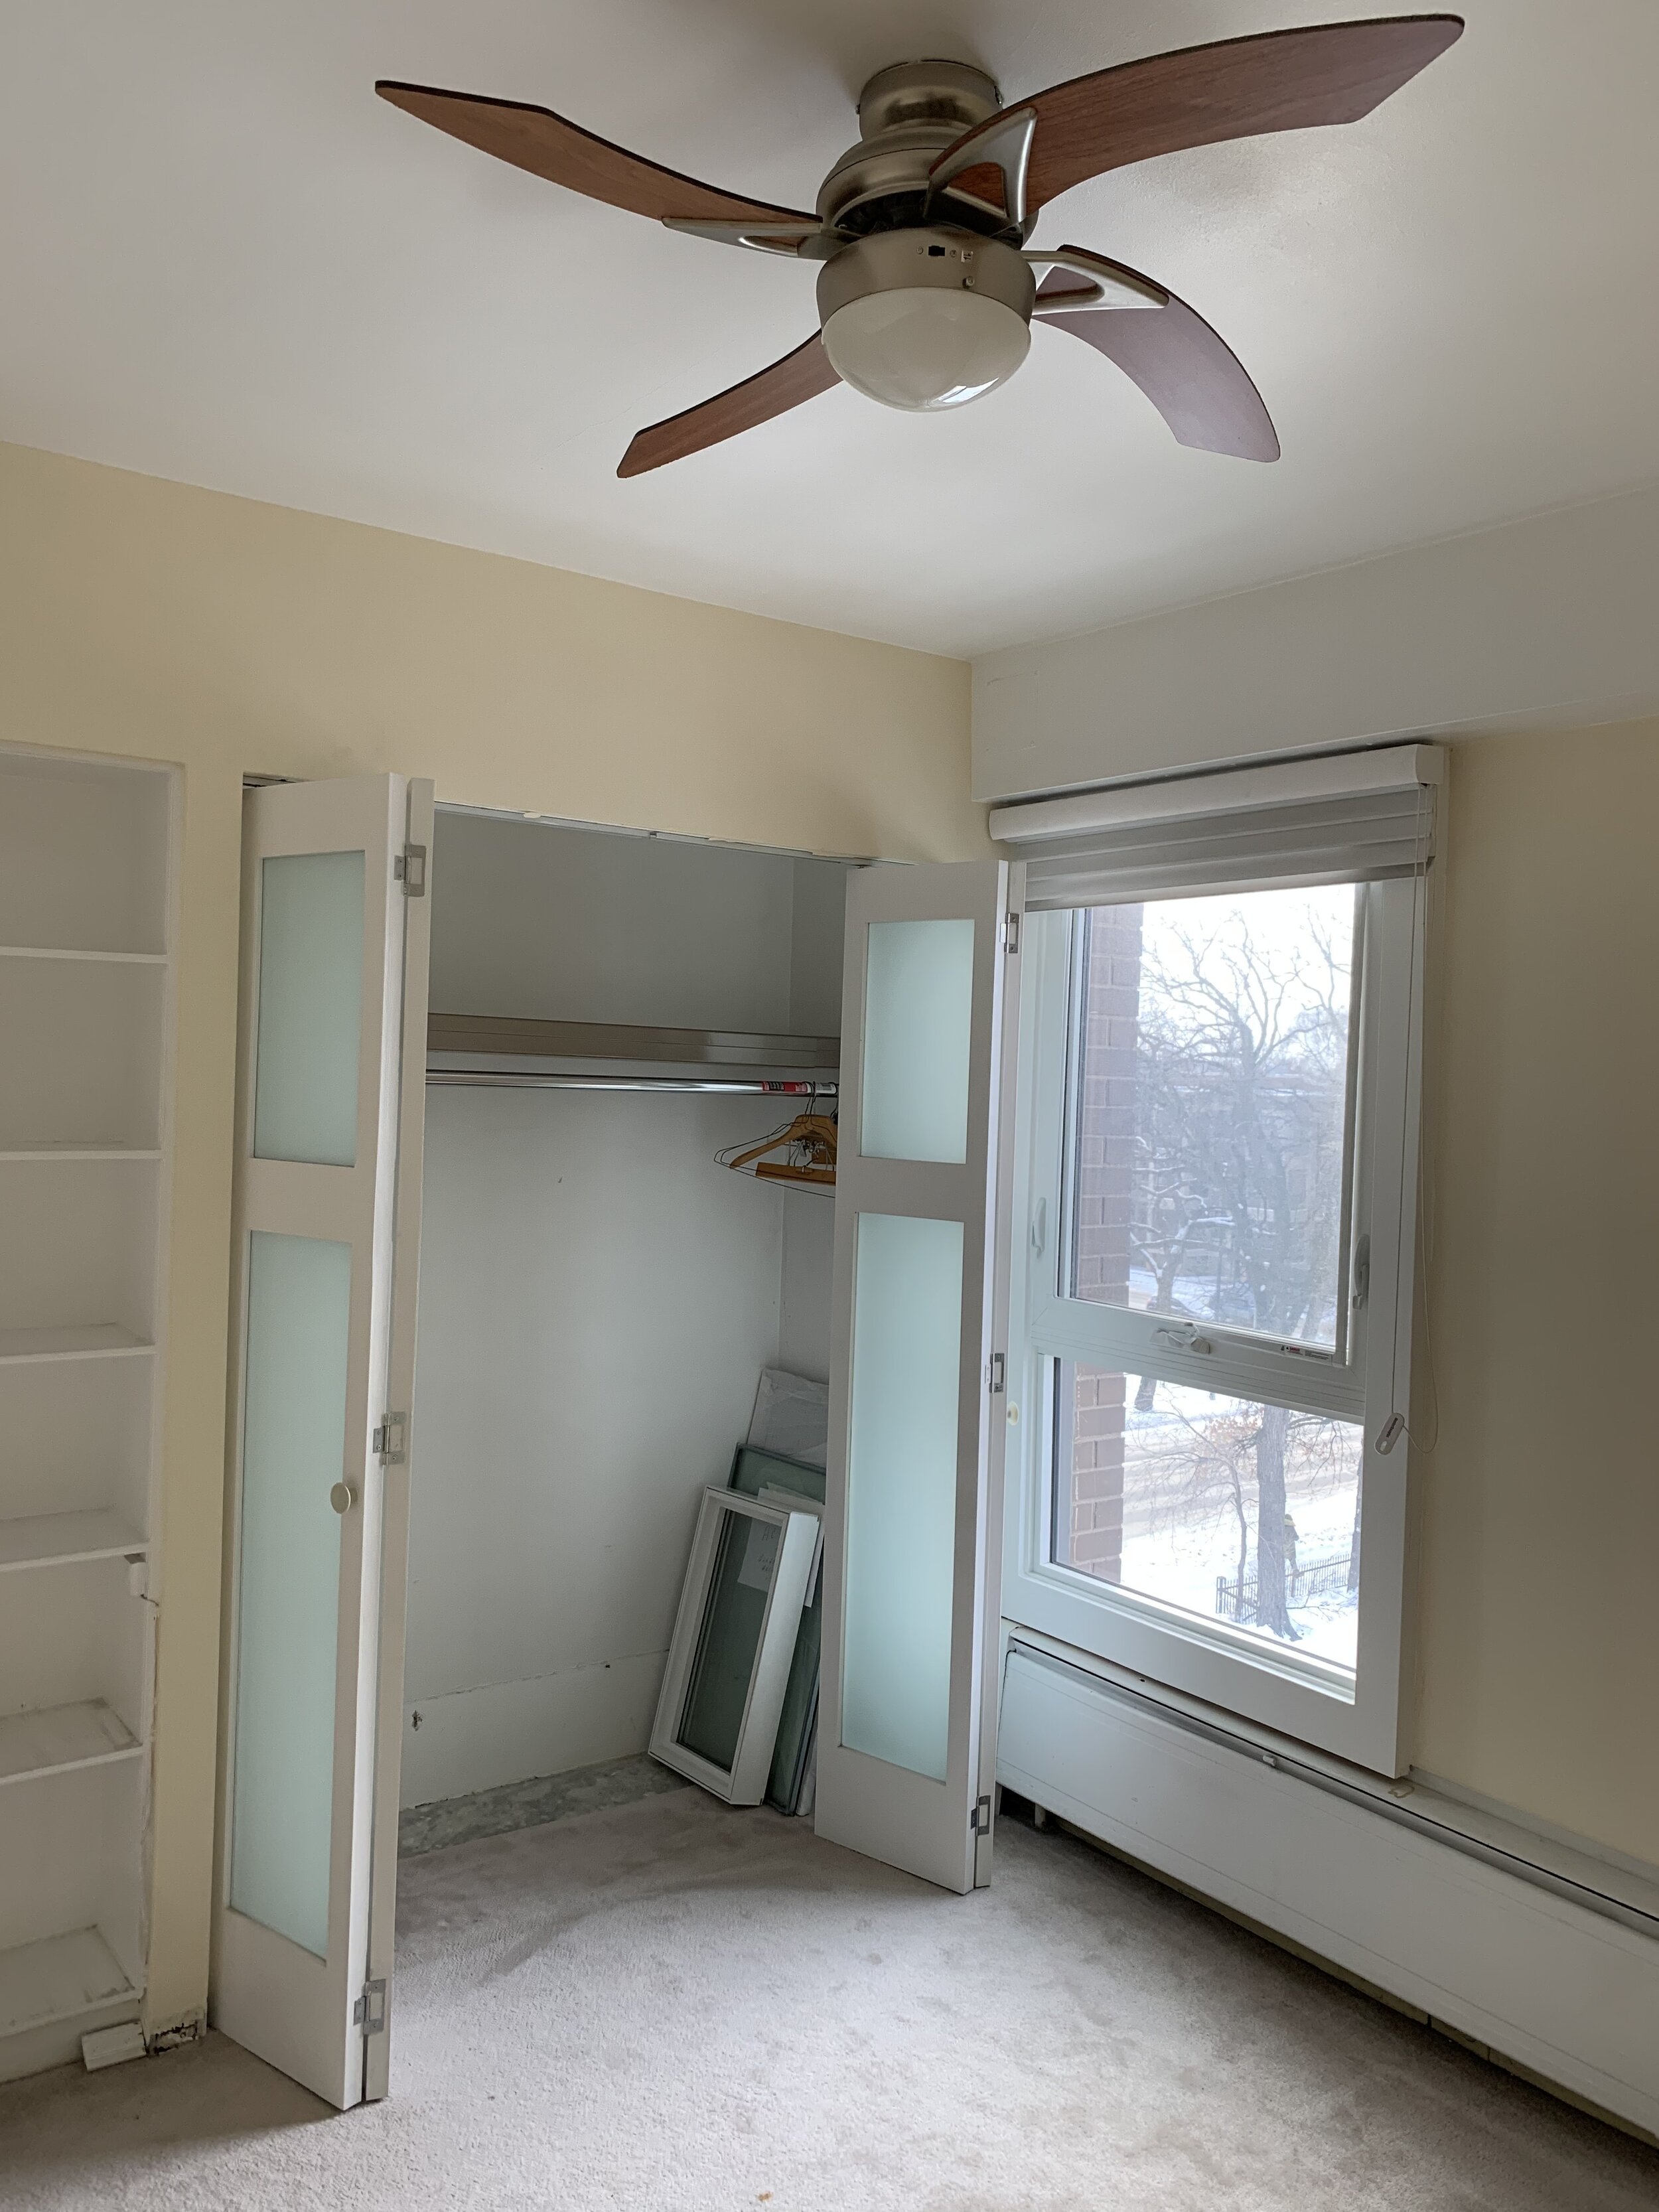
Grosvenor House is a residential condominium that was built in 1960 by Architect Libling Michener as an innovative use of pre-cast concrete. If you’re an architecture nerd like us, you can read more about the building on Winnipeg Architecture Foundation’s website. Much of the building is still in its original condition including the entryway and lobby. Our client purchased this unit specifically to renovate and sell it and hired us to do the interior design and project management. A relative of hers lives in the building and had done a renovation years before with Corina so she was able to provide us with accurate building information that informed our design plan.
Our initial conversations with the client revealed that we were going to be completely gutting the unit and installing all new cabinets, flooring, fixtures, lighting, and appliances as well as all new paint and tile. Our design concept stemmed from the history of the building; we wanted to stay true to the mid-century character (our personal favourite design style!) while updating the interior to current standards and aesthetics. Many of the other units in the building have already been renovated but only a few to the same extent of this renovation.
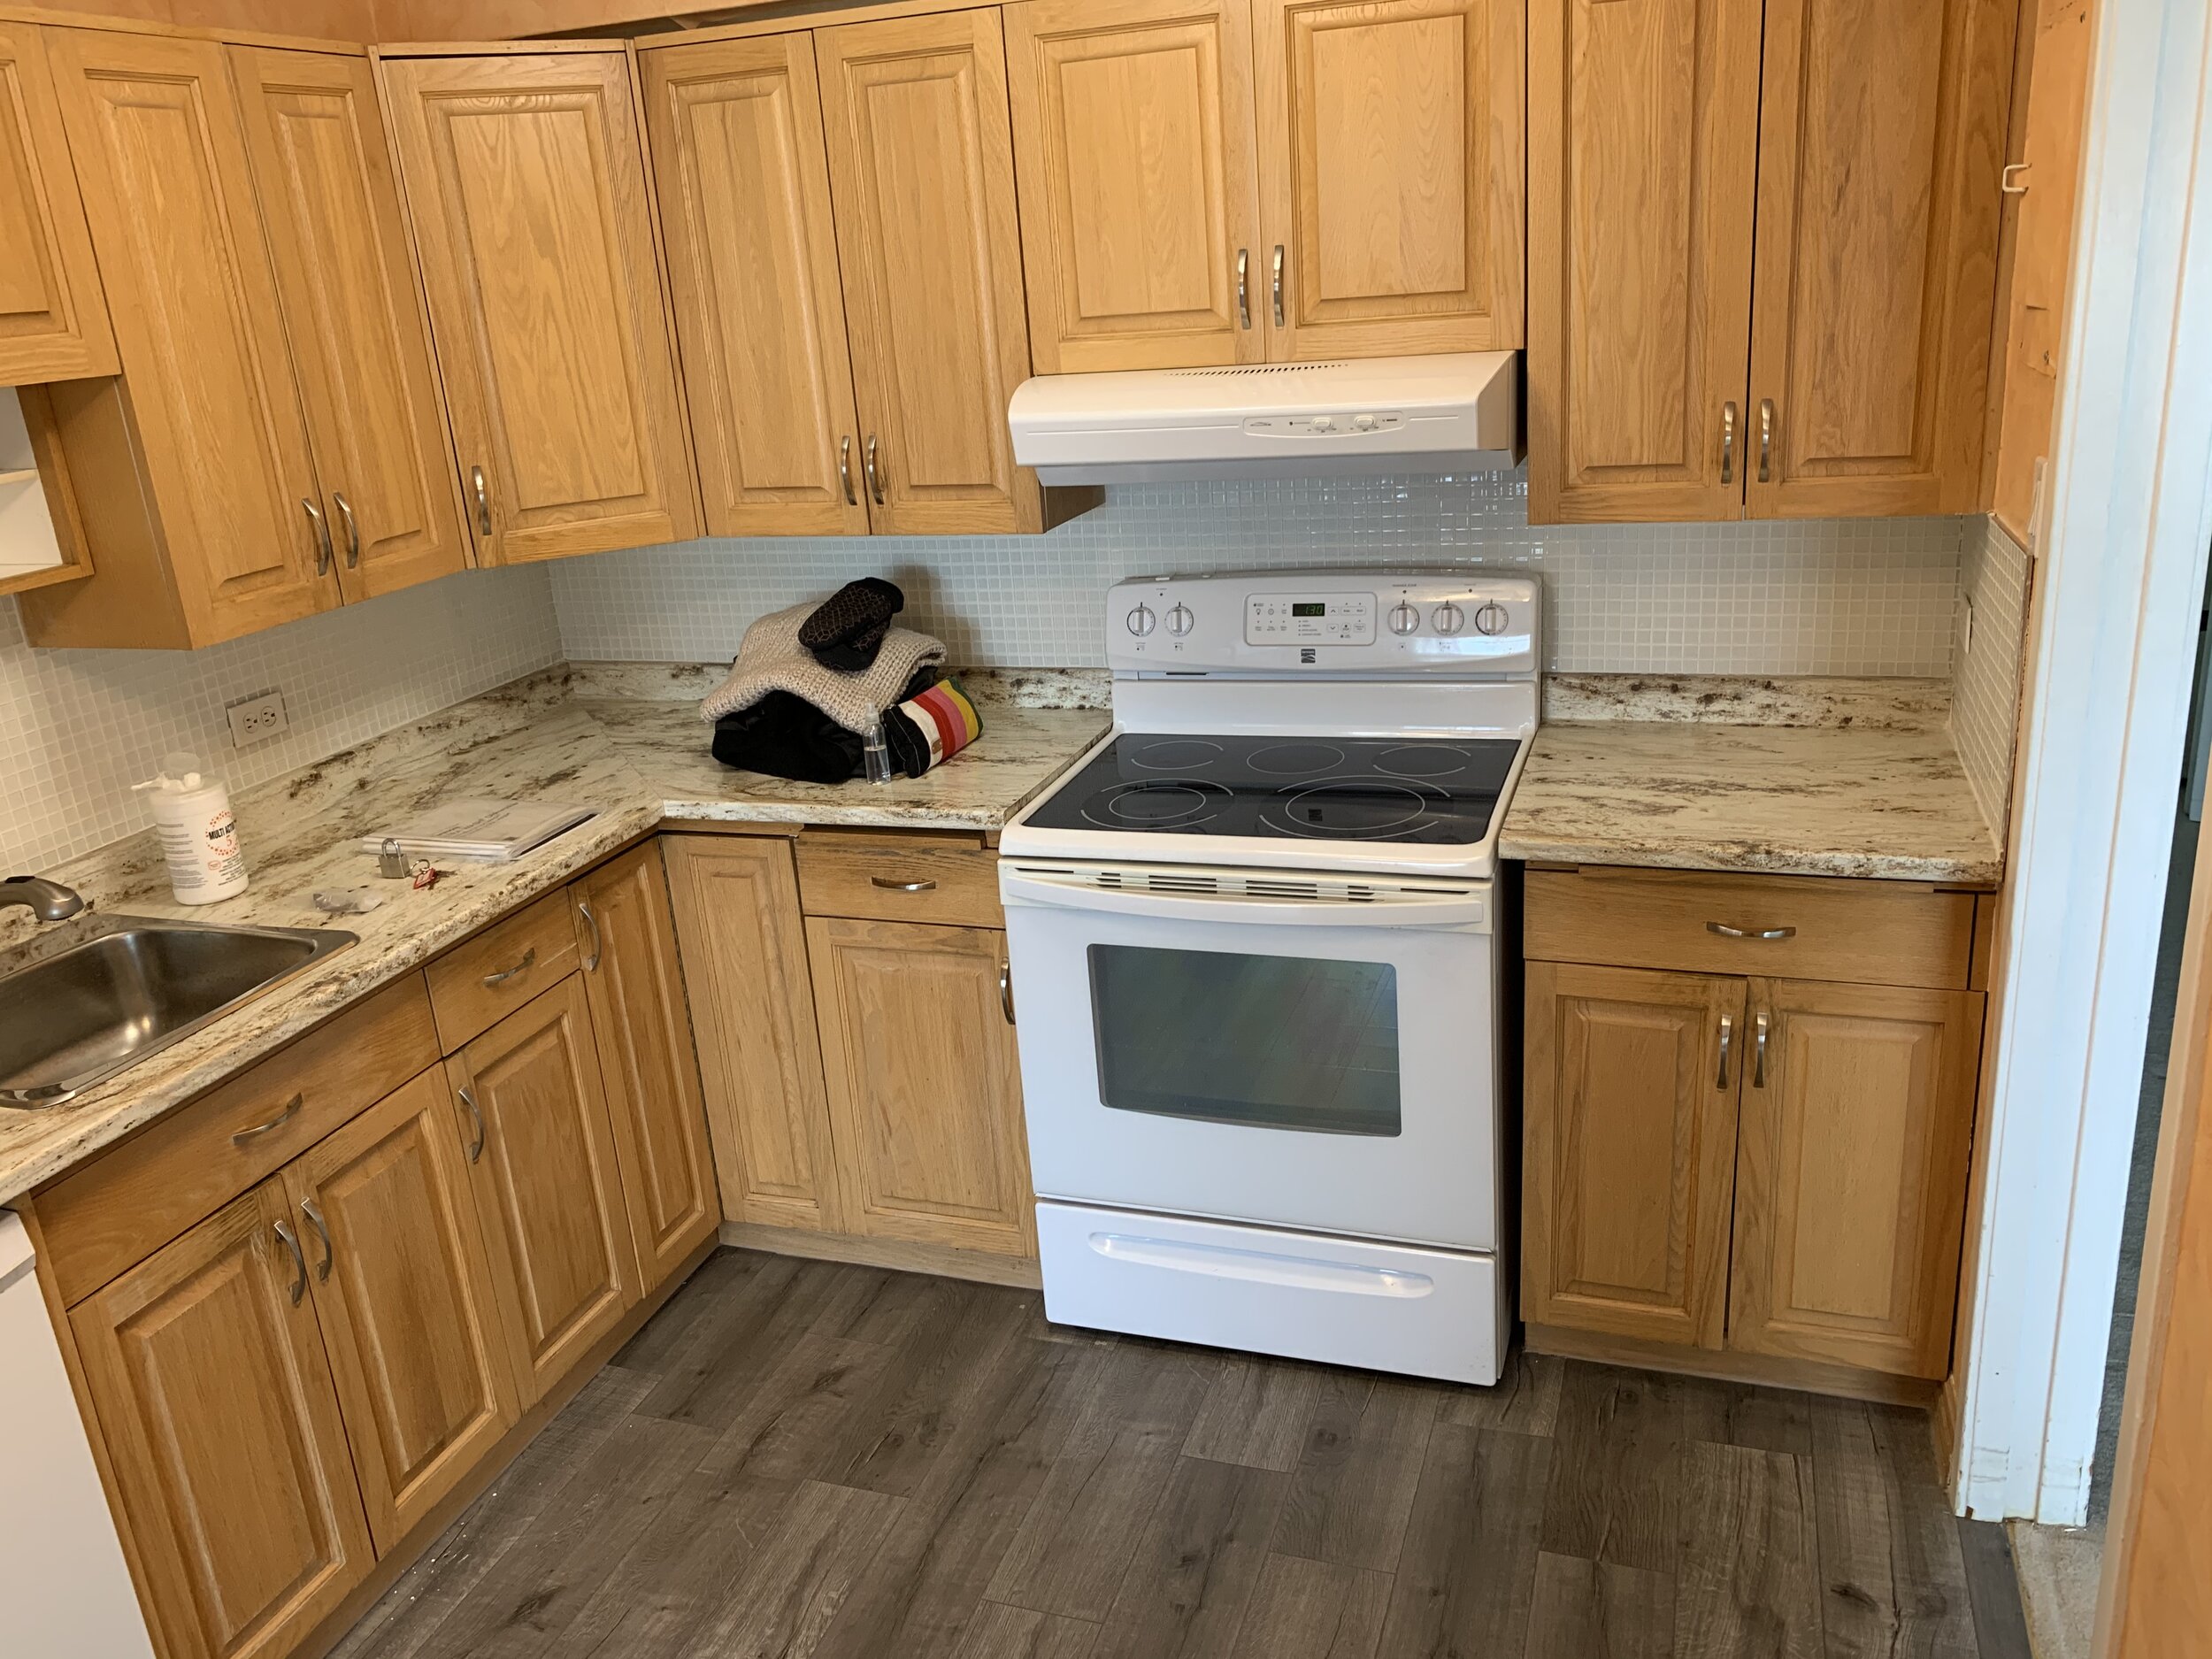
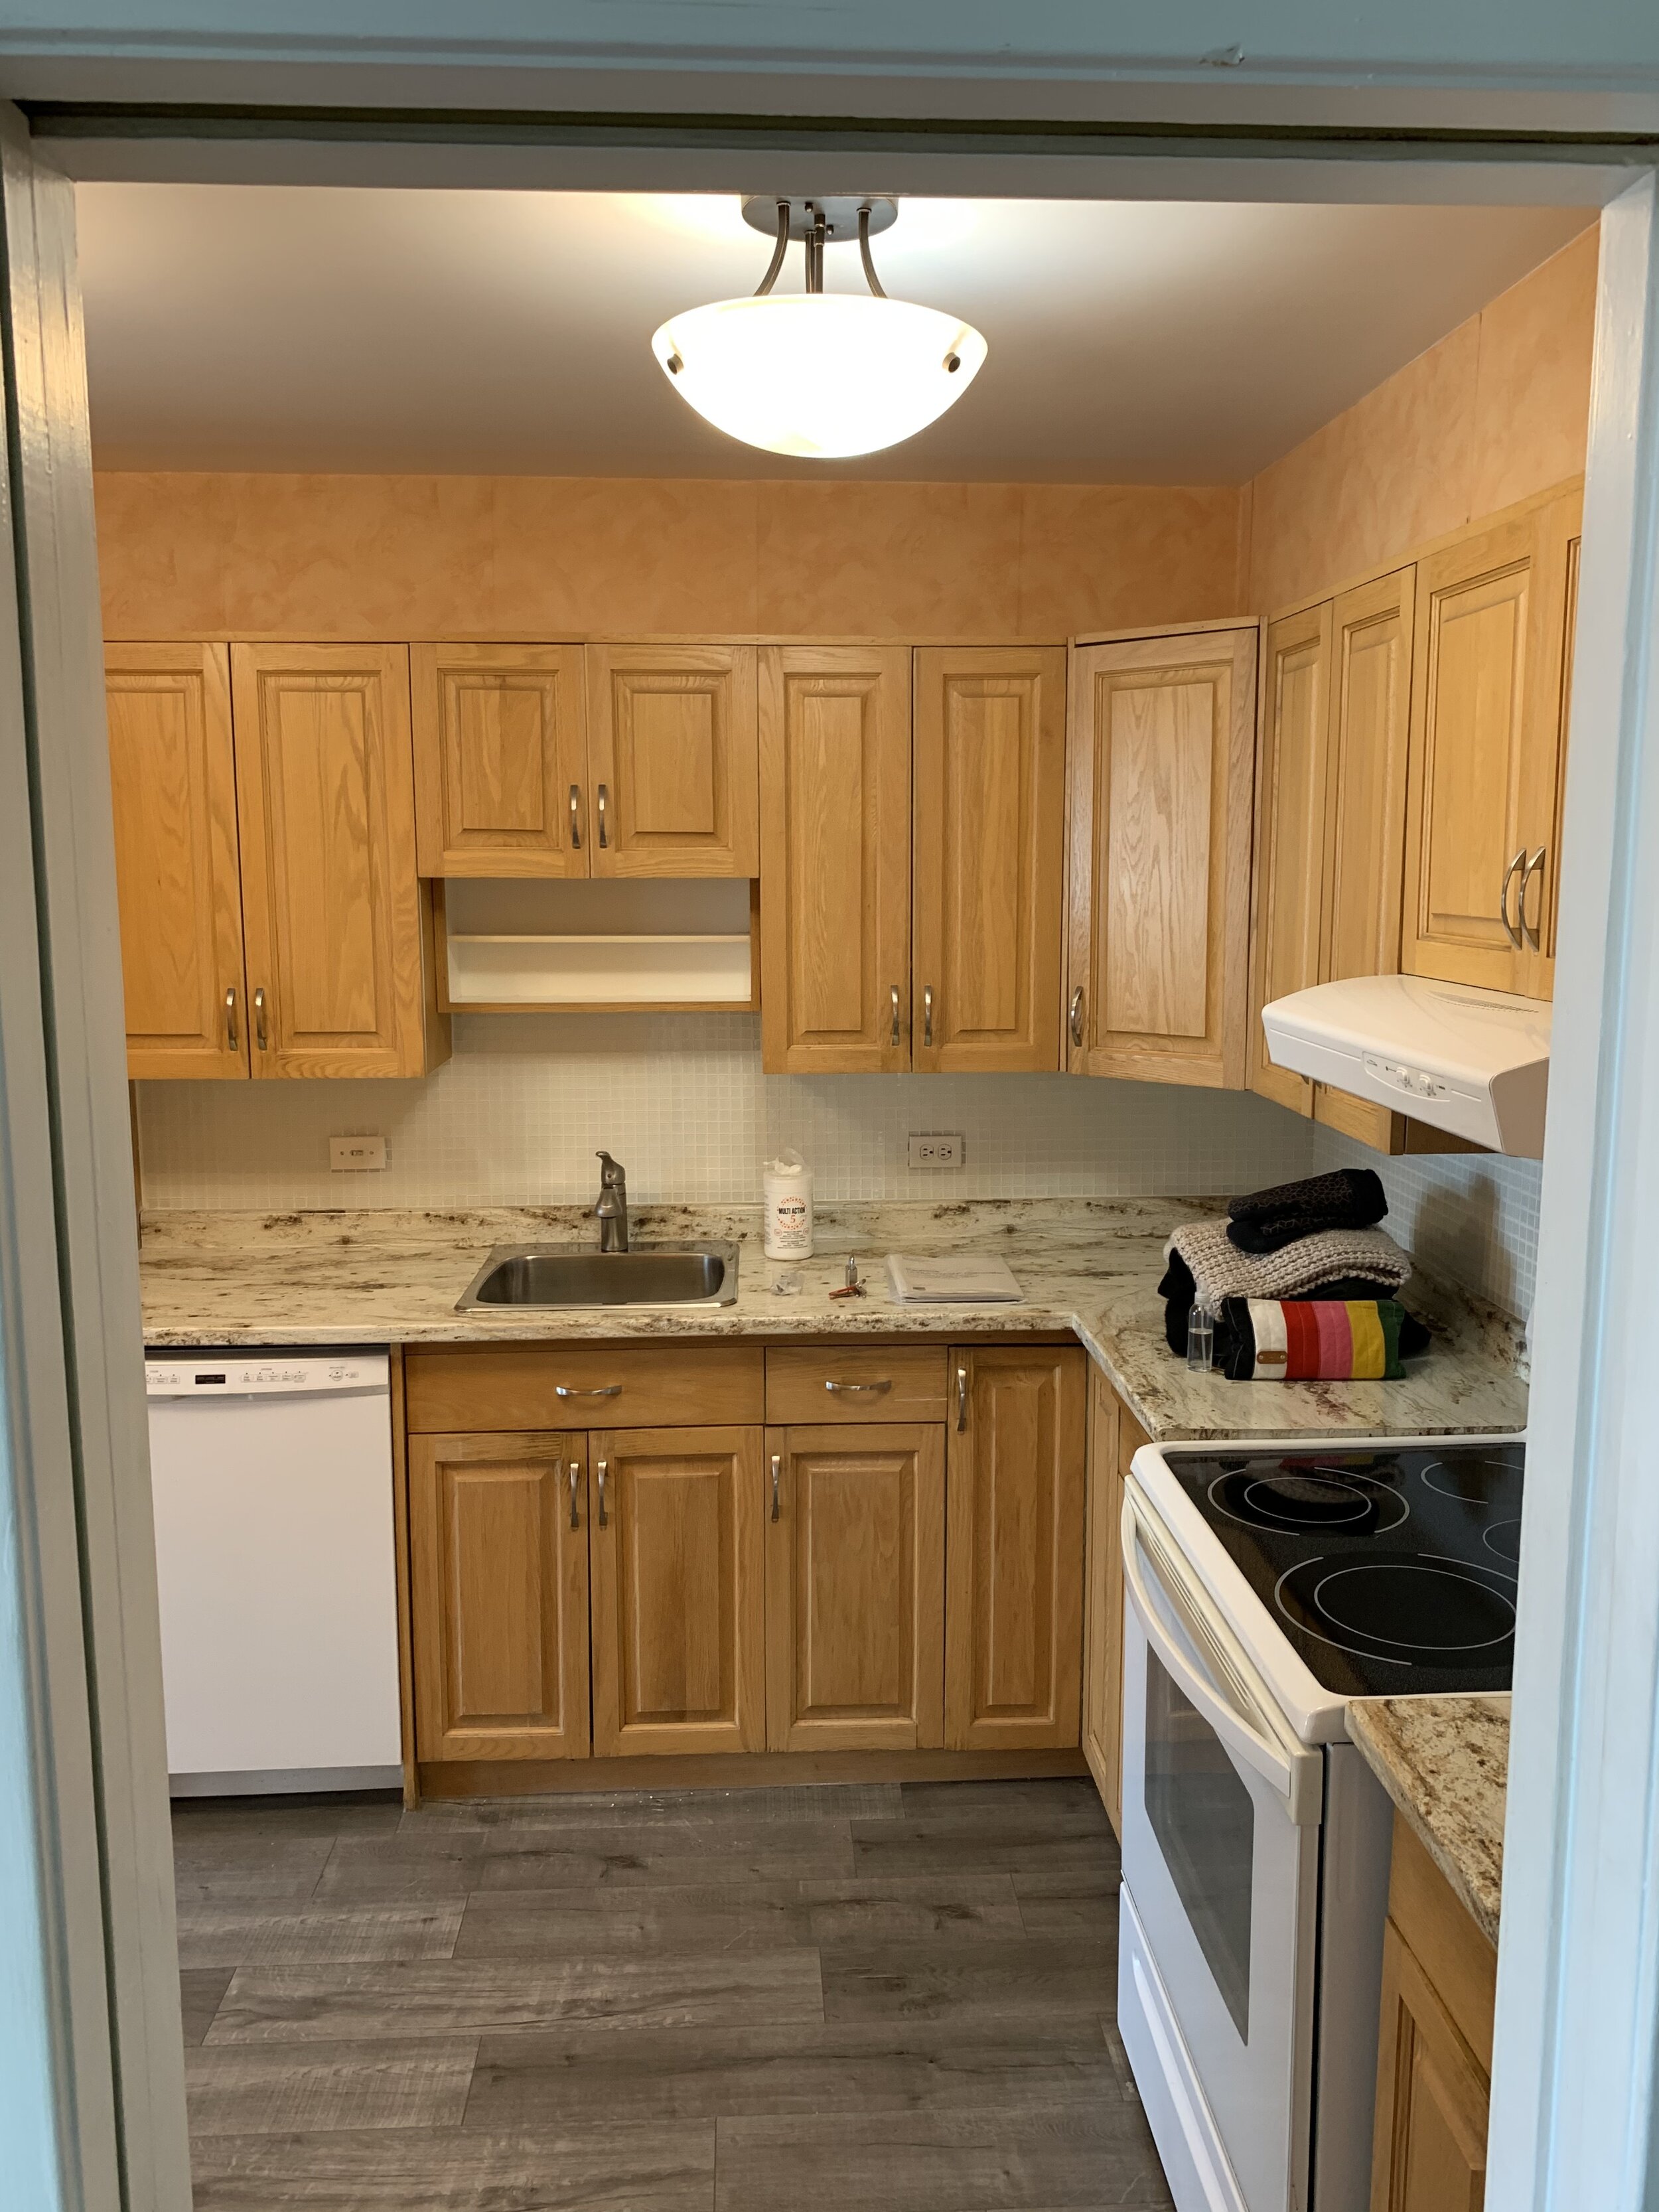
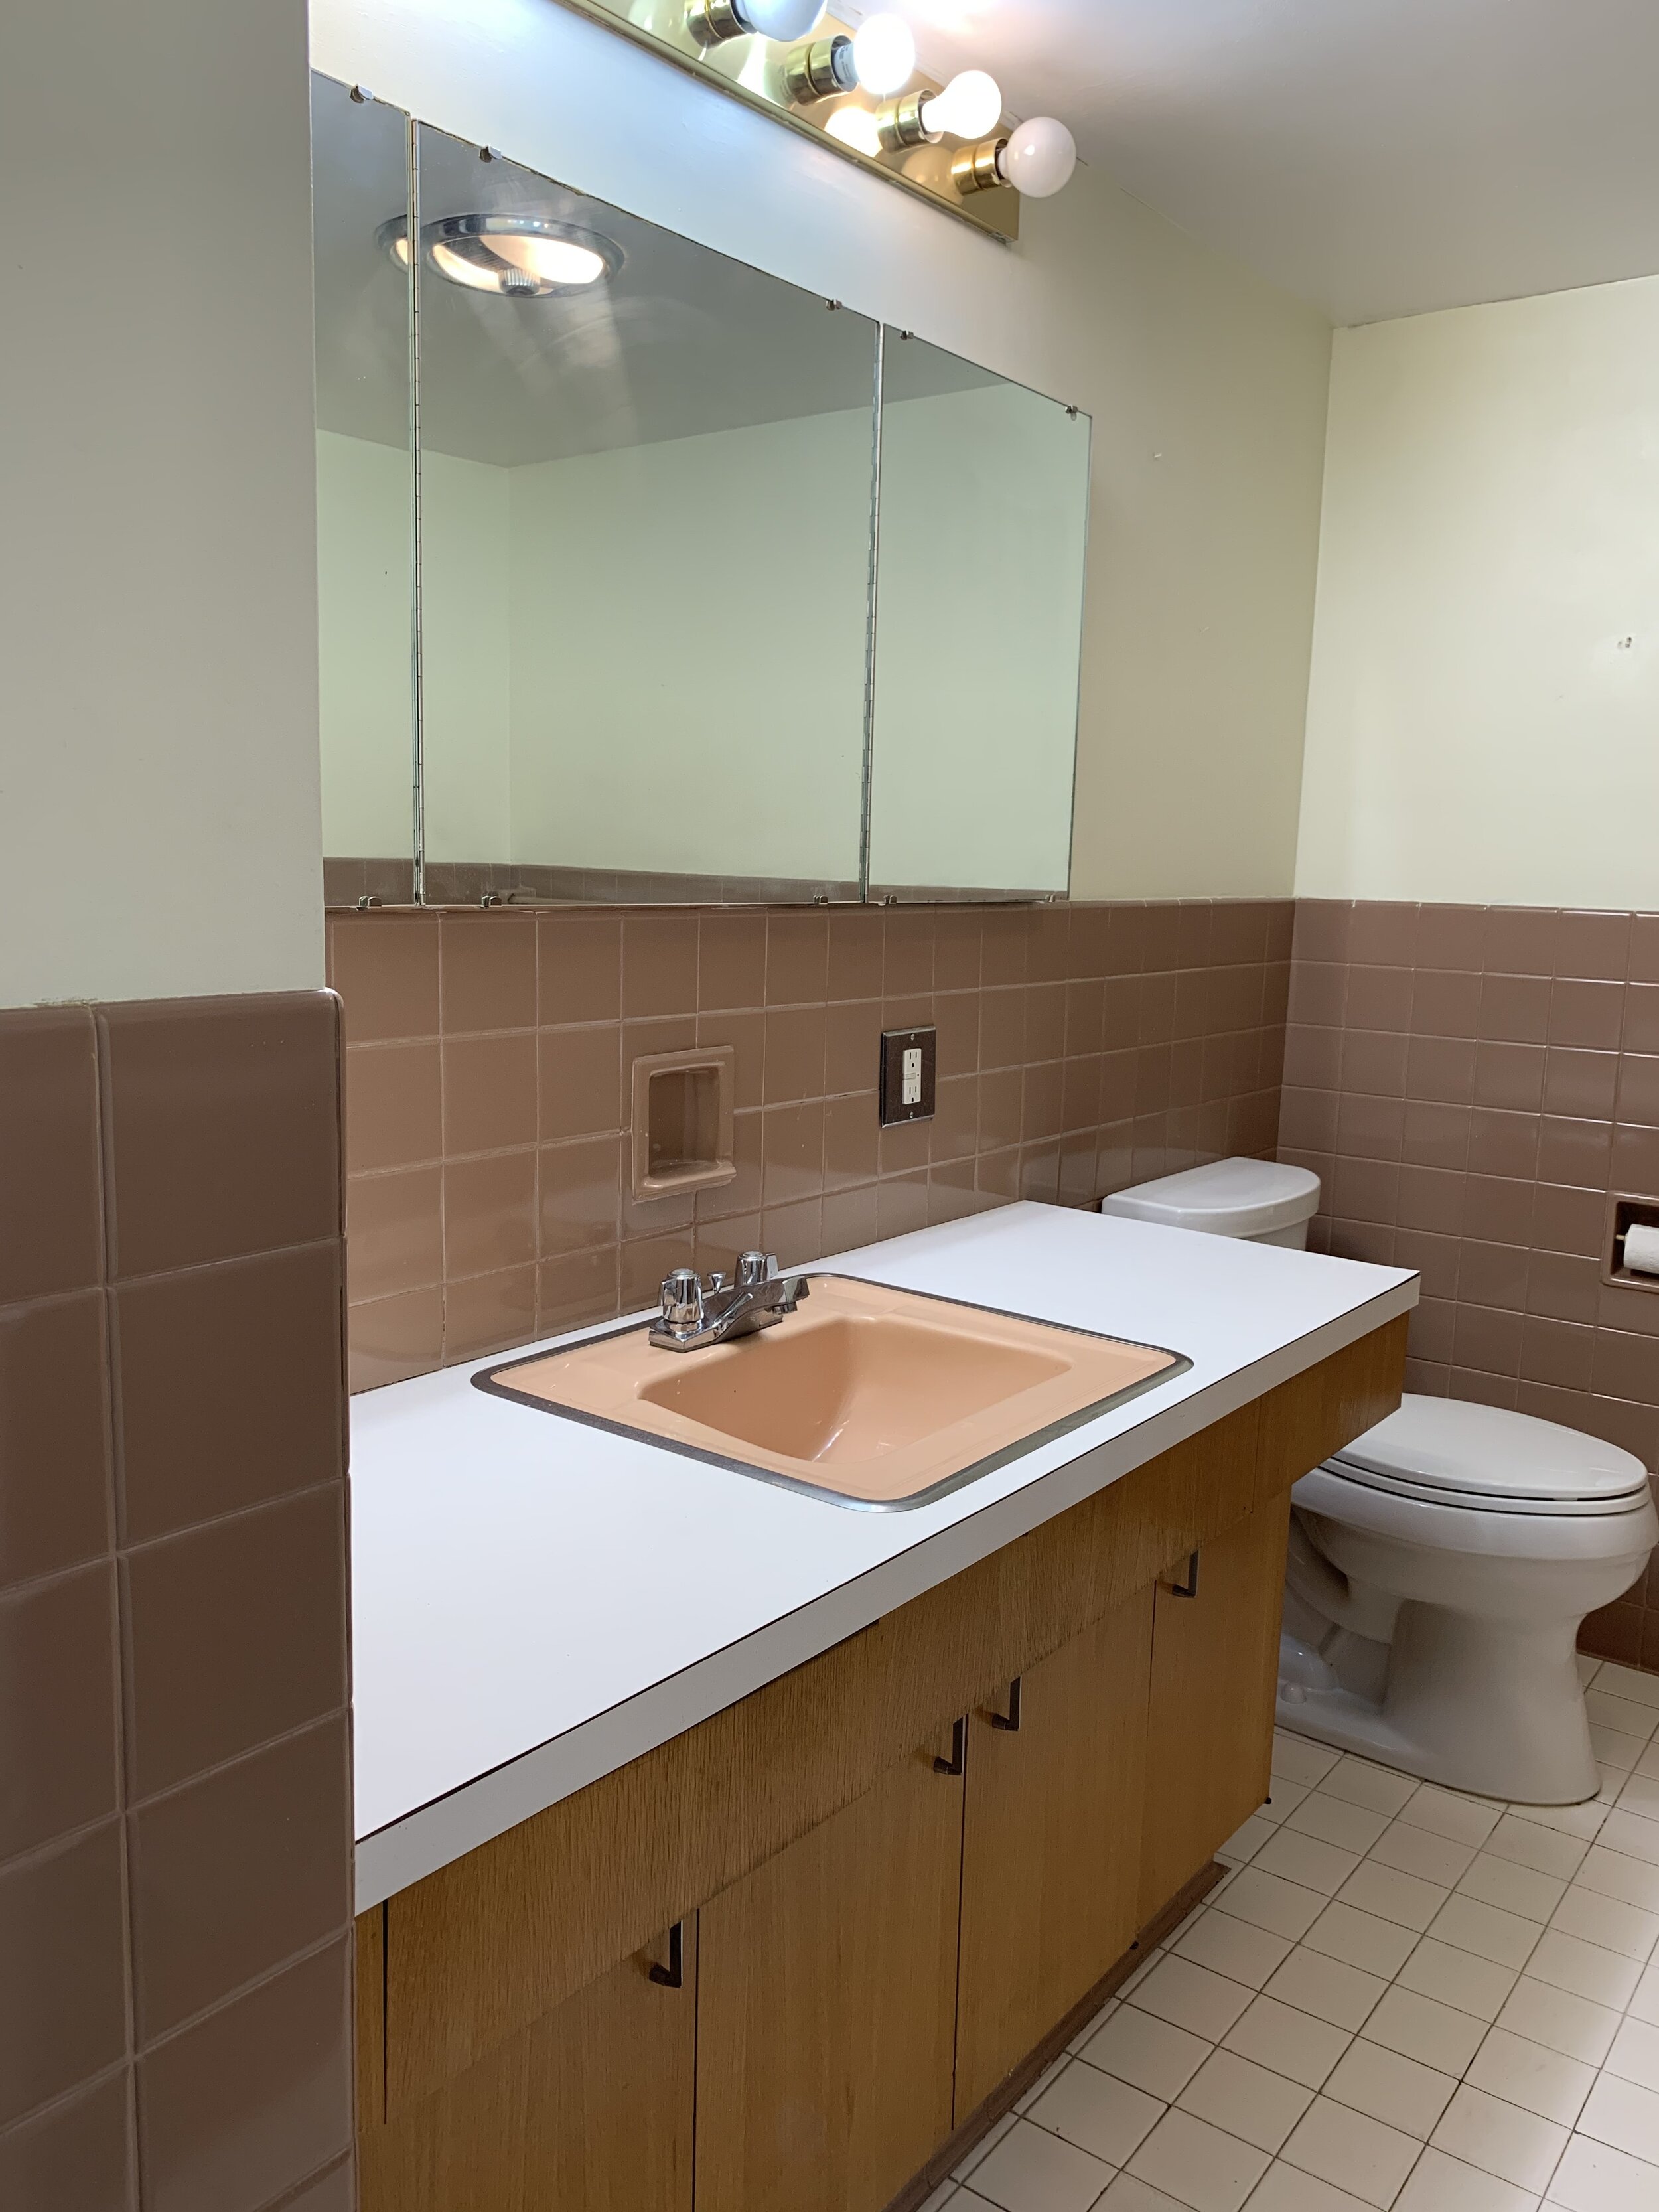
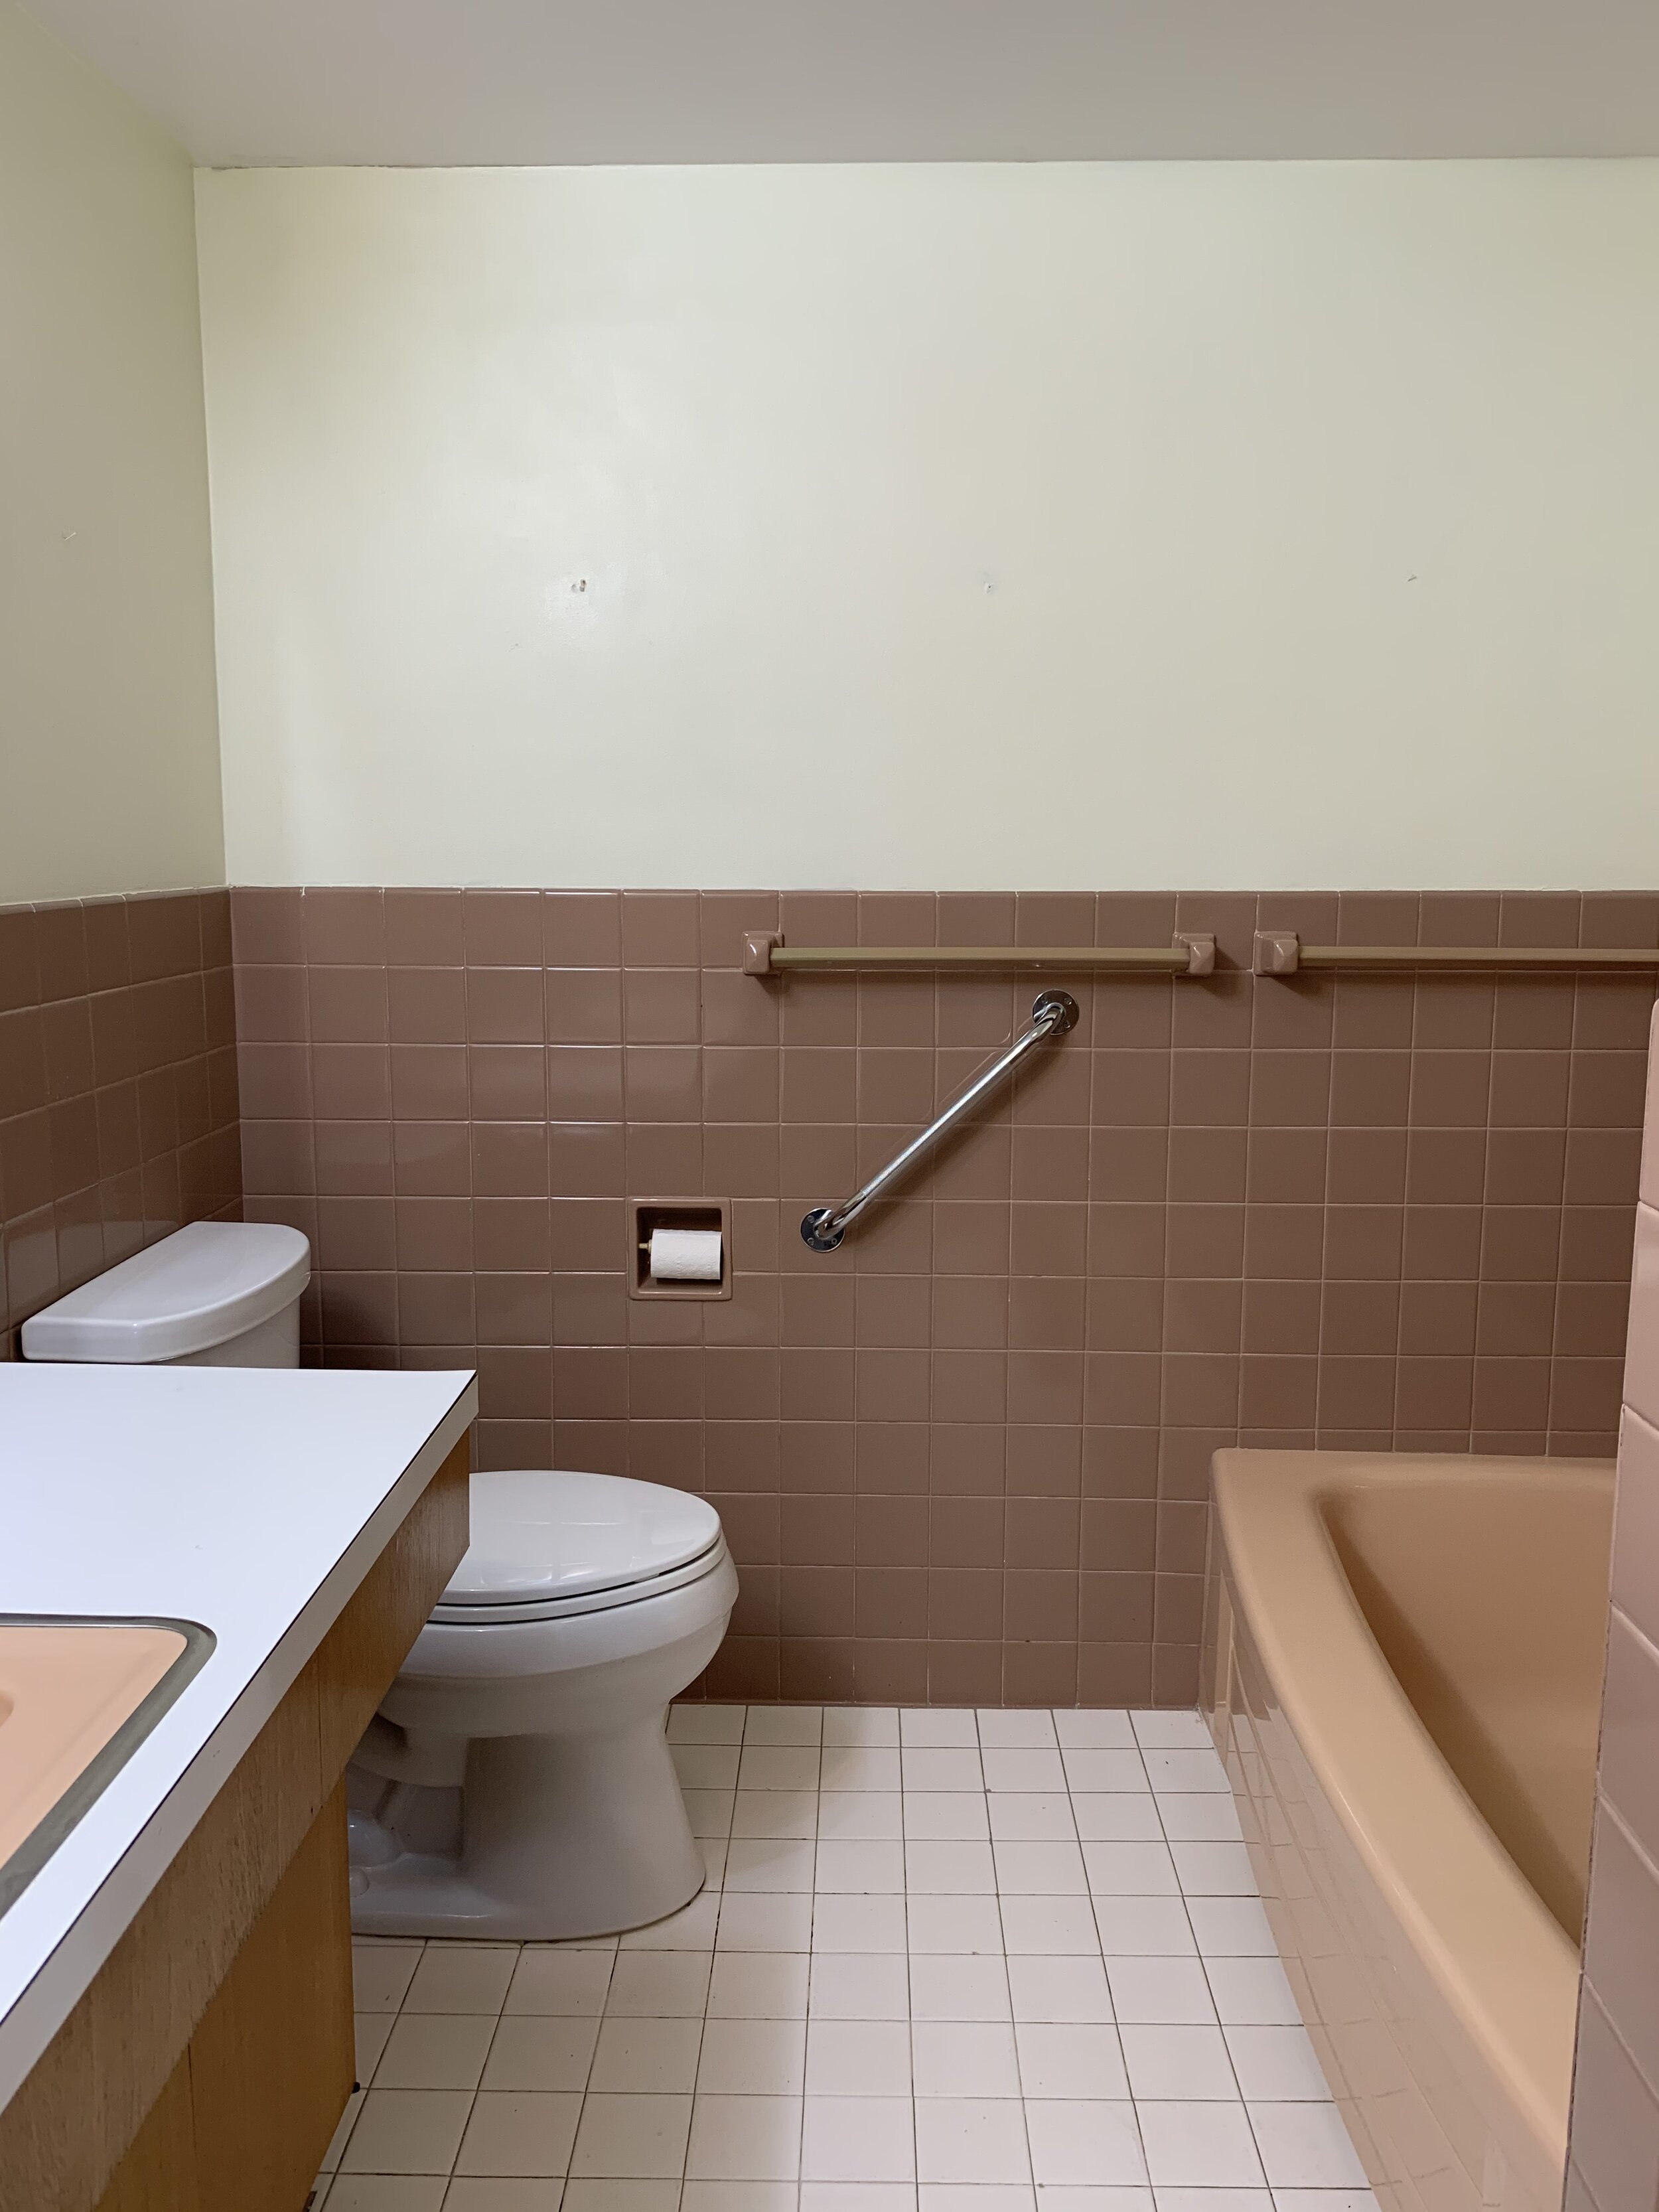
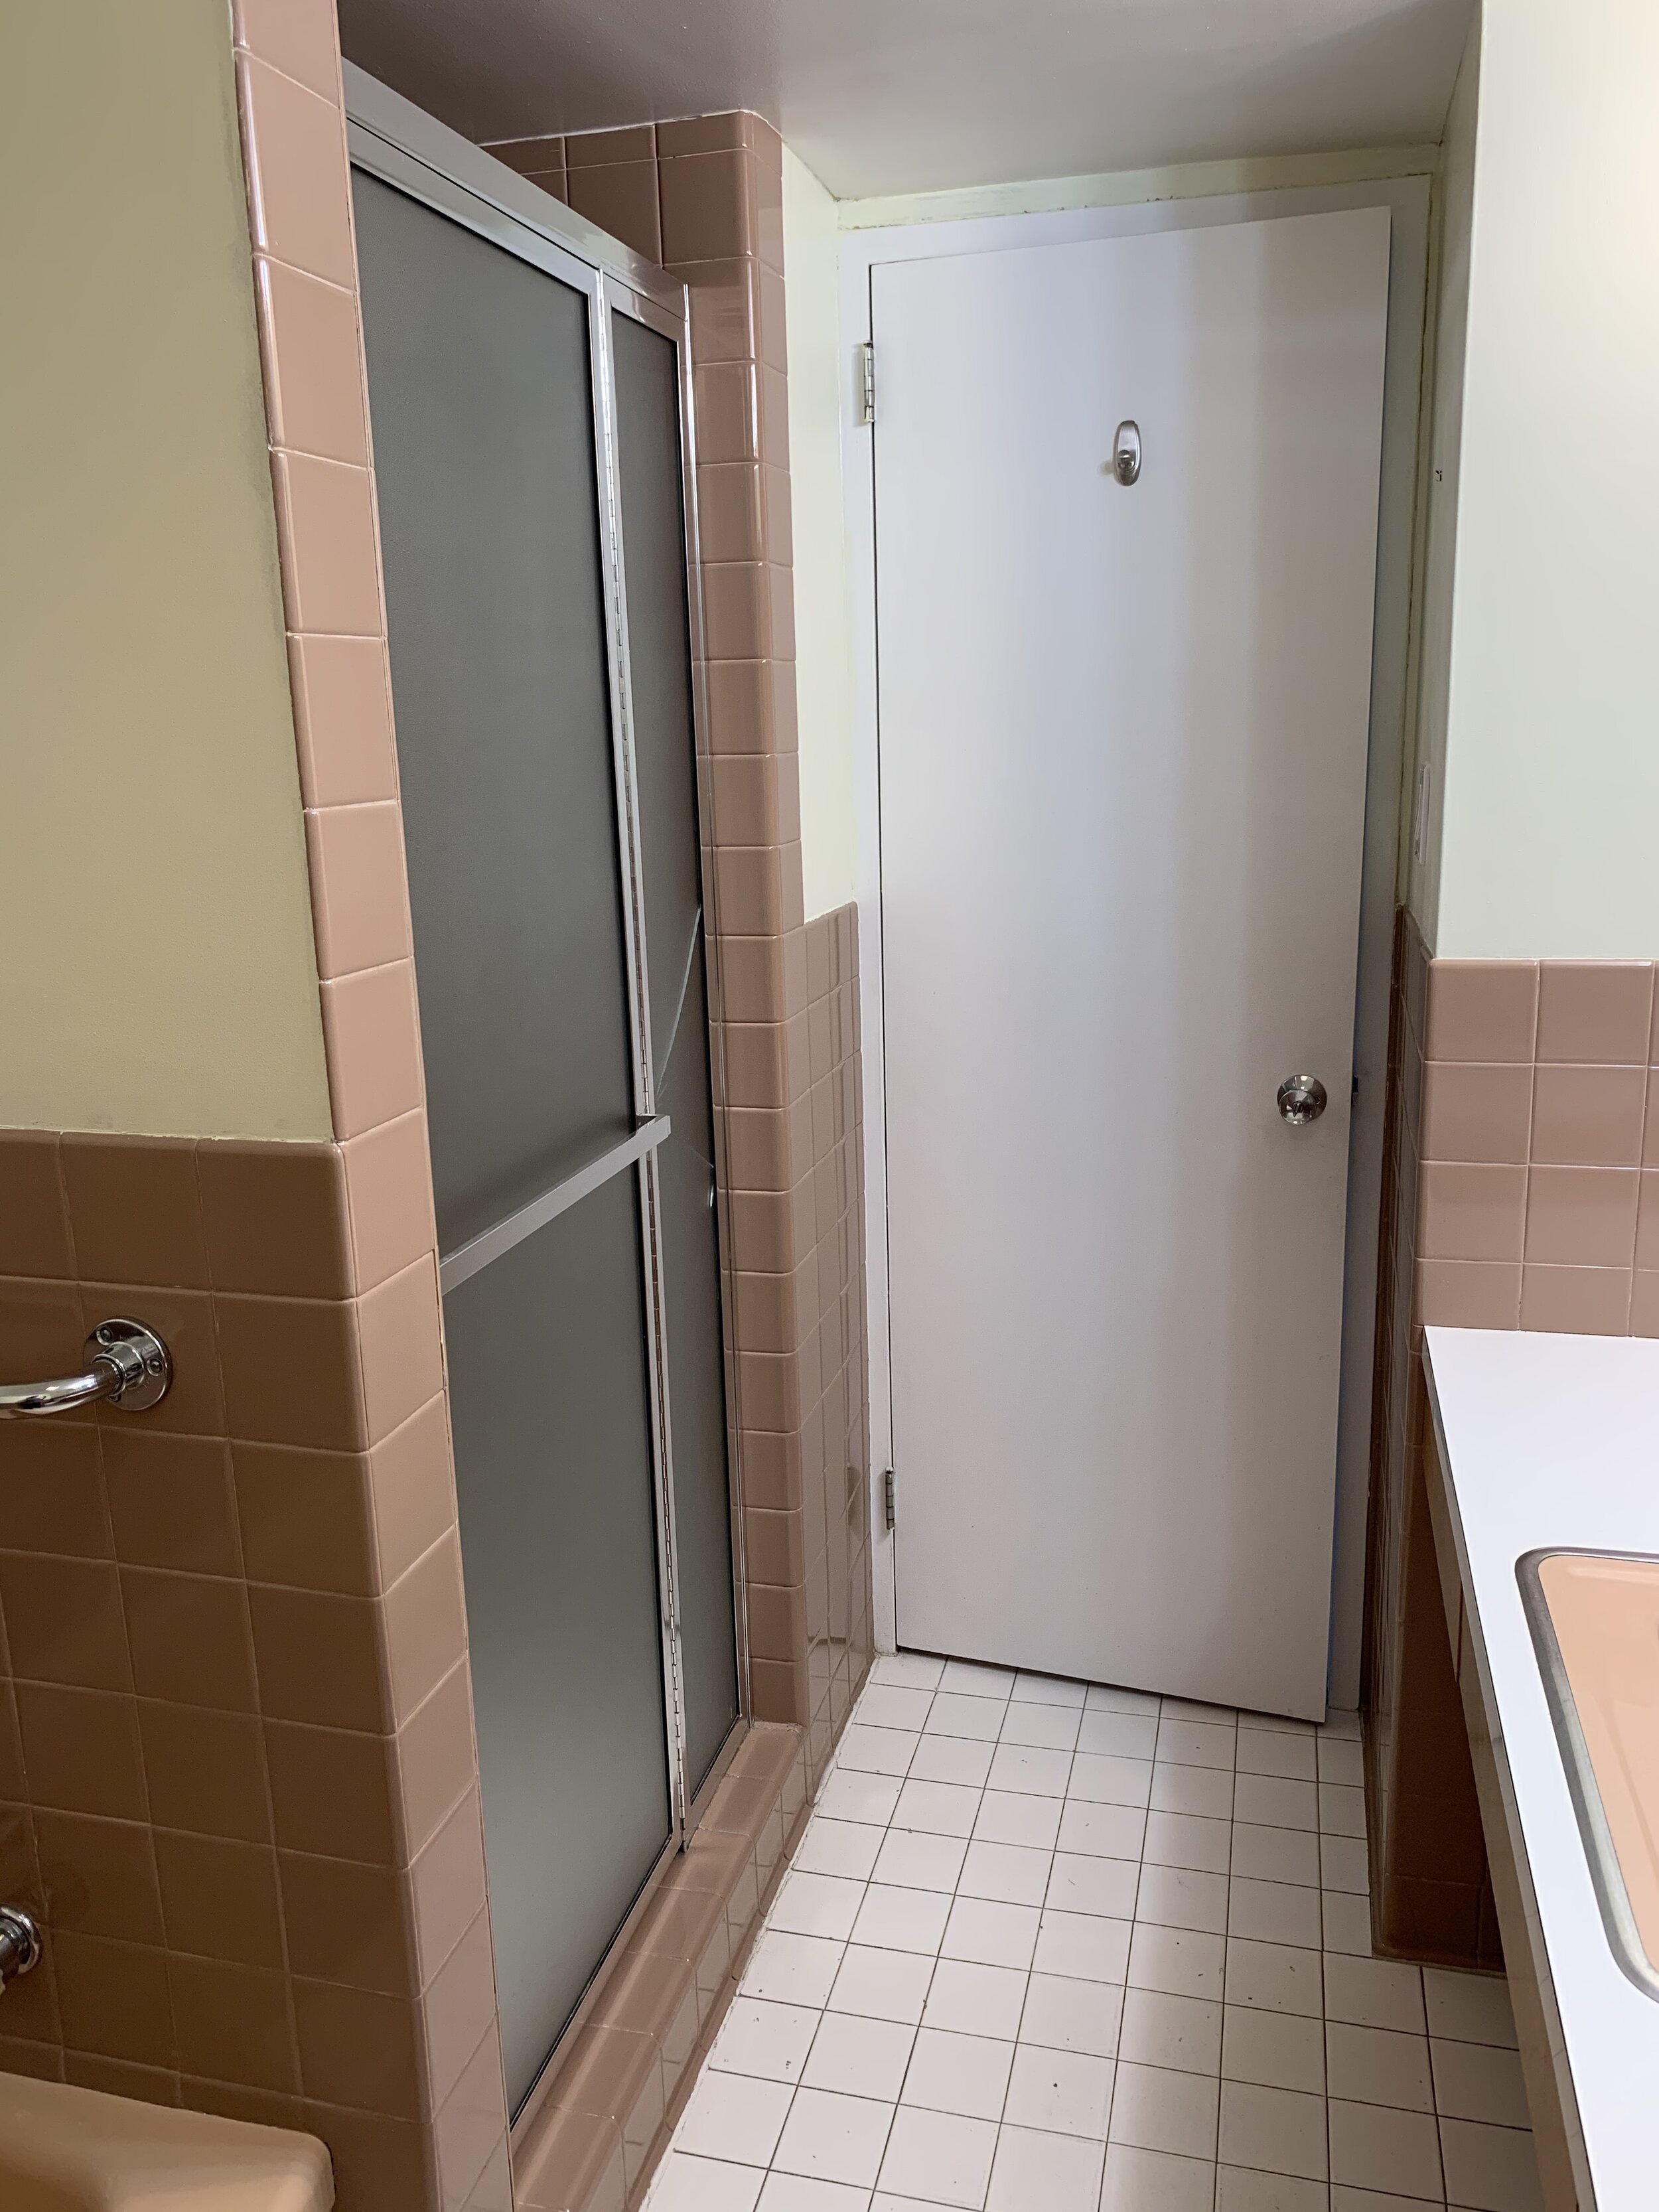
C O N D O B E F O R E
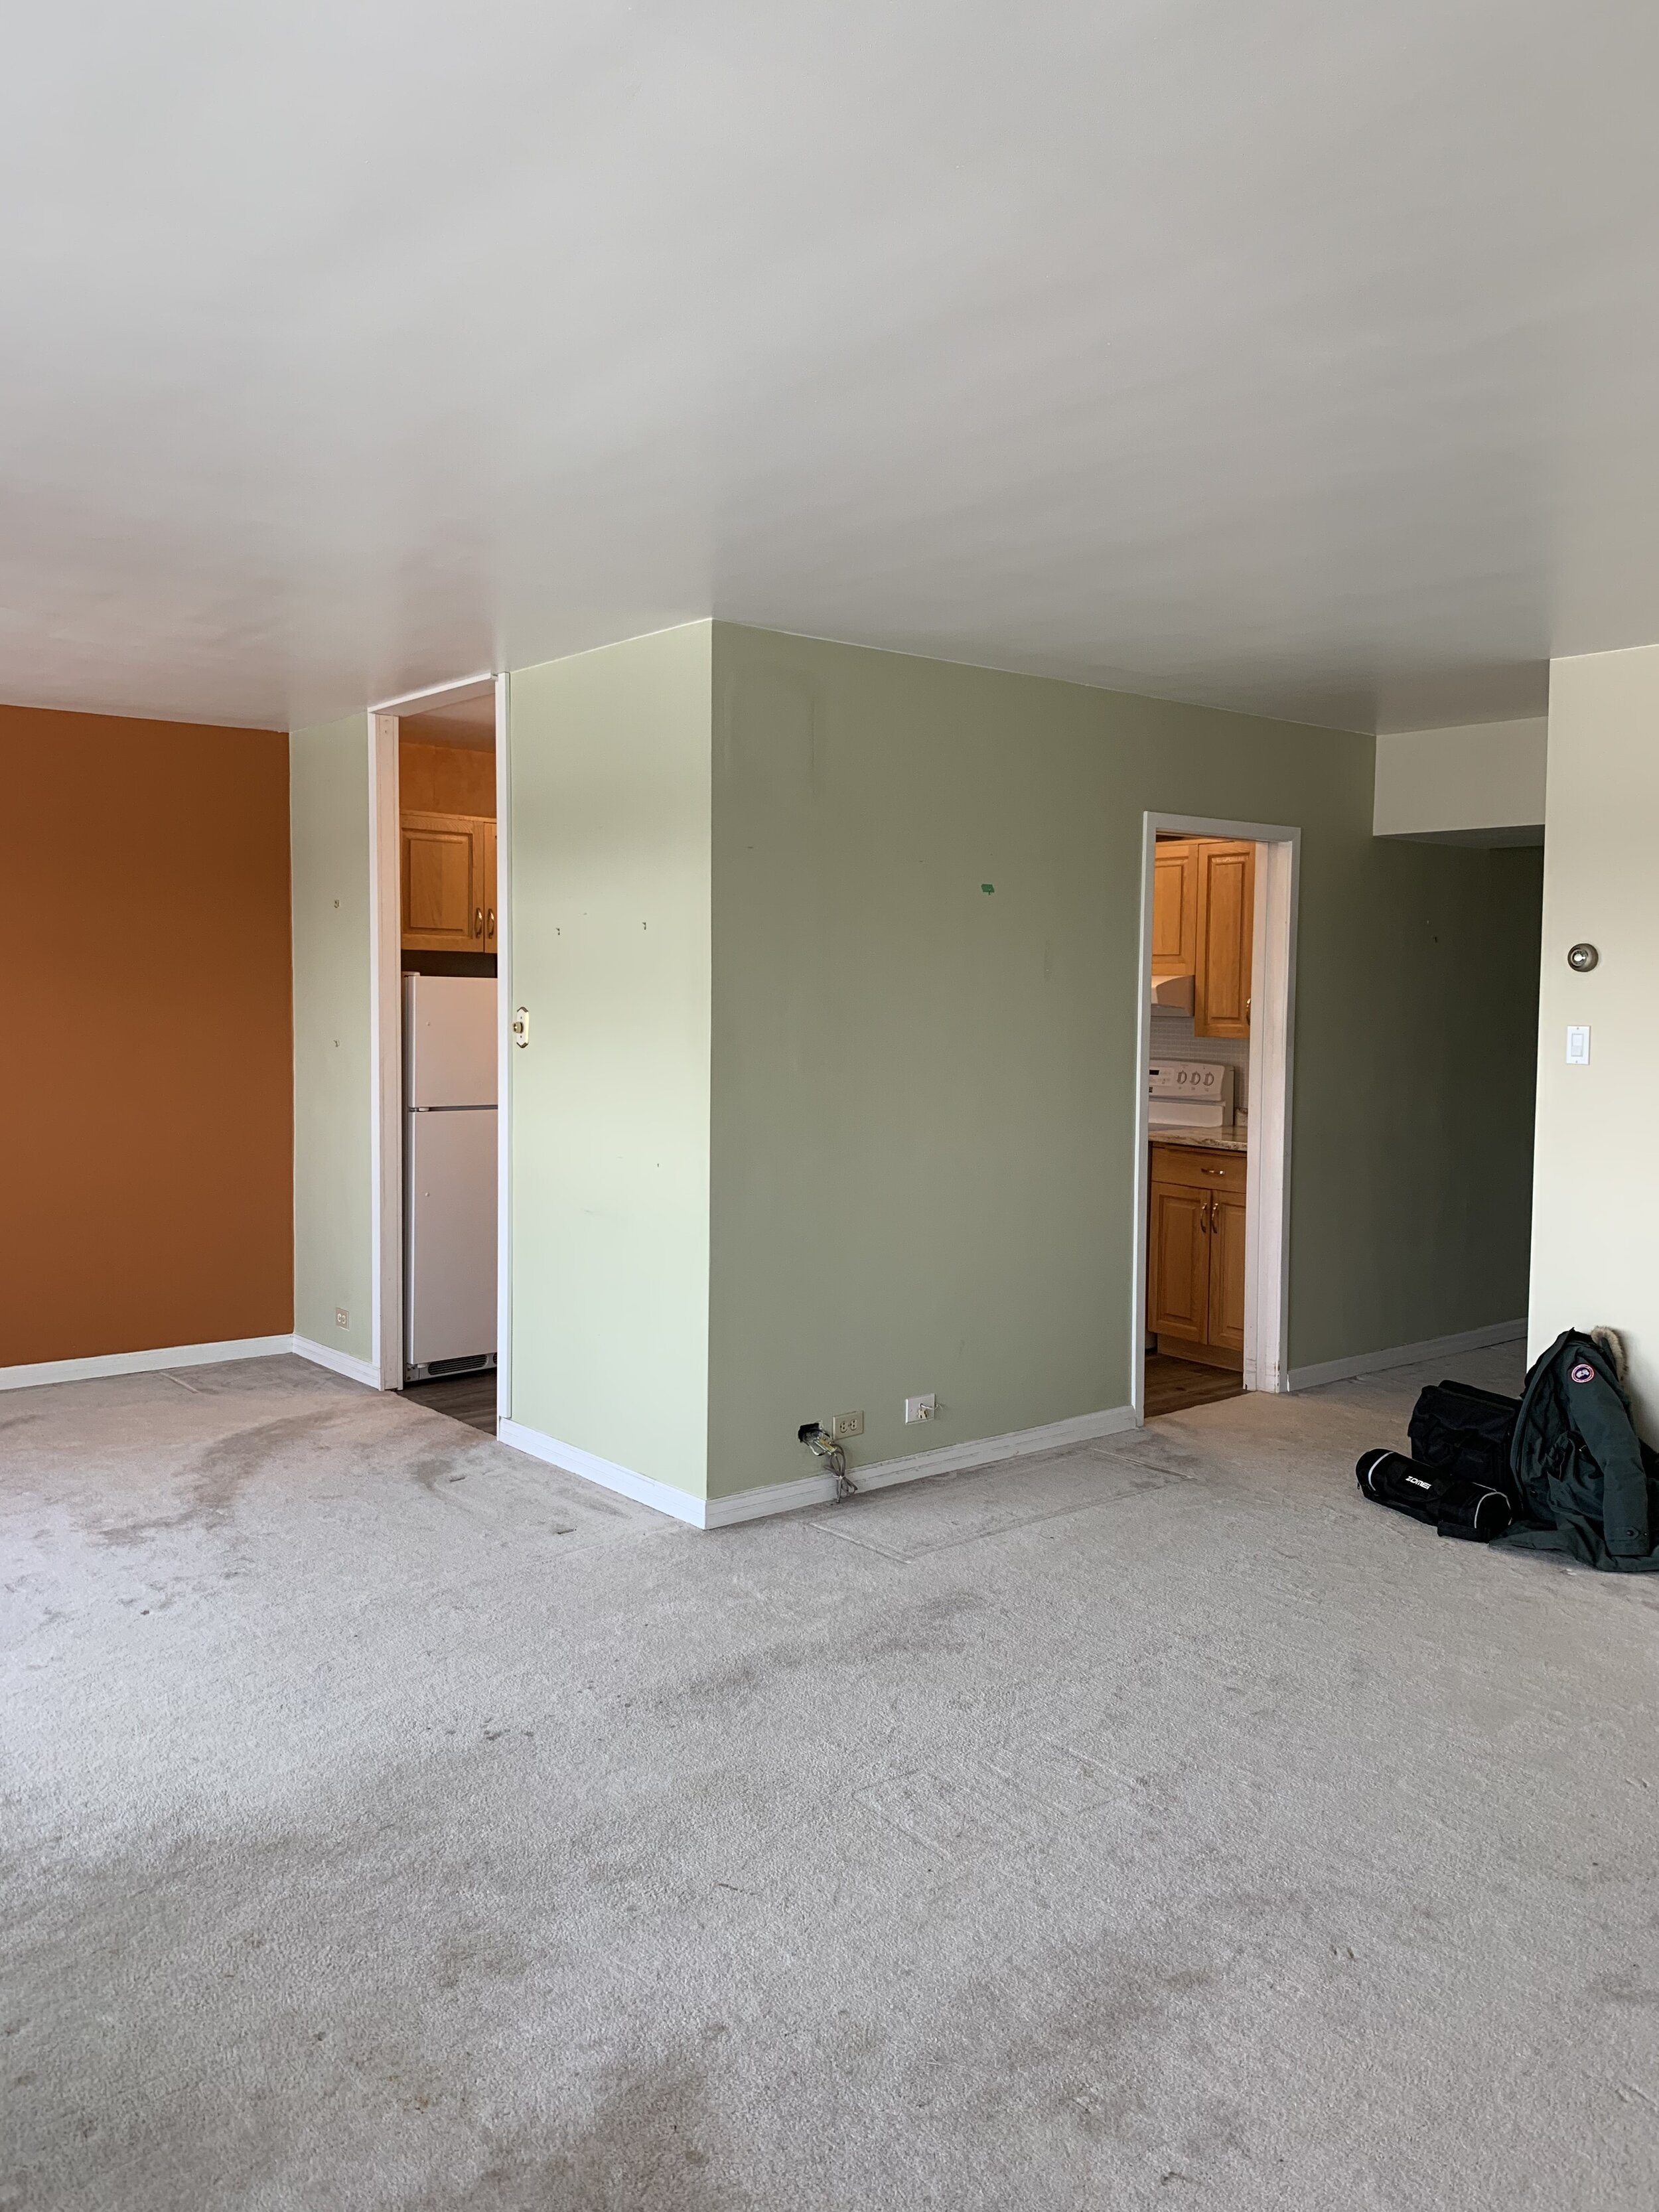
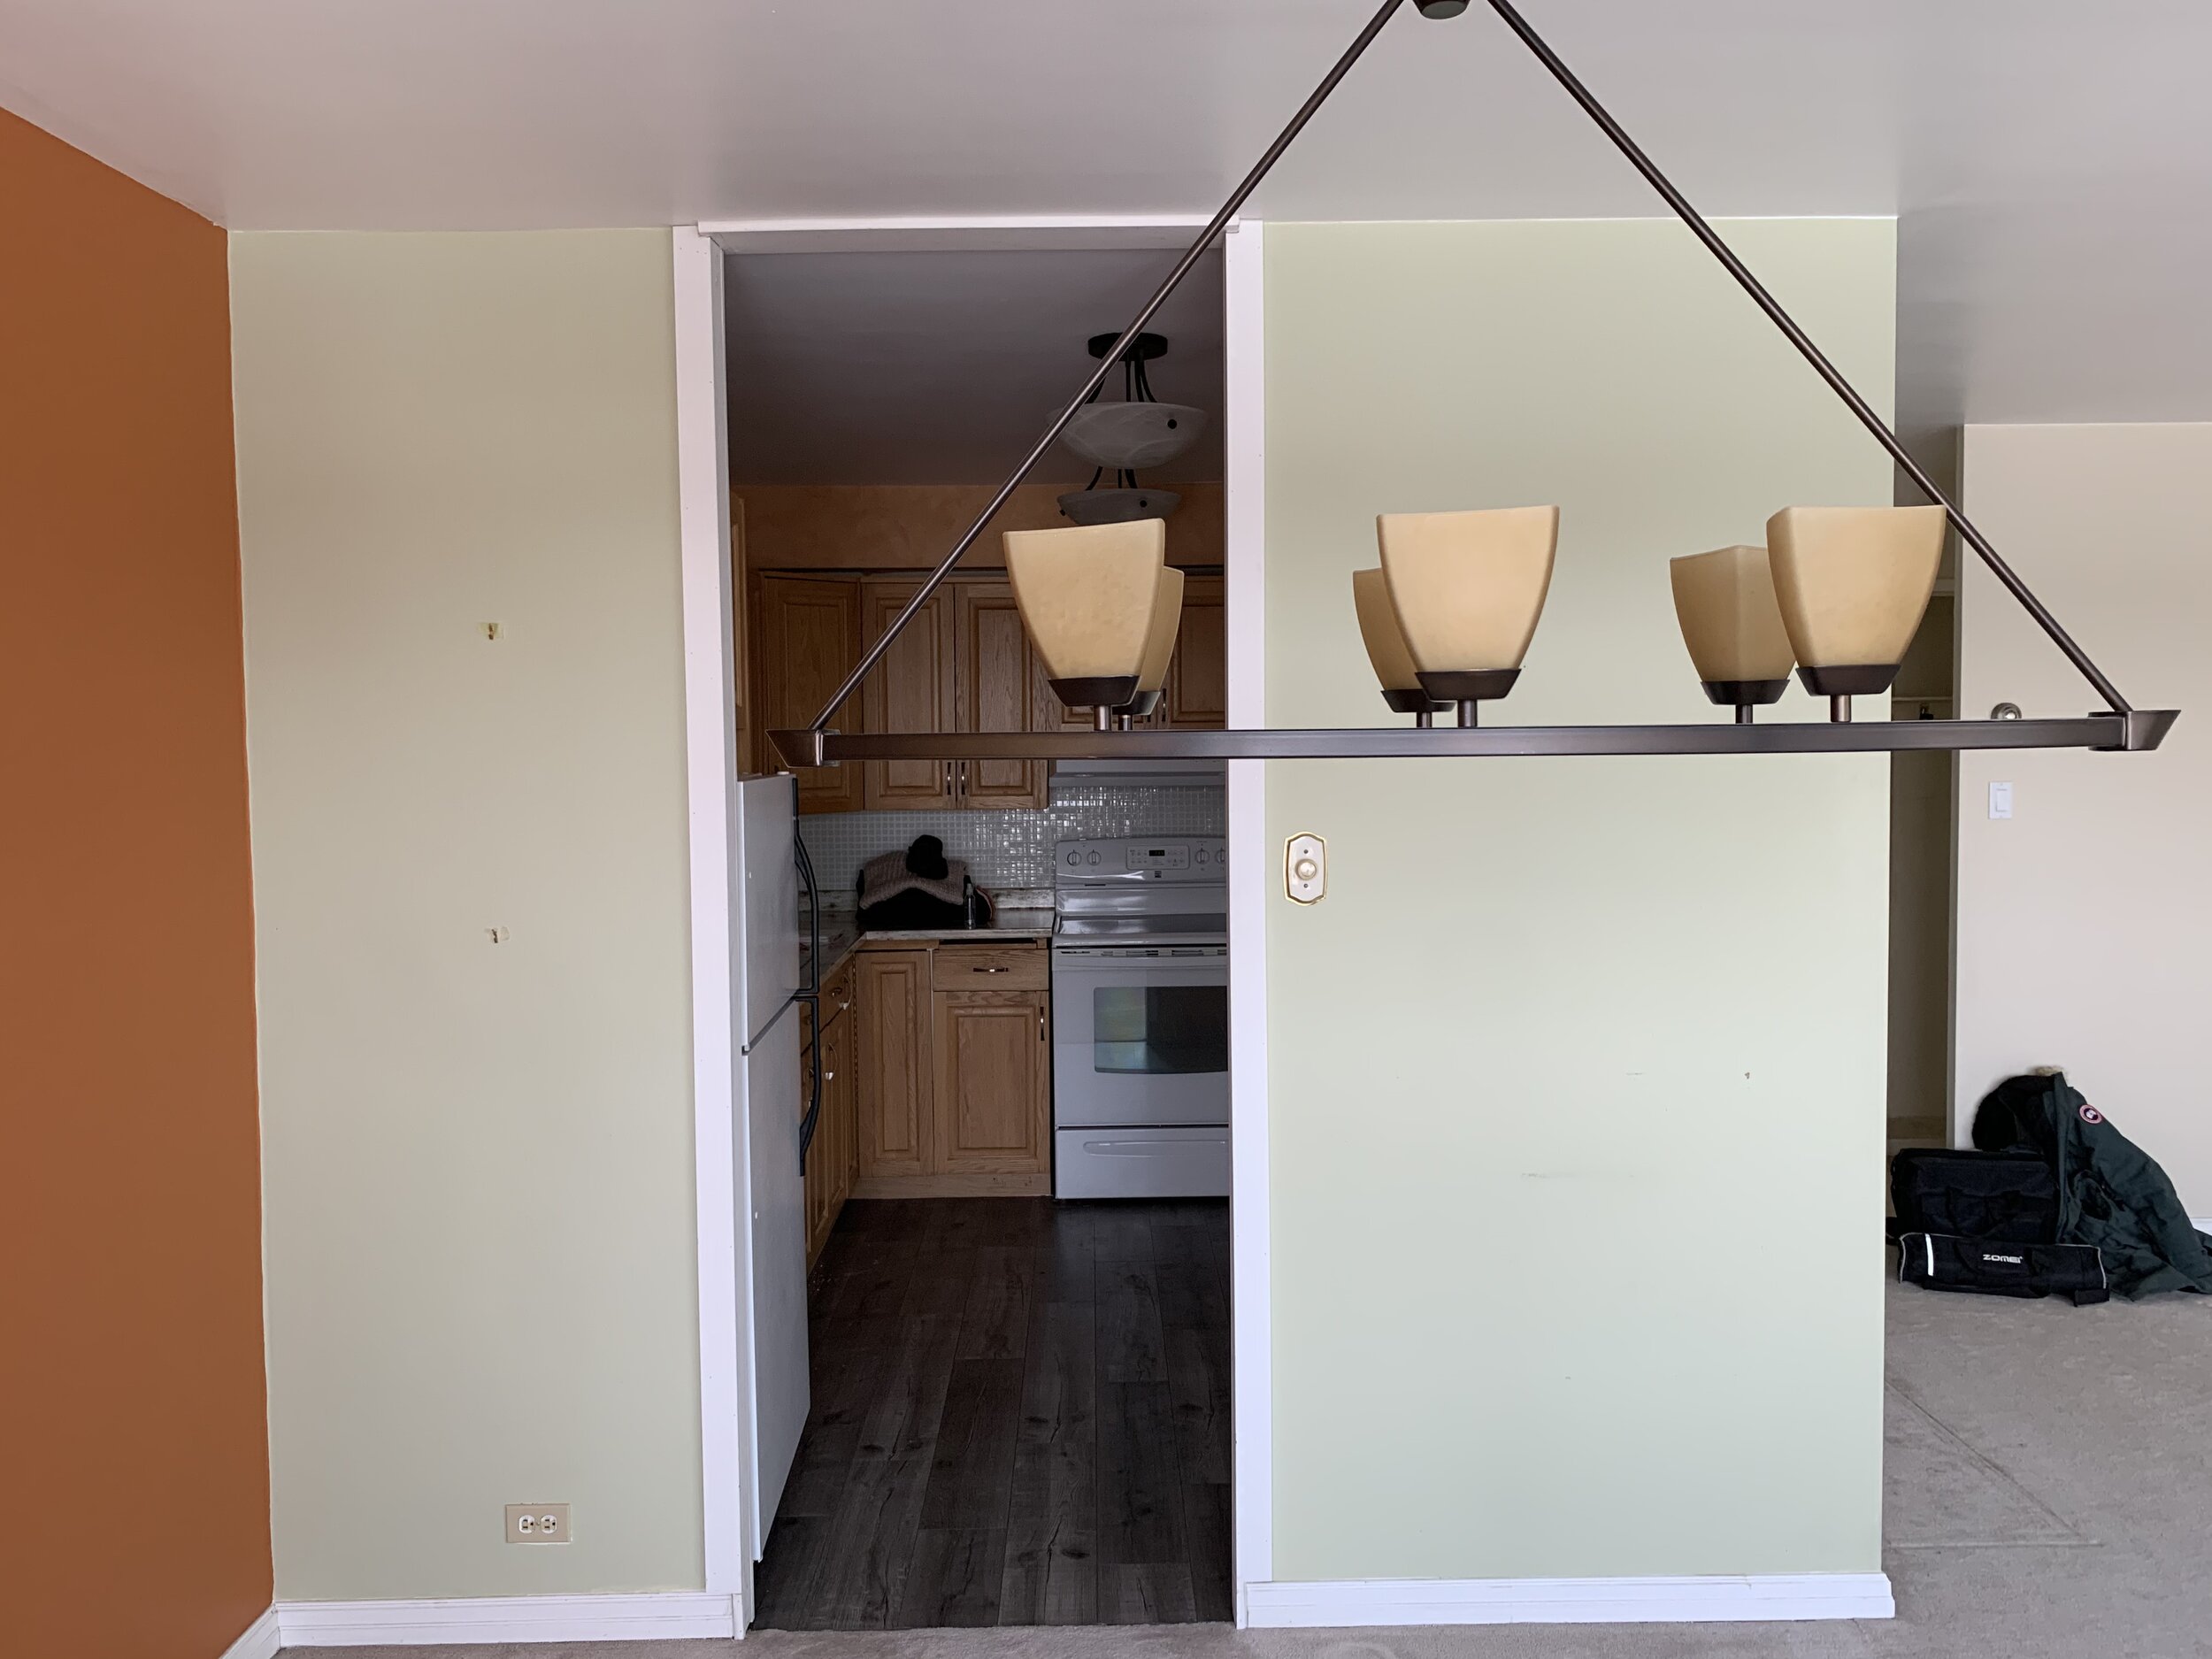
Our initial design plan saw us removing the two kitchen walls adjacent to the living and dining rooms. Originally we had planned to create an open concept living space with a large kitchen island as our client had done previously in her mom’s unit above. Eventually we ended up taking out just one of the walls due to a few factors. First, all of the walls in the building, including most interior walls, were concrete so while the ones we wanted to remove weren’t structural, taking them out would expensive and labour intensive. Second, there was electrical in the wall that we didn’t end up removing and if we had taken it out we would have had to reroute the electrical through the floor; while not impossible, rerouting electrical through the floor would have caused other complications and added to the cost substantially.
I N I T I A L D E S I G N P L A N


The design changes from our initial design to final design were minimal in the bathroom. The floor plan remained the same, however we eliminated the glass partition between the tub and shower, and adjusted the finishes and fixtures to cut some costs. We exchanged the 24”x48” marble-look tiles for 12”x24” white tiles accented with white 2.5”x9.5”. Additionally, instead of reconfiguring the lighting for two sconces, we chose to replace the single sconce, and reface the medicine cabinet with new tri-view mirrors.
F I N A L D E S I G N P L A N


Bungalow Interior Design managed the construction of this project from start to finish on behalf of our out-of-province client. Several of the trades we chose to work with had experience in other units in the building and were familiar with the unique challenges the building would present. The design process took approximately two months, while the construction took roughly three.
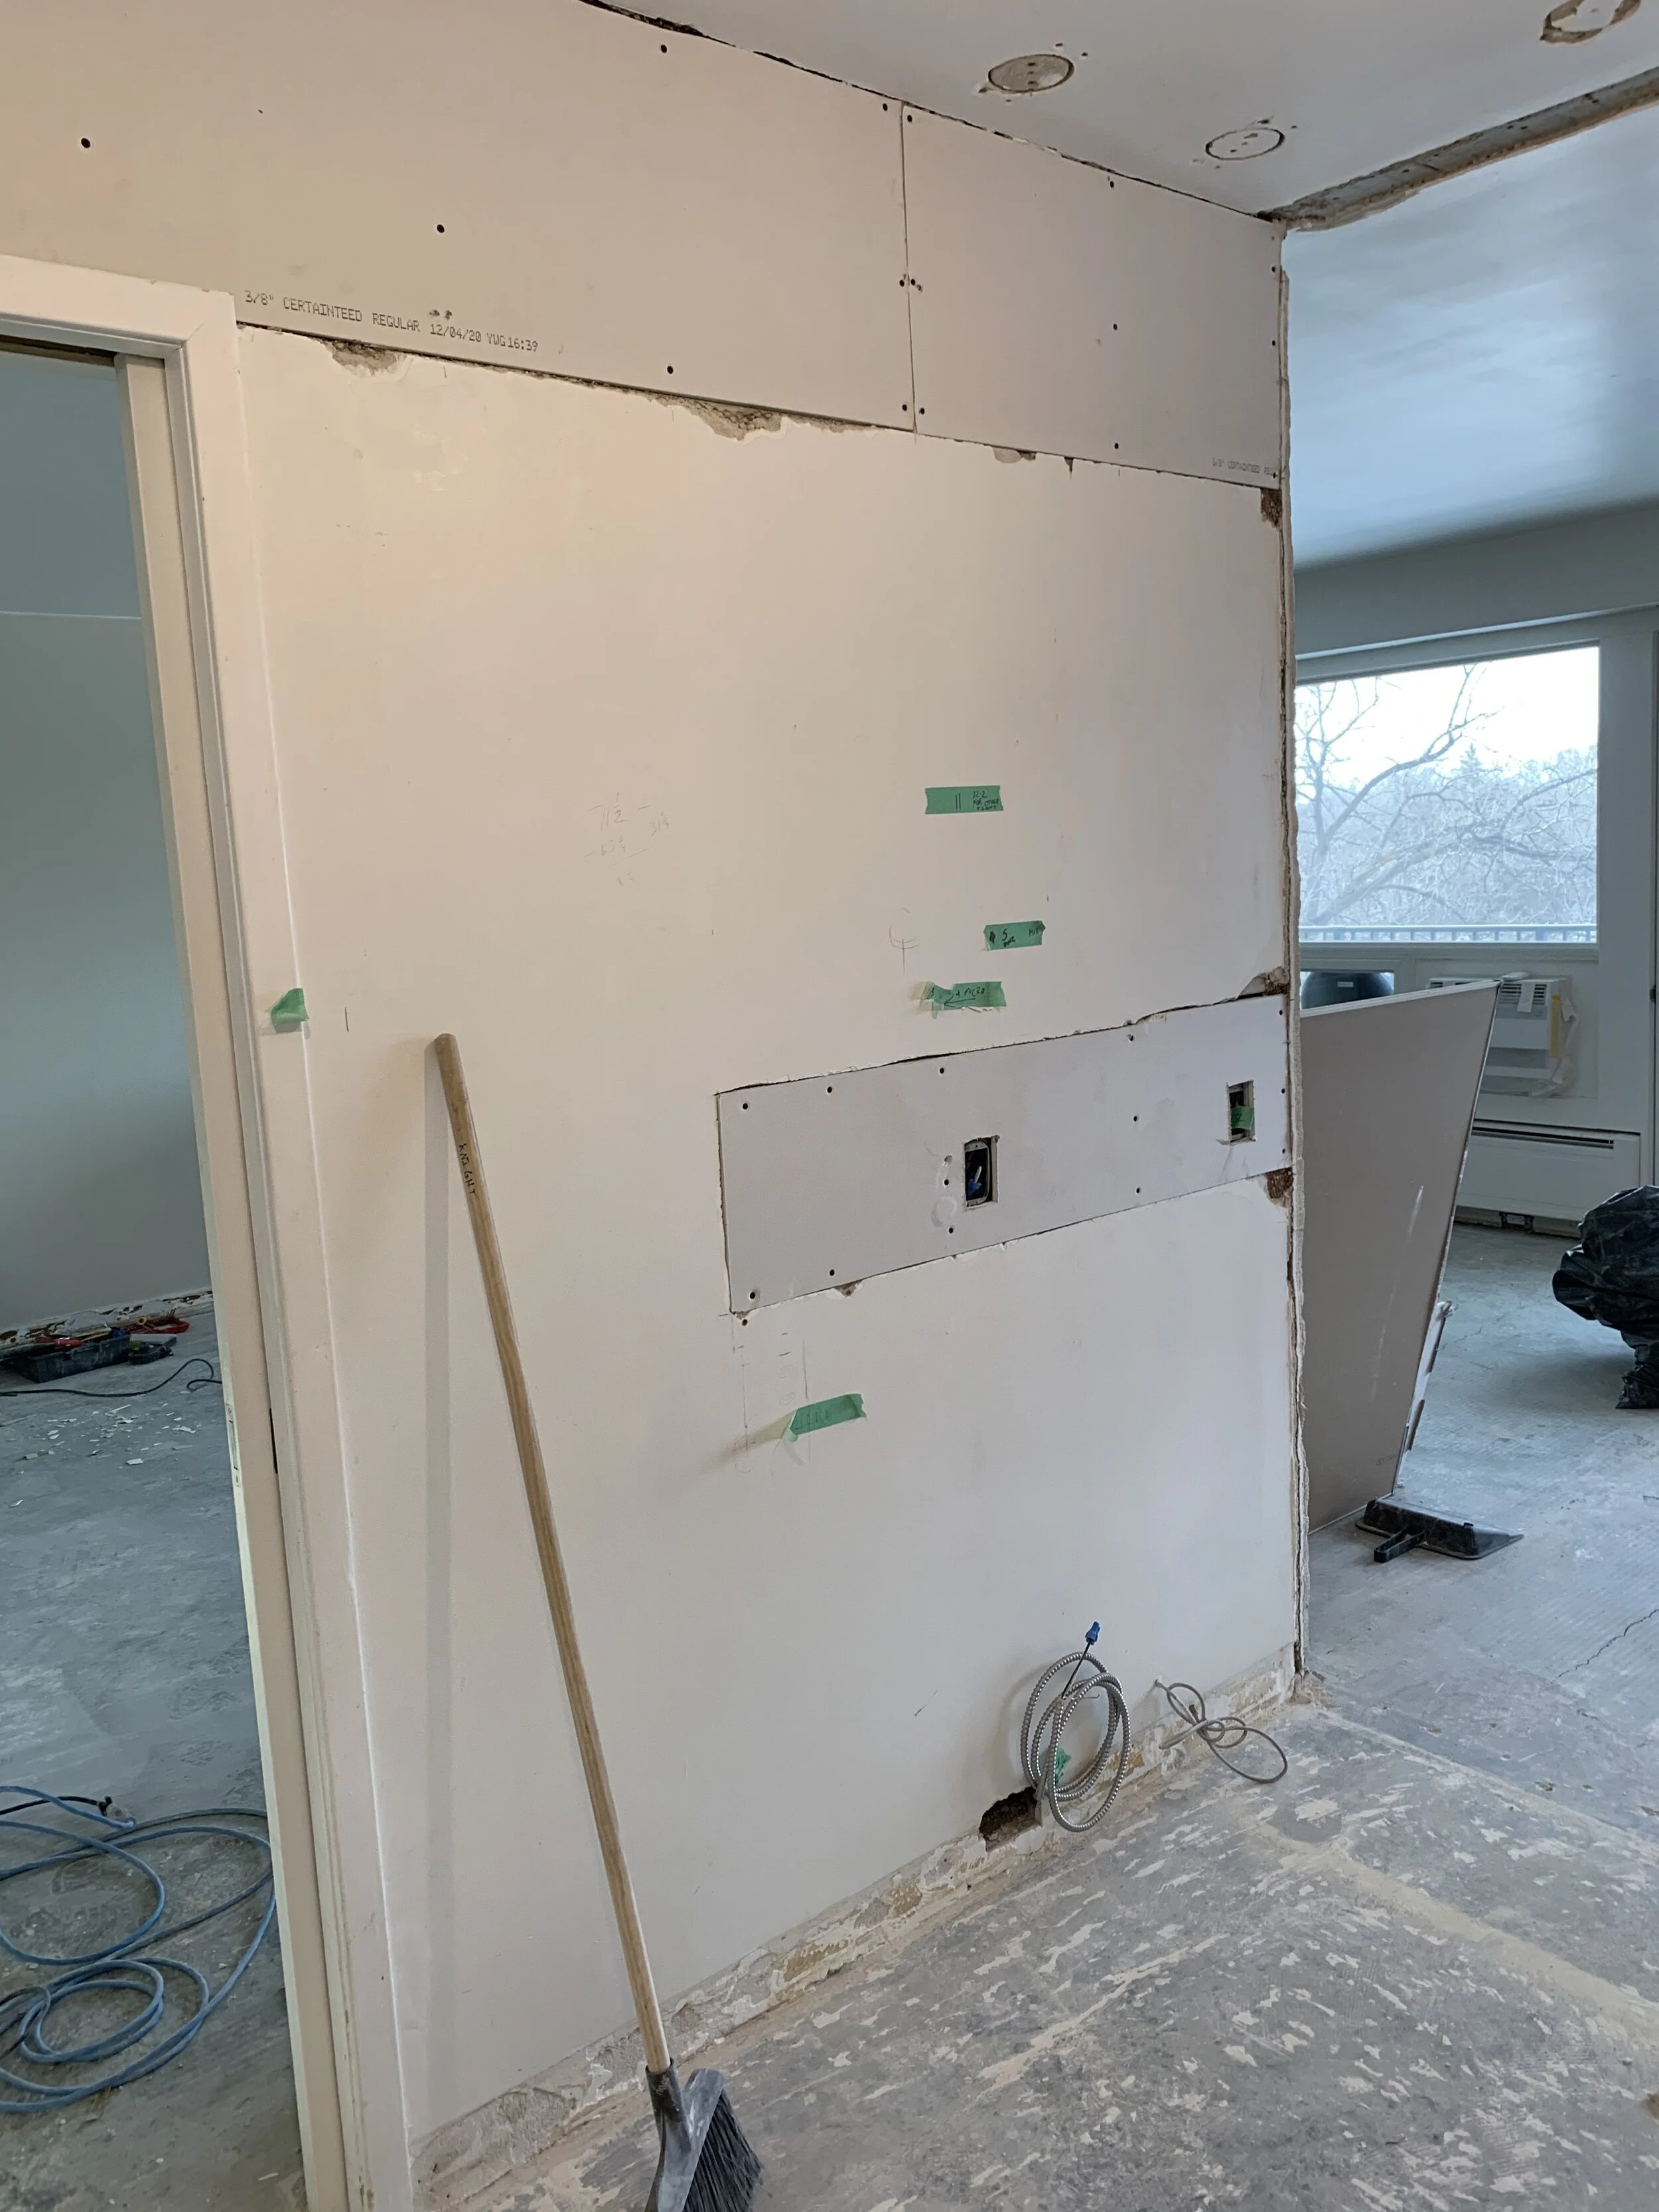
D E M O L I T I O N
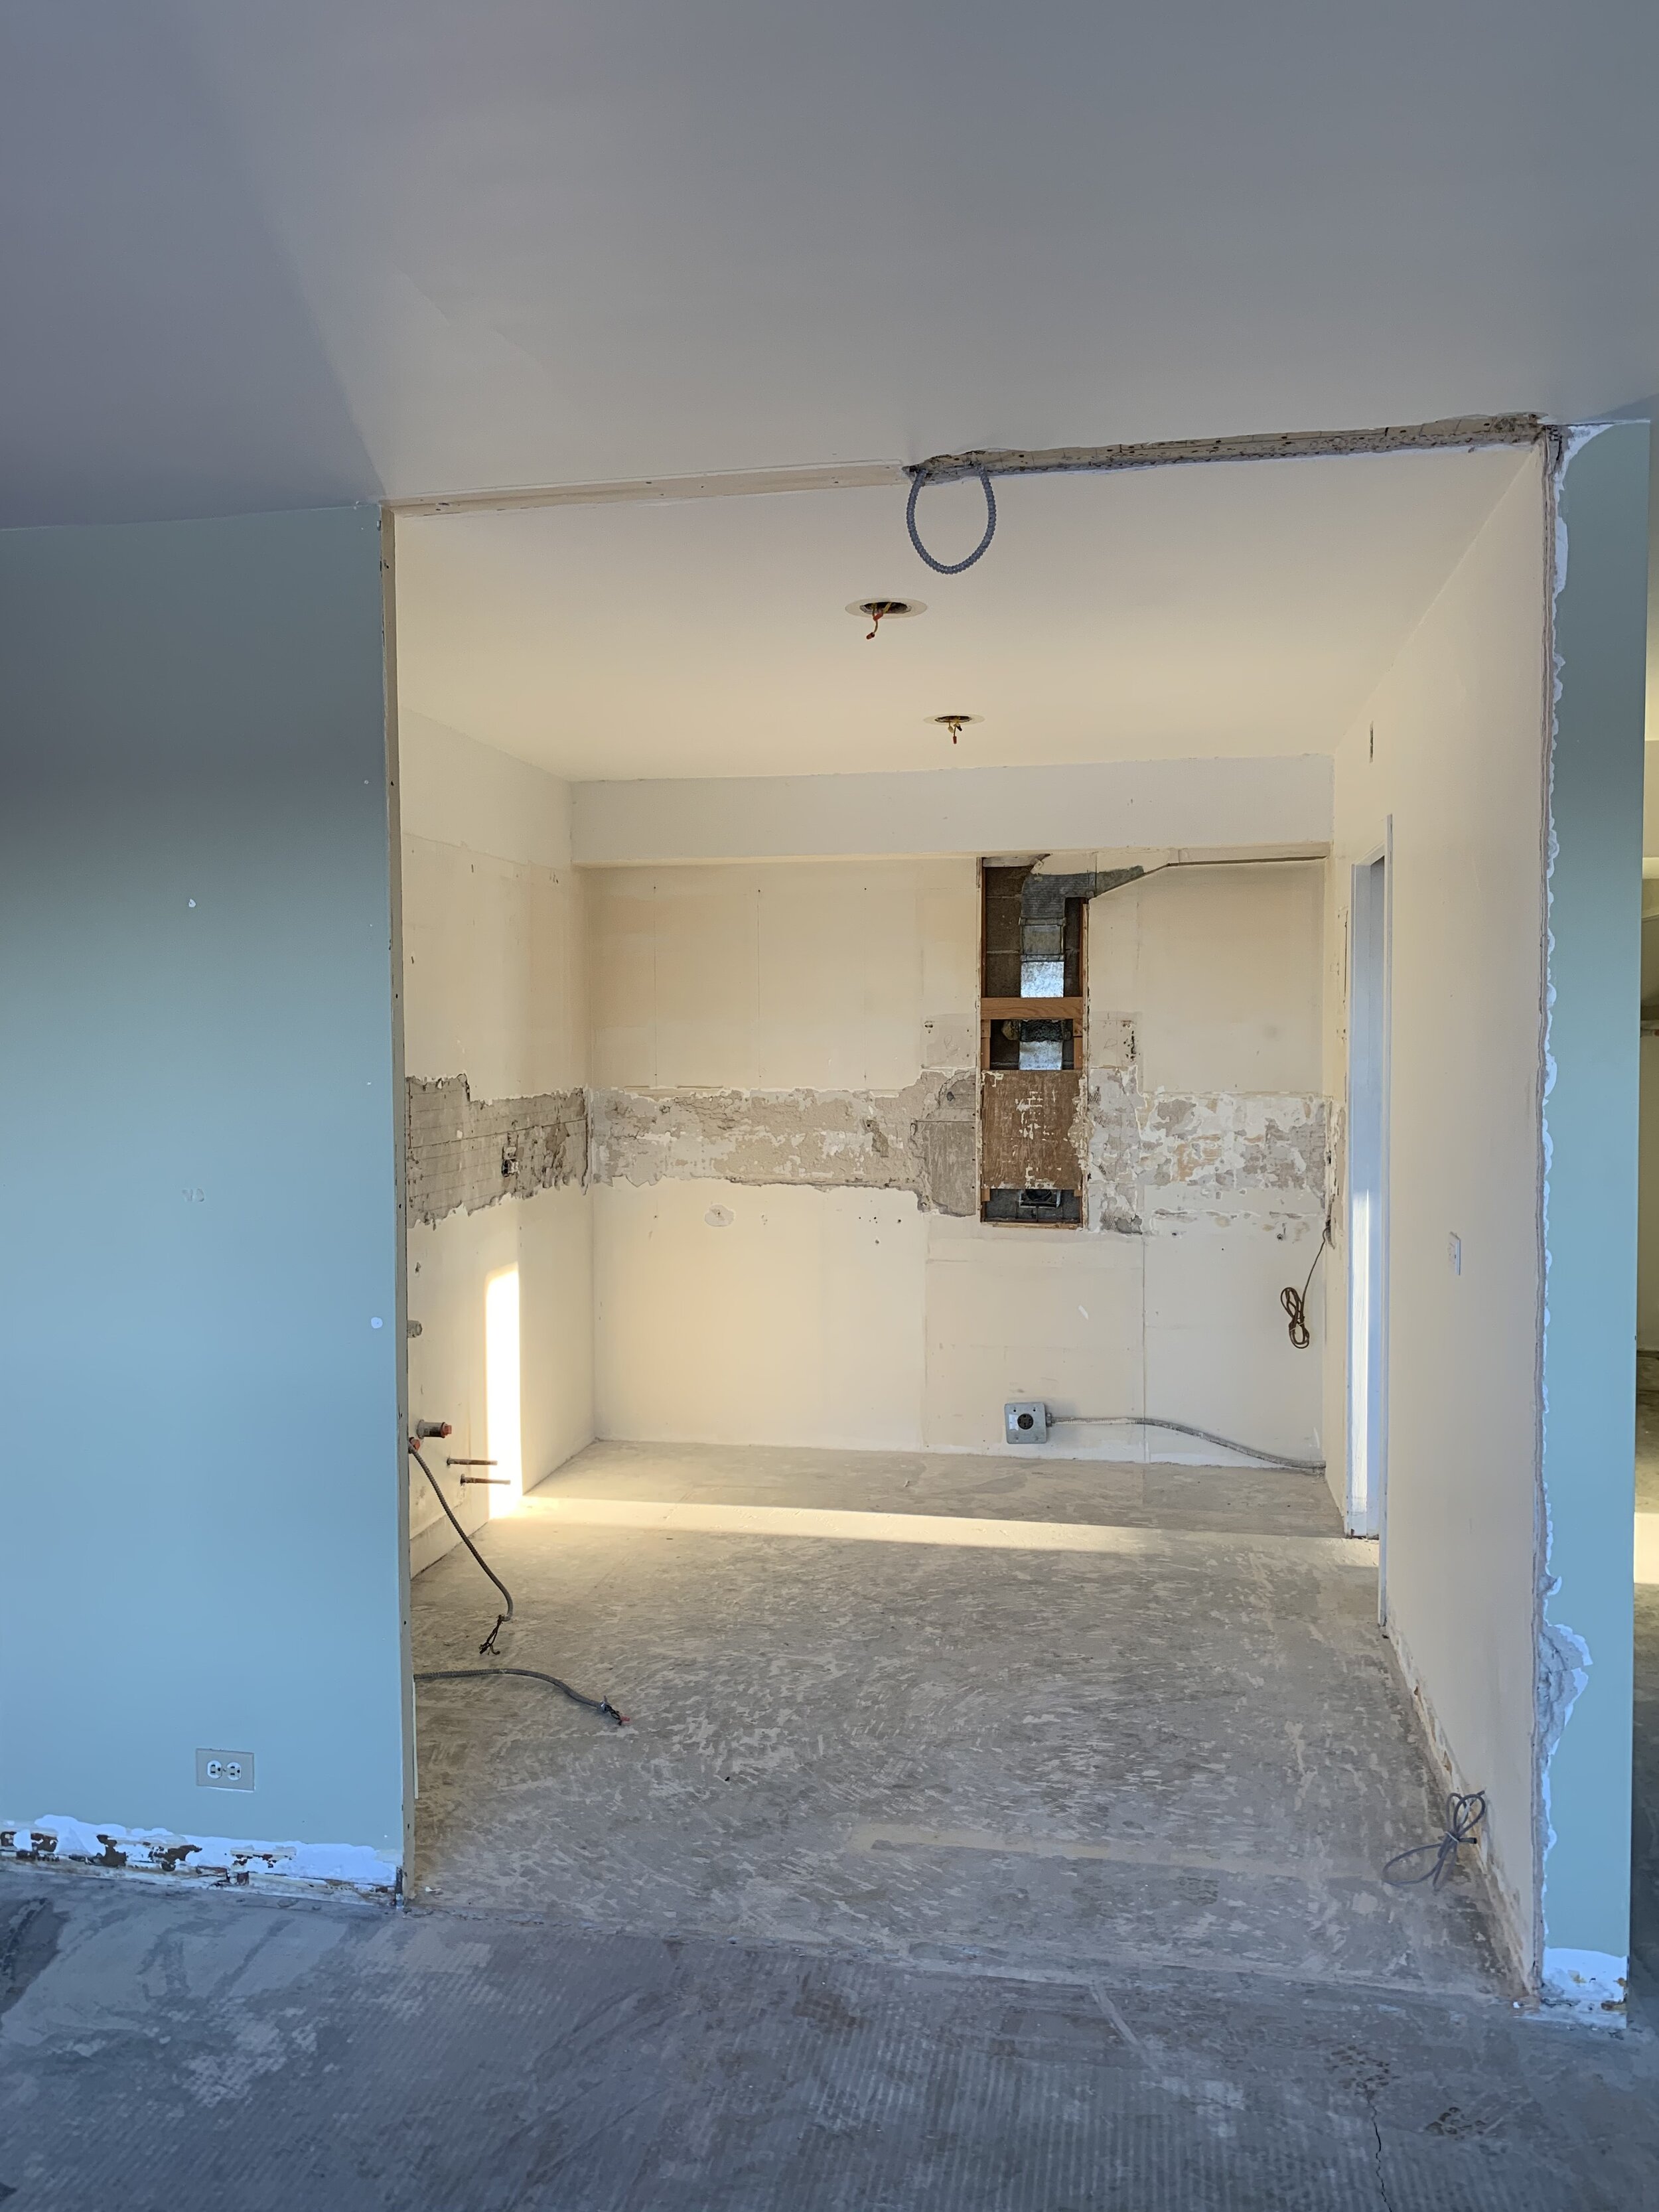


We started the renovation off with a day of demolition. The wall between the kitchen and dining room was removed, all the old finishes and fixtures were removed including all the cabinetry, the soiled carpet, and original bathroom tiles. We salvaged a few pieces that were in good condition such as the closet doors, bathroom fan, and the medicine cabinet that we refaced with new mirror. It was a long day for the demo crew, full of loud banging and a lot of dust and we are very thankful for understanding neighbours! To make a long day even longer, the elevator was shut down due to an unrelated water issue and the crew had to haul the renovation debris down several flights of stairs to the dumpster. With our first challenge of this renovation under our belts it was time to move on to putting everything back together.
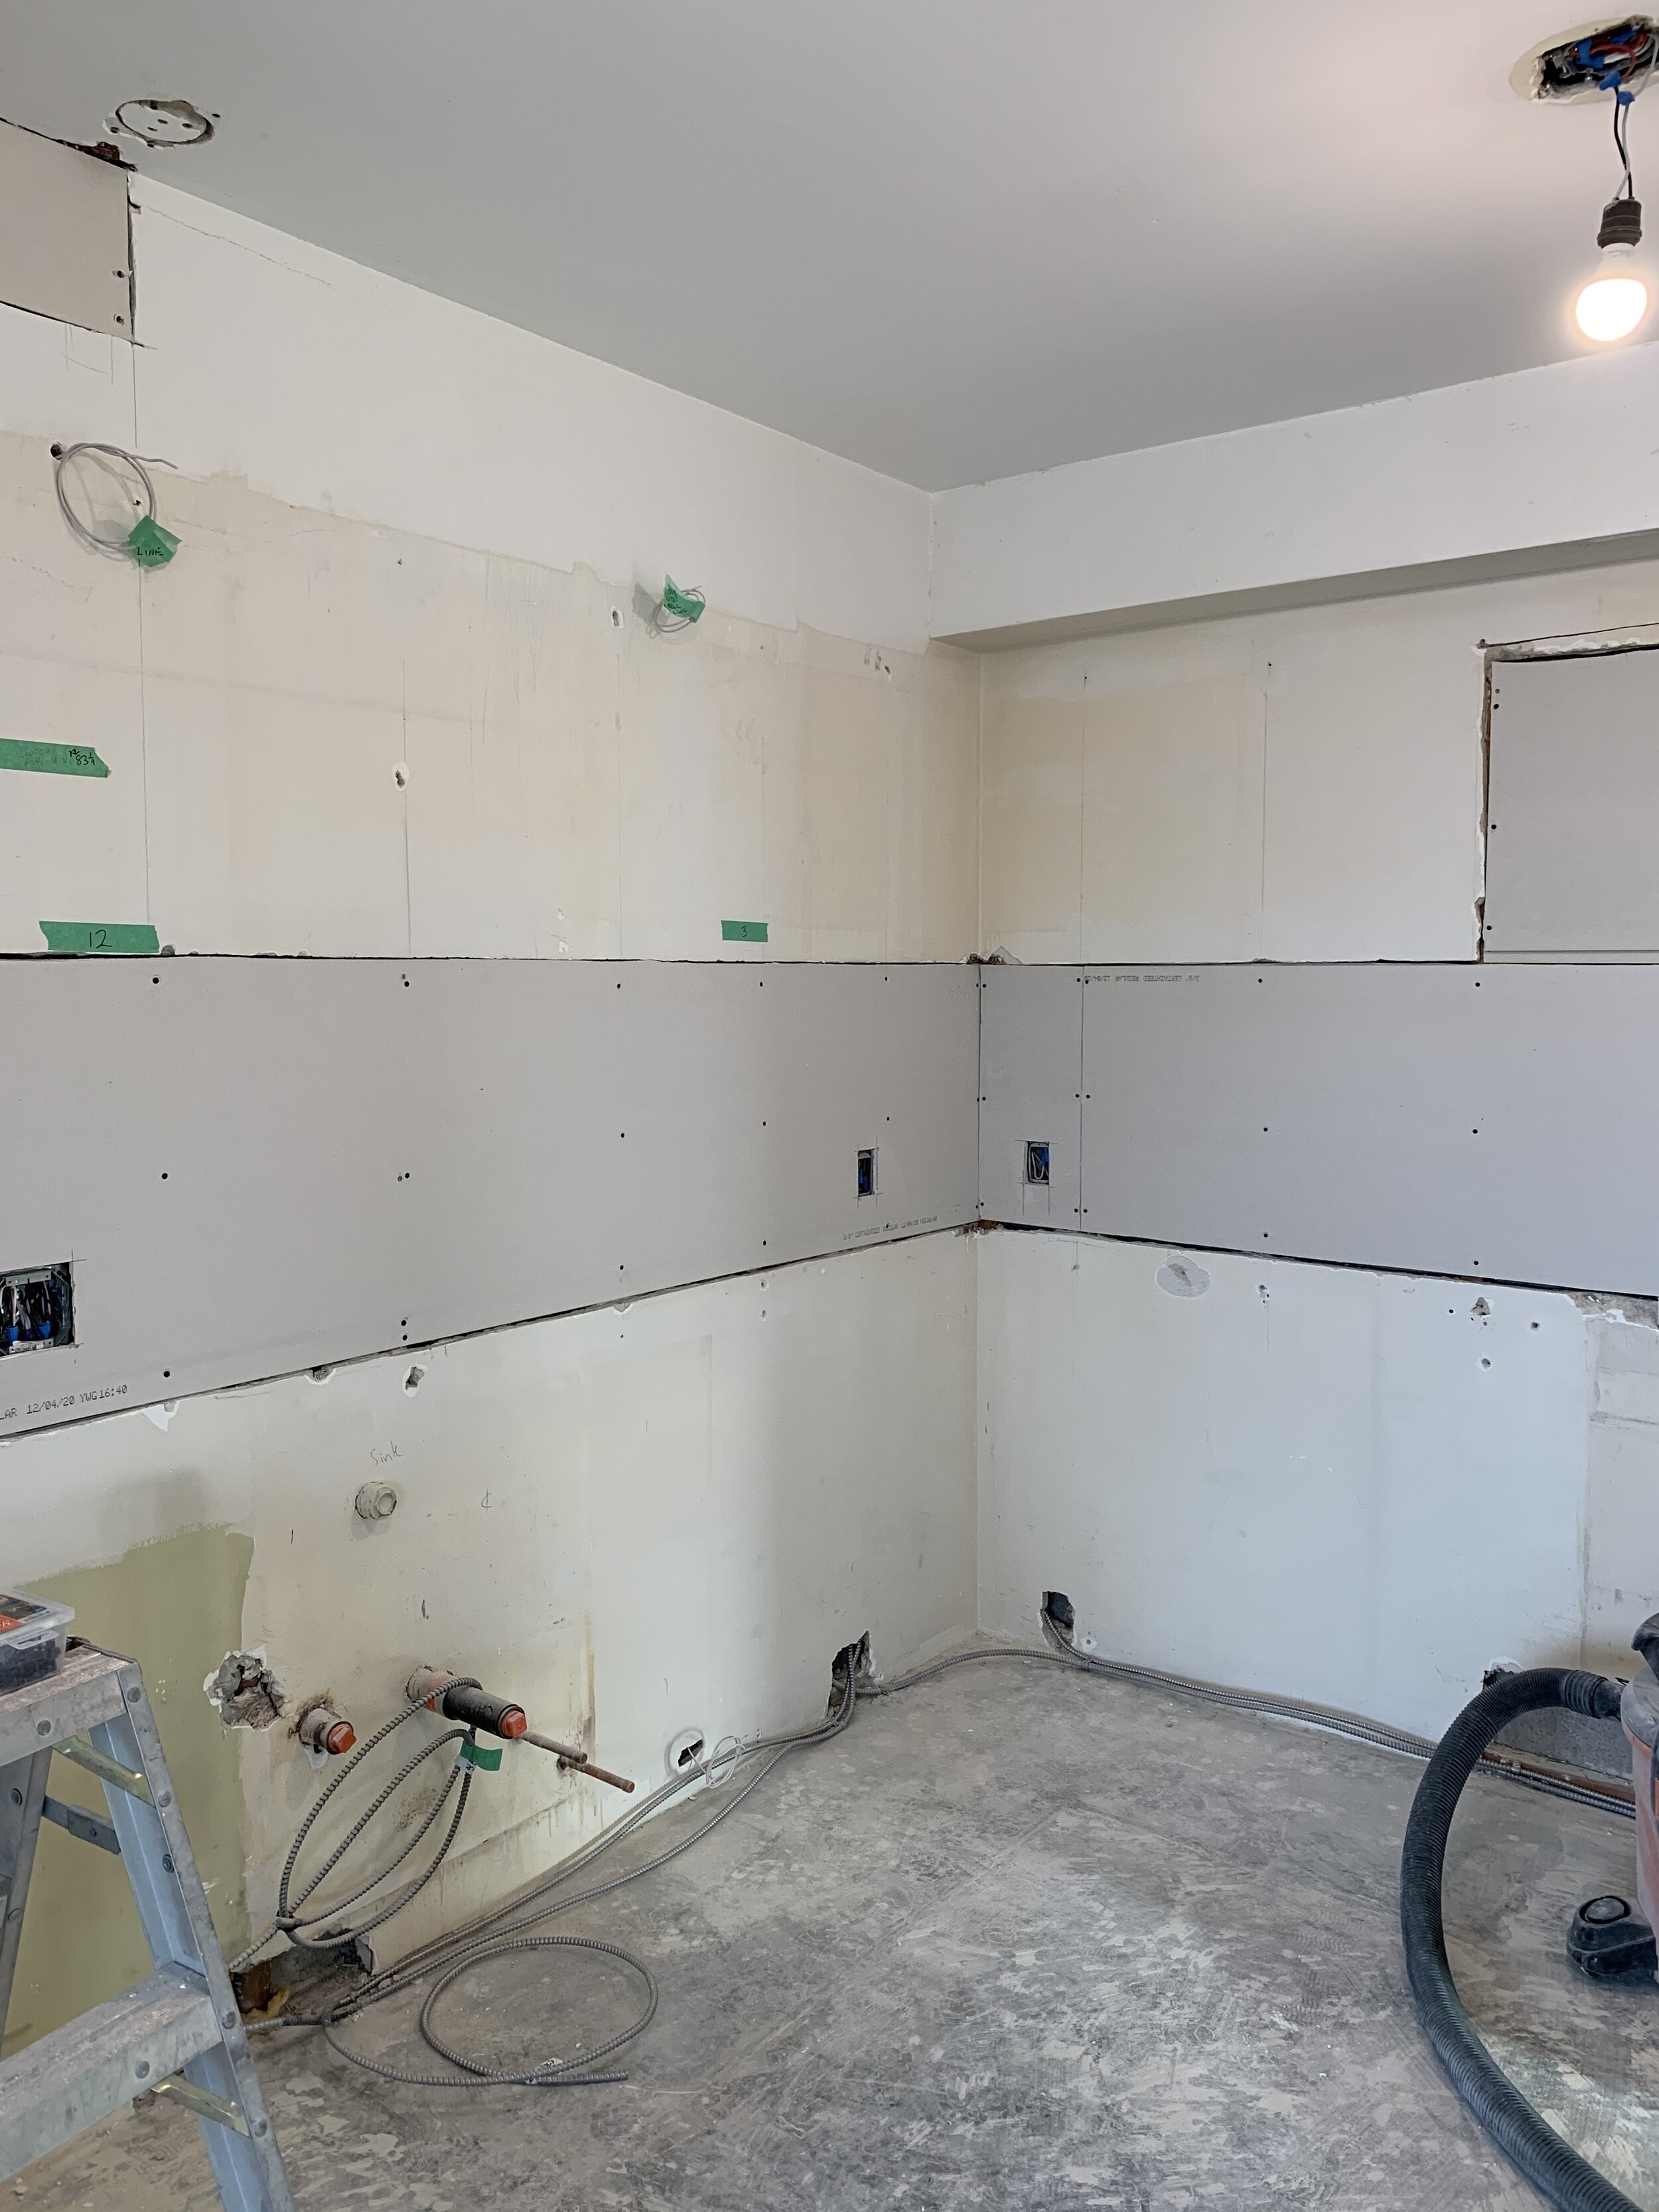
The electrical in the kitchen was our next big endeavour and we replaced it all! Many holes were drilled through the plaster and wire of the concrete walls, to the point of looking like Swiss cheese! Instead of patching each individual hole we opted to remove large sections and install new drywall to prepare for the new finishes. The rough in plumbing, which essentially stayed in the same locations, was also completed prior to drywalling. In order to fit the tub into place our trades had to chip away at the old plaster to expose the cinder block wall that separates the bathroom from the adjacent condo unit. The old tub was original to the building and had been installed prior to the wall finish and tile.
D R Y W A L L


C A B I N E T I N S T A L L


Once drywalling and painting were complete we started to see the design take shape with the installation of the cabinets. It’s always exciting for the designer and homeowner to start seeing things come together after a long planning period. We installed semi-custom cabinets made by a local company. To keep costs more manageable we chose a melamine material that looks like wood for the base cabinets and white melamine for the uppers. We added interest with the cabinet design by adding a floating shelf above the sink and above the separate cabinet section housing the microwave drawer. We also designed a hood fan box which was in keeping with the modern aesthetic we were looking for.
Cabinets were measured and a digital template was made for the quartz countertops that would be fabricated by a local stone company. The fabrication process can take anywhere from ten days to two weeks (even longer if the construction industry is hopping - as it is now) so while the countertop was being cut and polished to fit we moved forward with flooring installation.
F L O O R I N G I N S T A L L


While cabinet installation day is always an exciting day for us, flooring adds that next layer and brings us closer to a completed look. We chose a wide plank LVP (luxury vinyl plank) in a wood look with grey undertones for this project. We chose LVP for durability, the ability to run the same flooring throughout the whole space, including the bathroom and bedrooms, and to keep costs within budget. The colour we chose is slightly darker than the melamine of the base cabinets to add contrast and interest to the space.
T I L E I N S T A L L


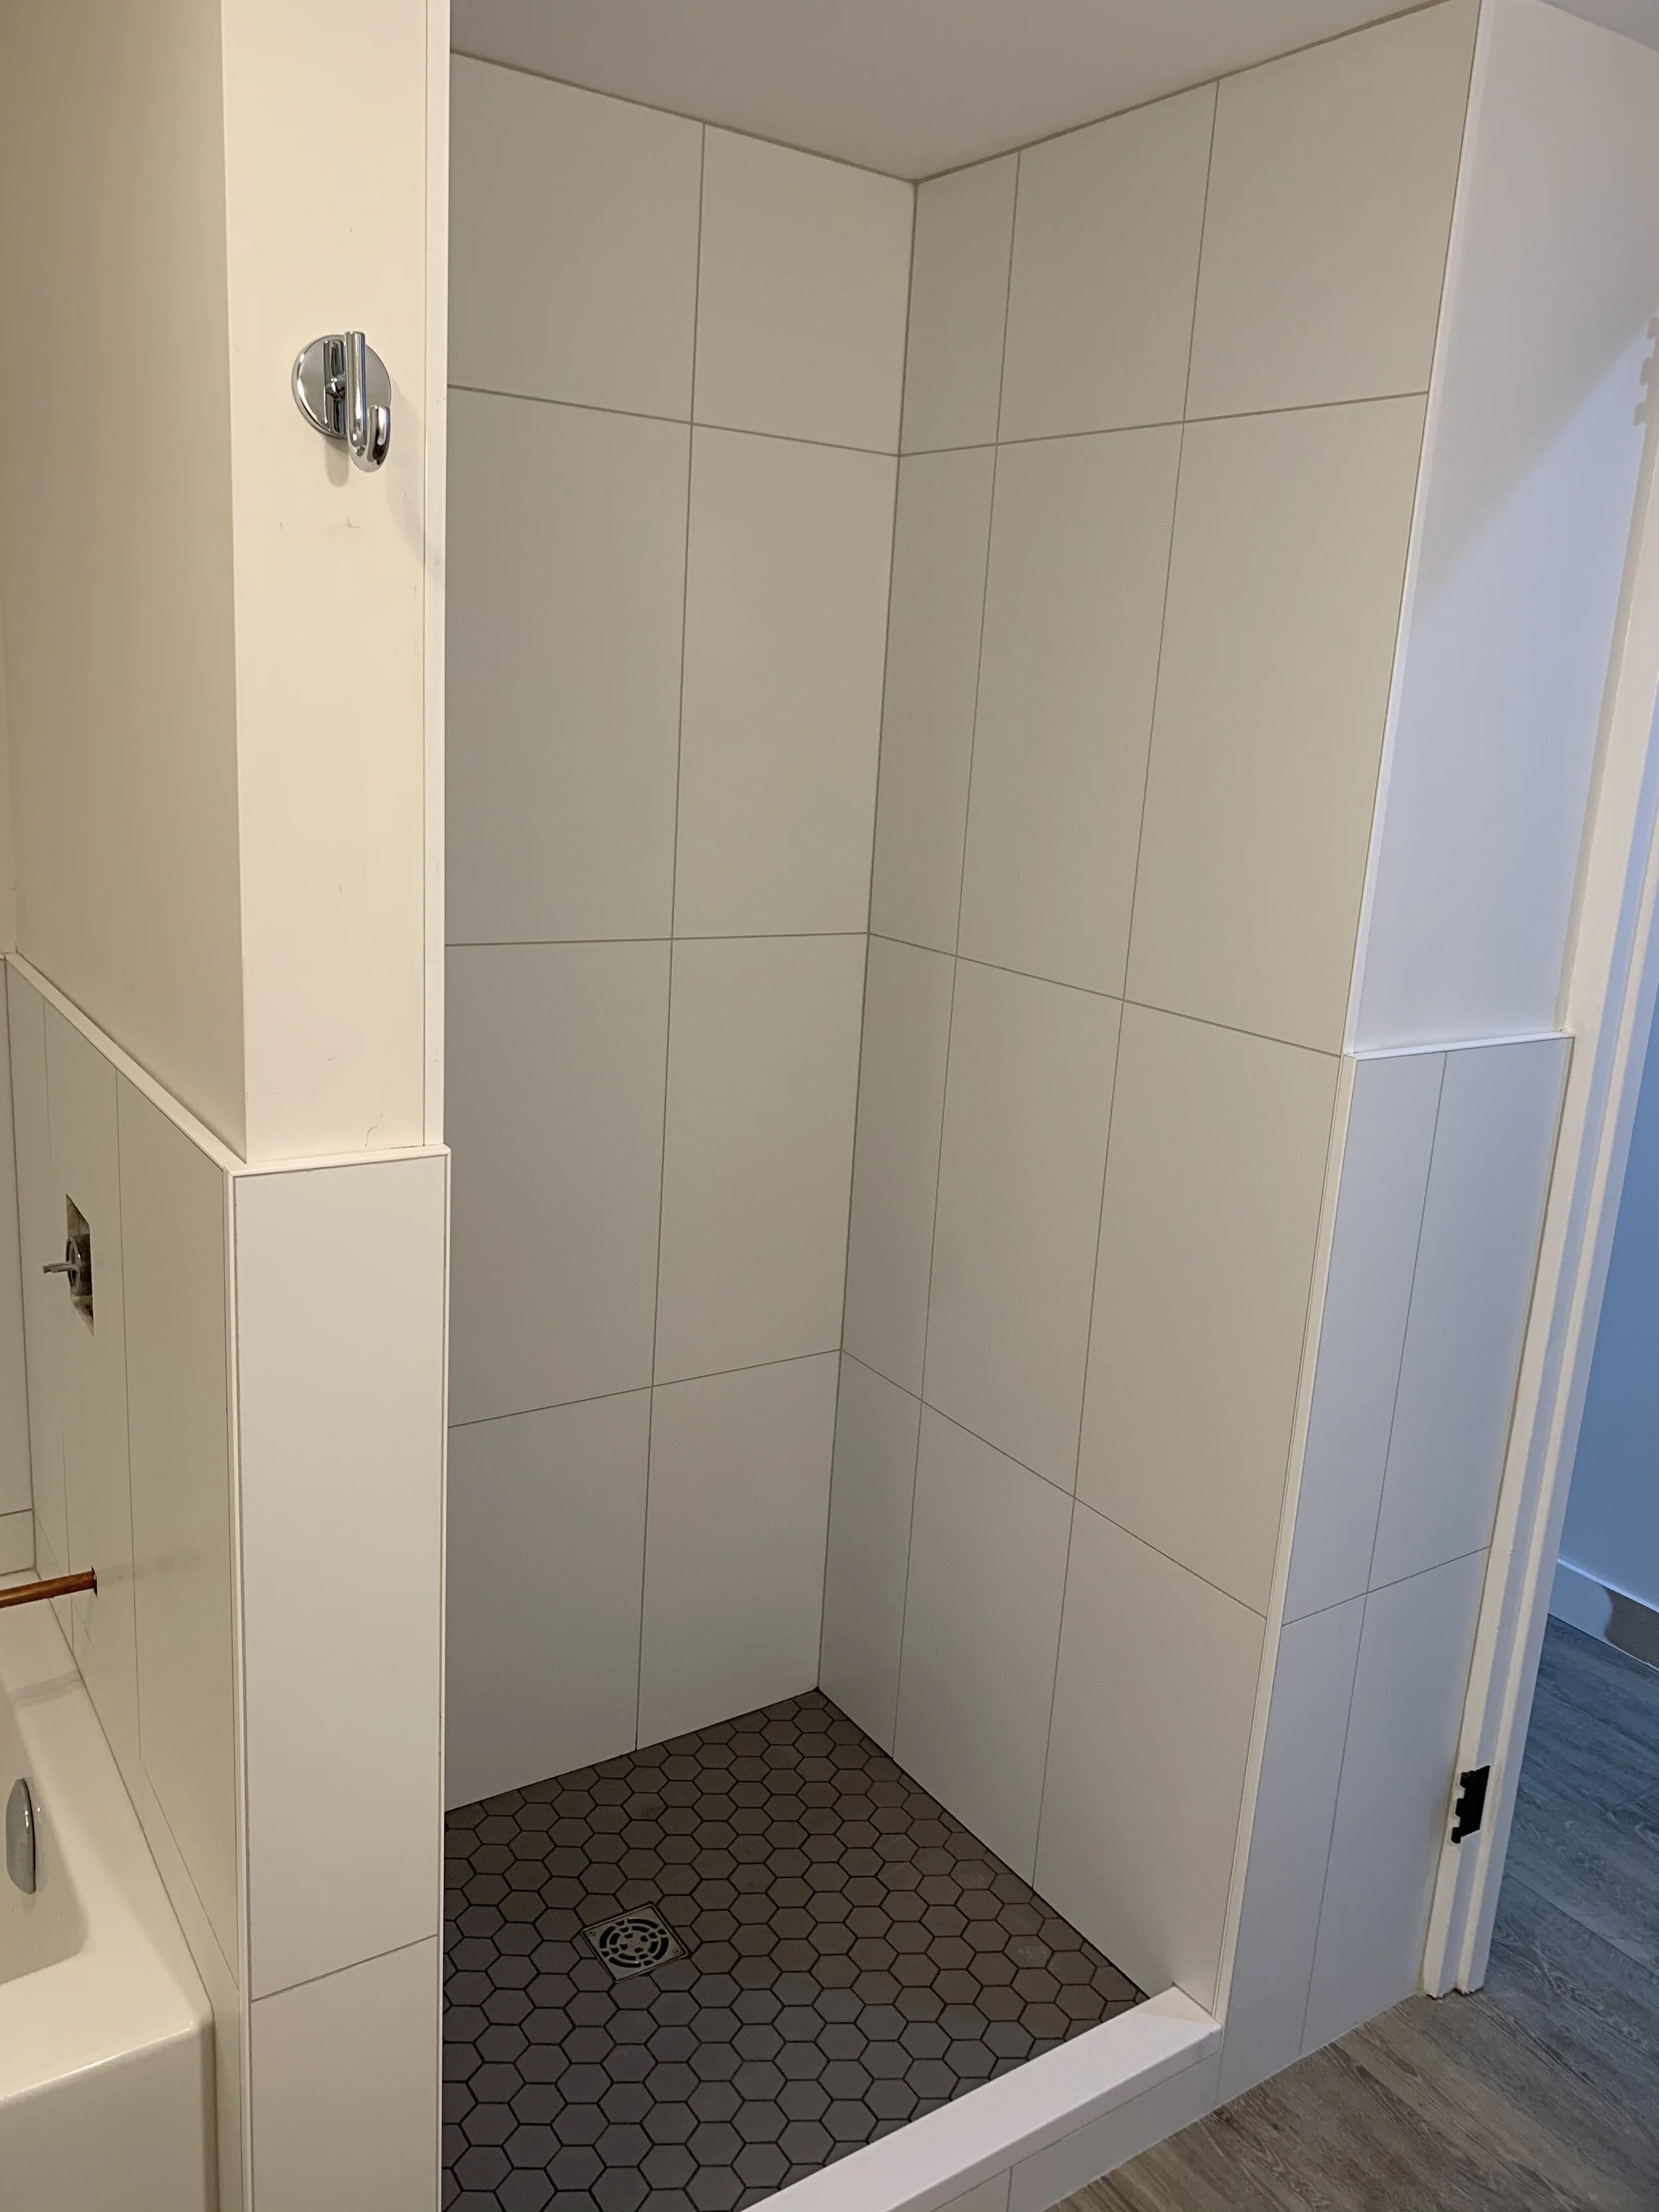
Once the LVP flooring was in the tile work started in the bathroom shower. Our tile setter is excellent at what he does and always takes the time to consider the overall look of the tile at completion and meets with us to discuss the design before starting. We appreciate when our trades pay attention to detail just like we do! The shower floor was tiled, quartz shower curb installed and then the shower walls were tiled. Consideration was made for how the shower tile would relate to the tub surround and the height of the the wall tile that would also carrying around the whole bathroom and behind the vanity.
The tile work was completed in two phases with the second phase continuing once the quartz countertops were in place. The installation of the quartz was tricky due to the elevator size but the installers were able to make it fit with careful manoeuvring. It was no small feat and as a result the kitchen countertops were installed with no seam! The wall behind the vanity and the kitchen backsplash were tiled with a smaller vertically stacked tile as a nod to mid-century style.
F I N I S H C A R P E N T R Y


Finishing off the renovation meant the carpenter was back to install the baseboards, reinstall the closet and interior doors with new door hardware and hinges. The electricians hung the beautiful light fixtures in the kitchen, dining room, and bedroom, and the plumbers installed the simple chrome plumbing fixtures and trim. There were a few snags towards the end of the renovation as is often the case. A light fixture came with a damaged socket and was on back order until mid-June and the vanity light was also on back order. With the help of our electrician and lighting rep we were able to resolve the issues, install the replacement fixtures, and hand over the keys as promised before the closing date of the condo sale.
Every renovation project comes with wins and complications. When you’re renovating a condo you have the added pressure of dealing with the condo board and not disturbing the neighbours. While this project had its fair share of snags both we and the client are incredibly happy with how everything turned out and we can’t wait for the new homeowner to enjoy every moment in their new space.
Want to see what it looks like now? See the after photos here.
FURTHER READING


