
Bourkevale Modern Kitchen: Before, During, and After
T H E D E S I G N P R O C E S S
We’ve wrapped up another Bungalow Interior Design design + build project! Yay us! And yay for our lovely clients who now have a more functional and beautiful kitchen to enjoy.
We first met with C+T last year after they’d been referred by one of our first clients as Bungalow, J+W. We truly love working with referred clients because there’s already a level of trust that comes with knowing that a friend, family member, or as in this case, coworker, had a good experience with us. Our first meeting was in their home where we discussed their renovation goals, budget, how they currently used their main floor space, and what wasn’t working for them. They provided a wish list and some details about how they needed the space to function after the renovation.
These are some of the notes we took away from that meeting:
Remove structural wall between kitchen and existing dining room
Concerned about losing upper storage with wall removal
Want cabinets to ceiling, more storage, room for three to be in kitchen at same time, room to tuck things away
Inspect previous structural work of wall removal between dining room (DR) and living room (LR)
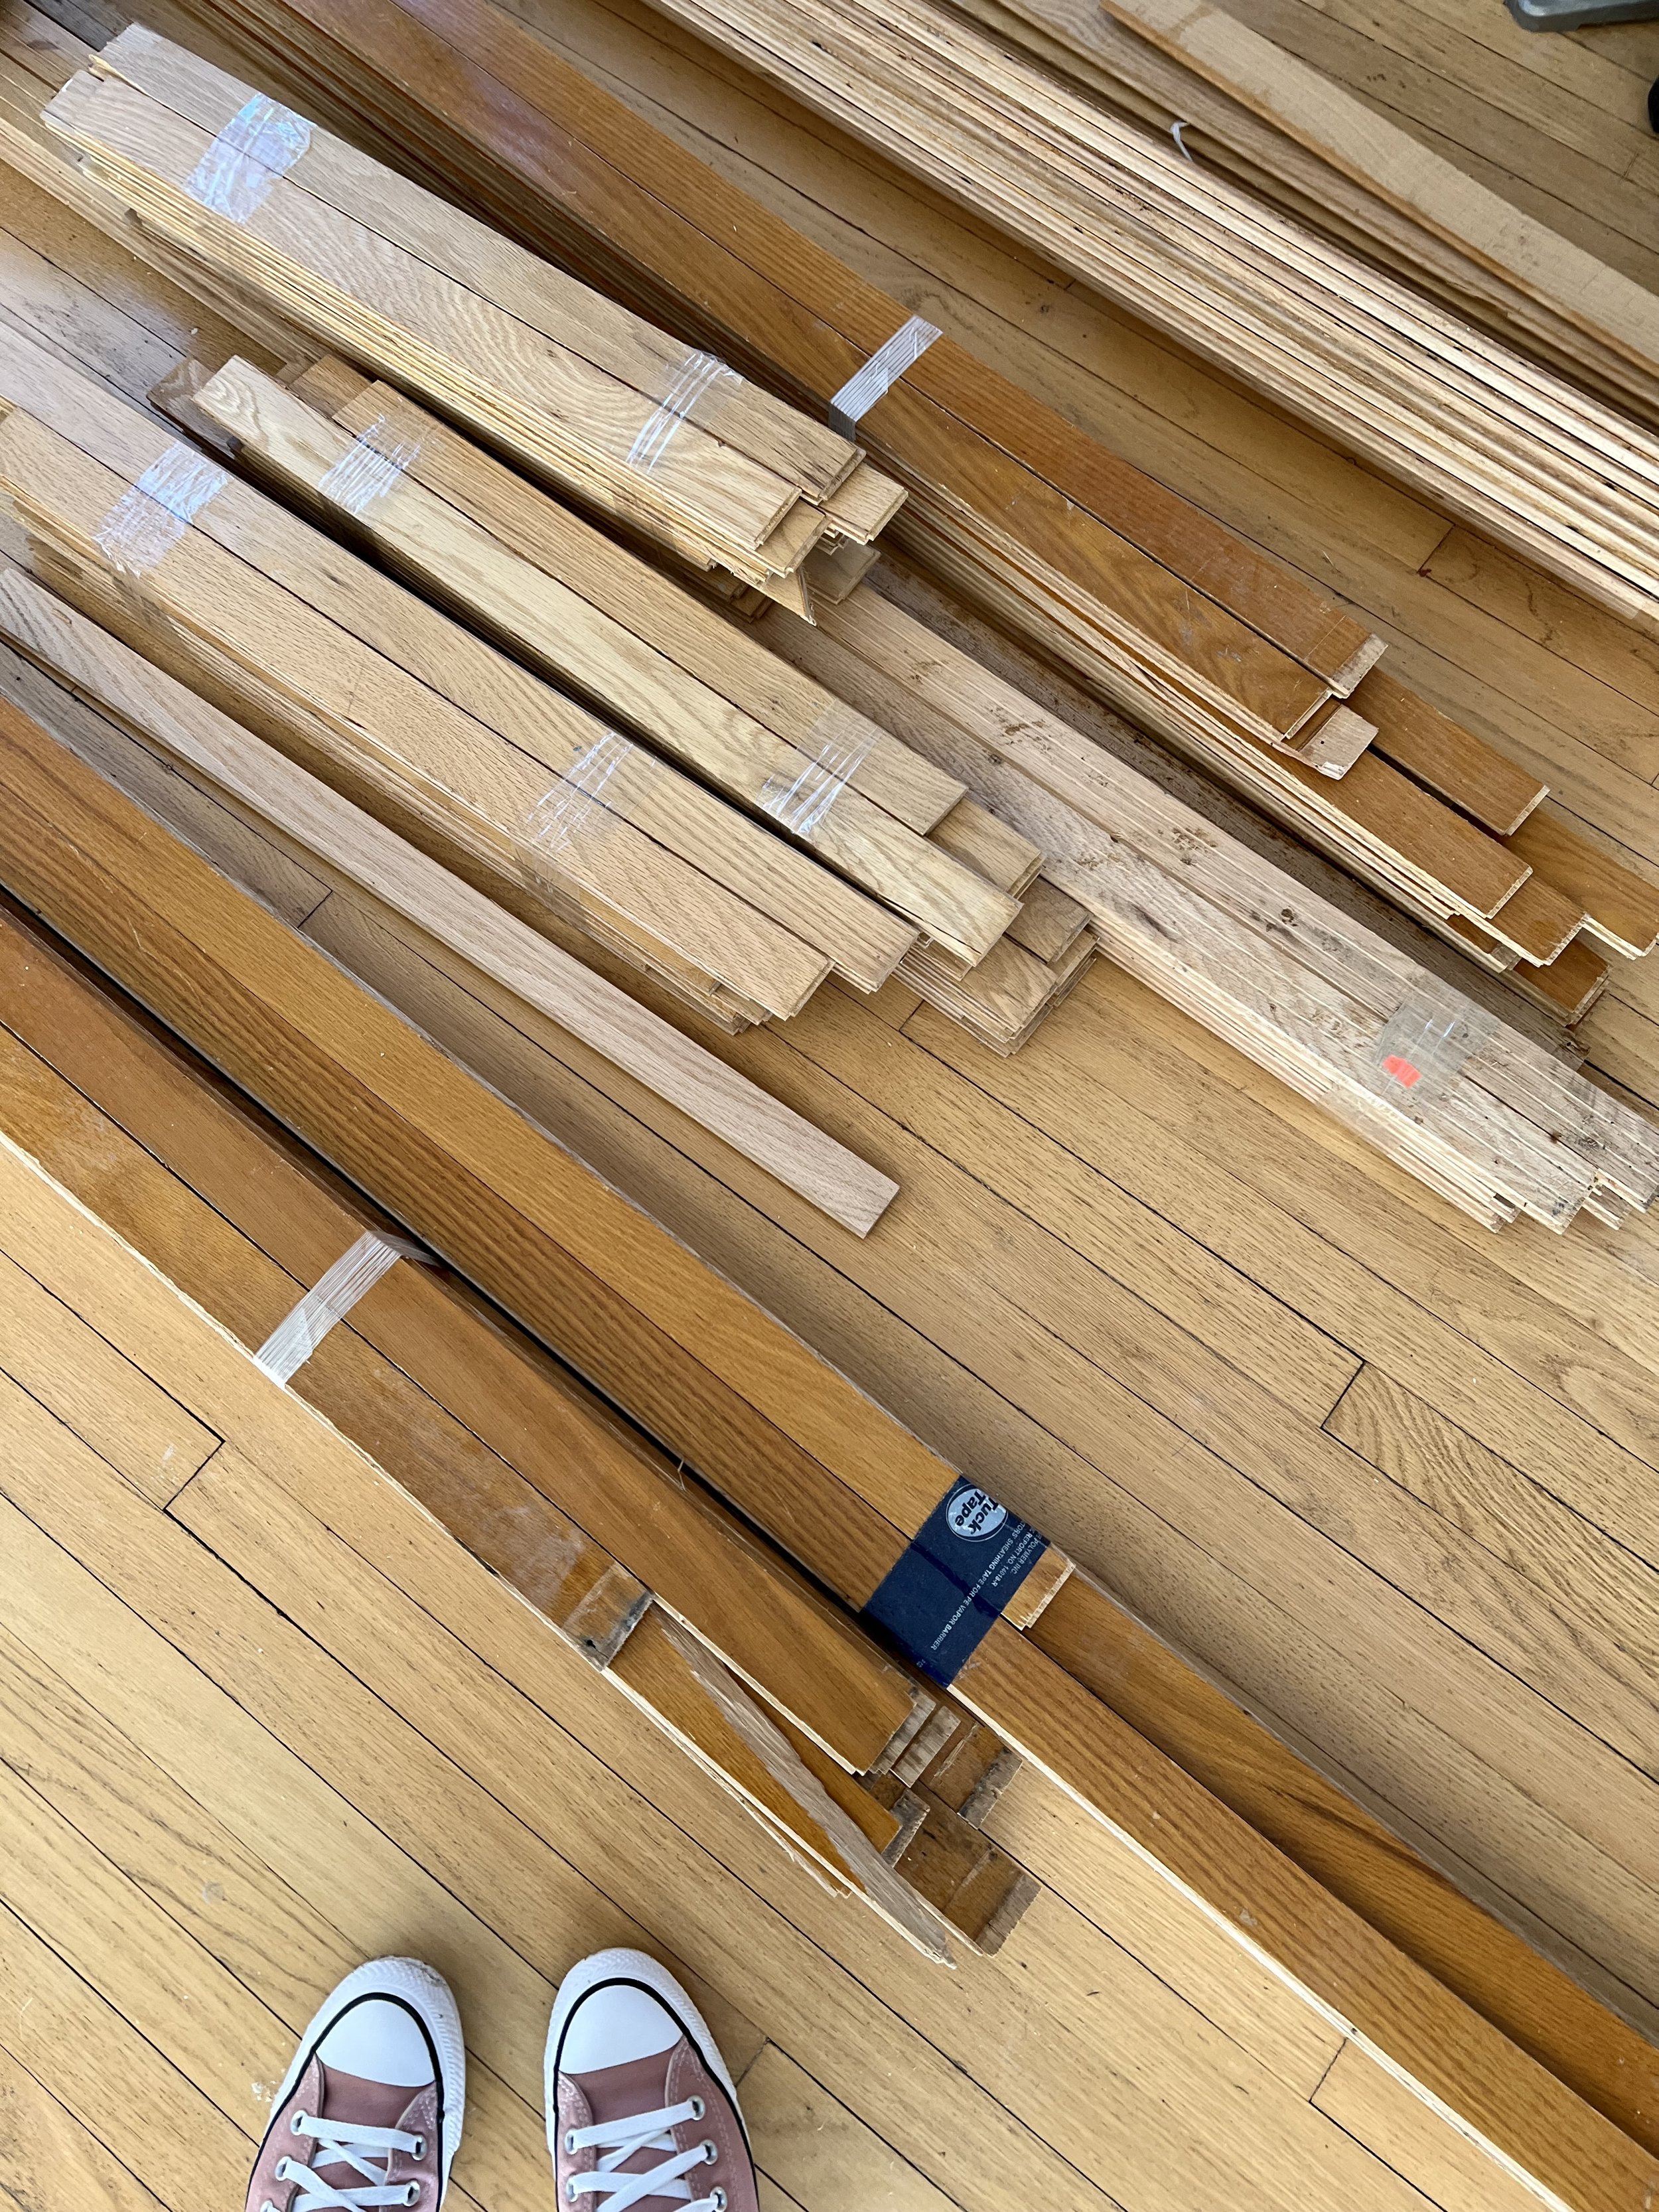
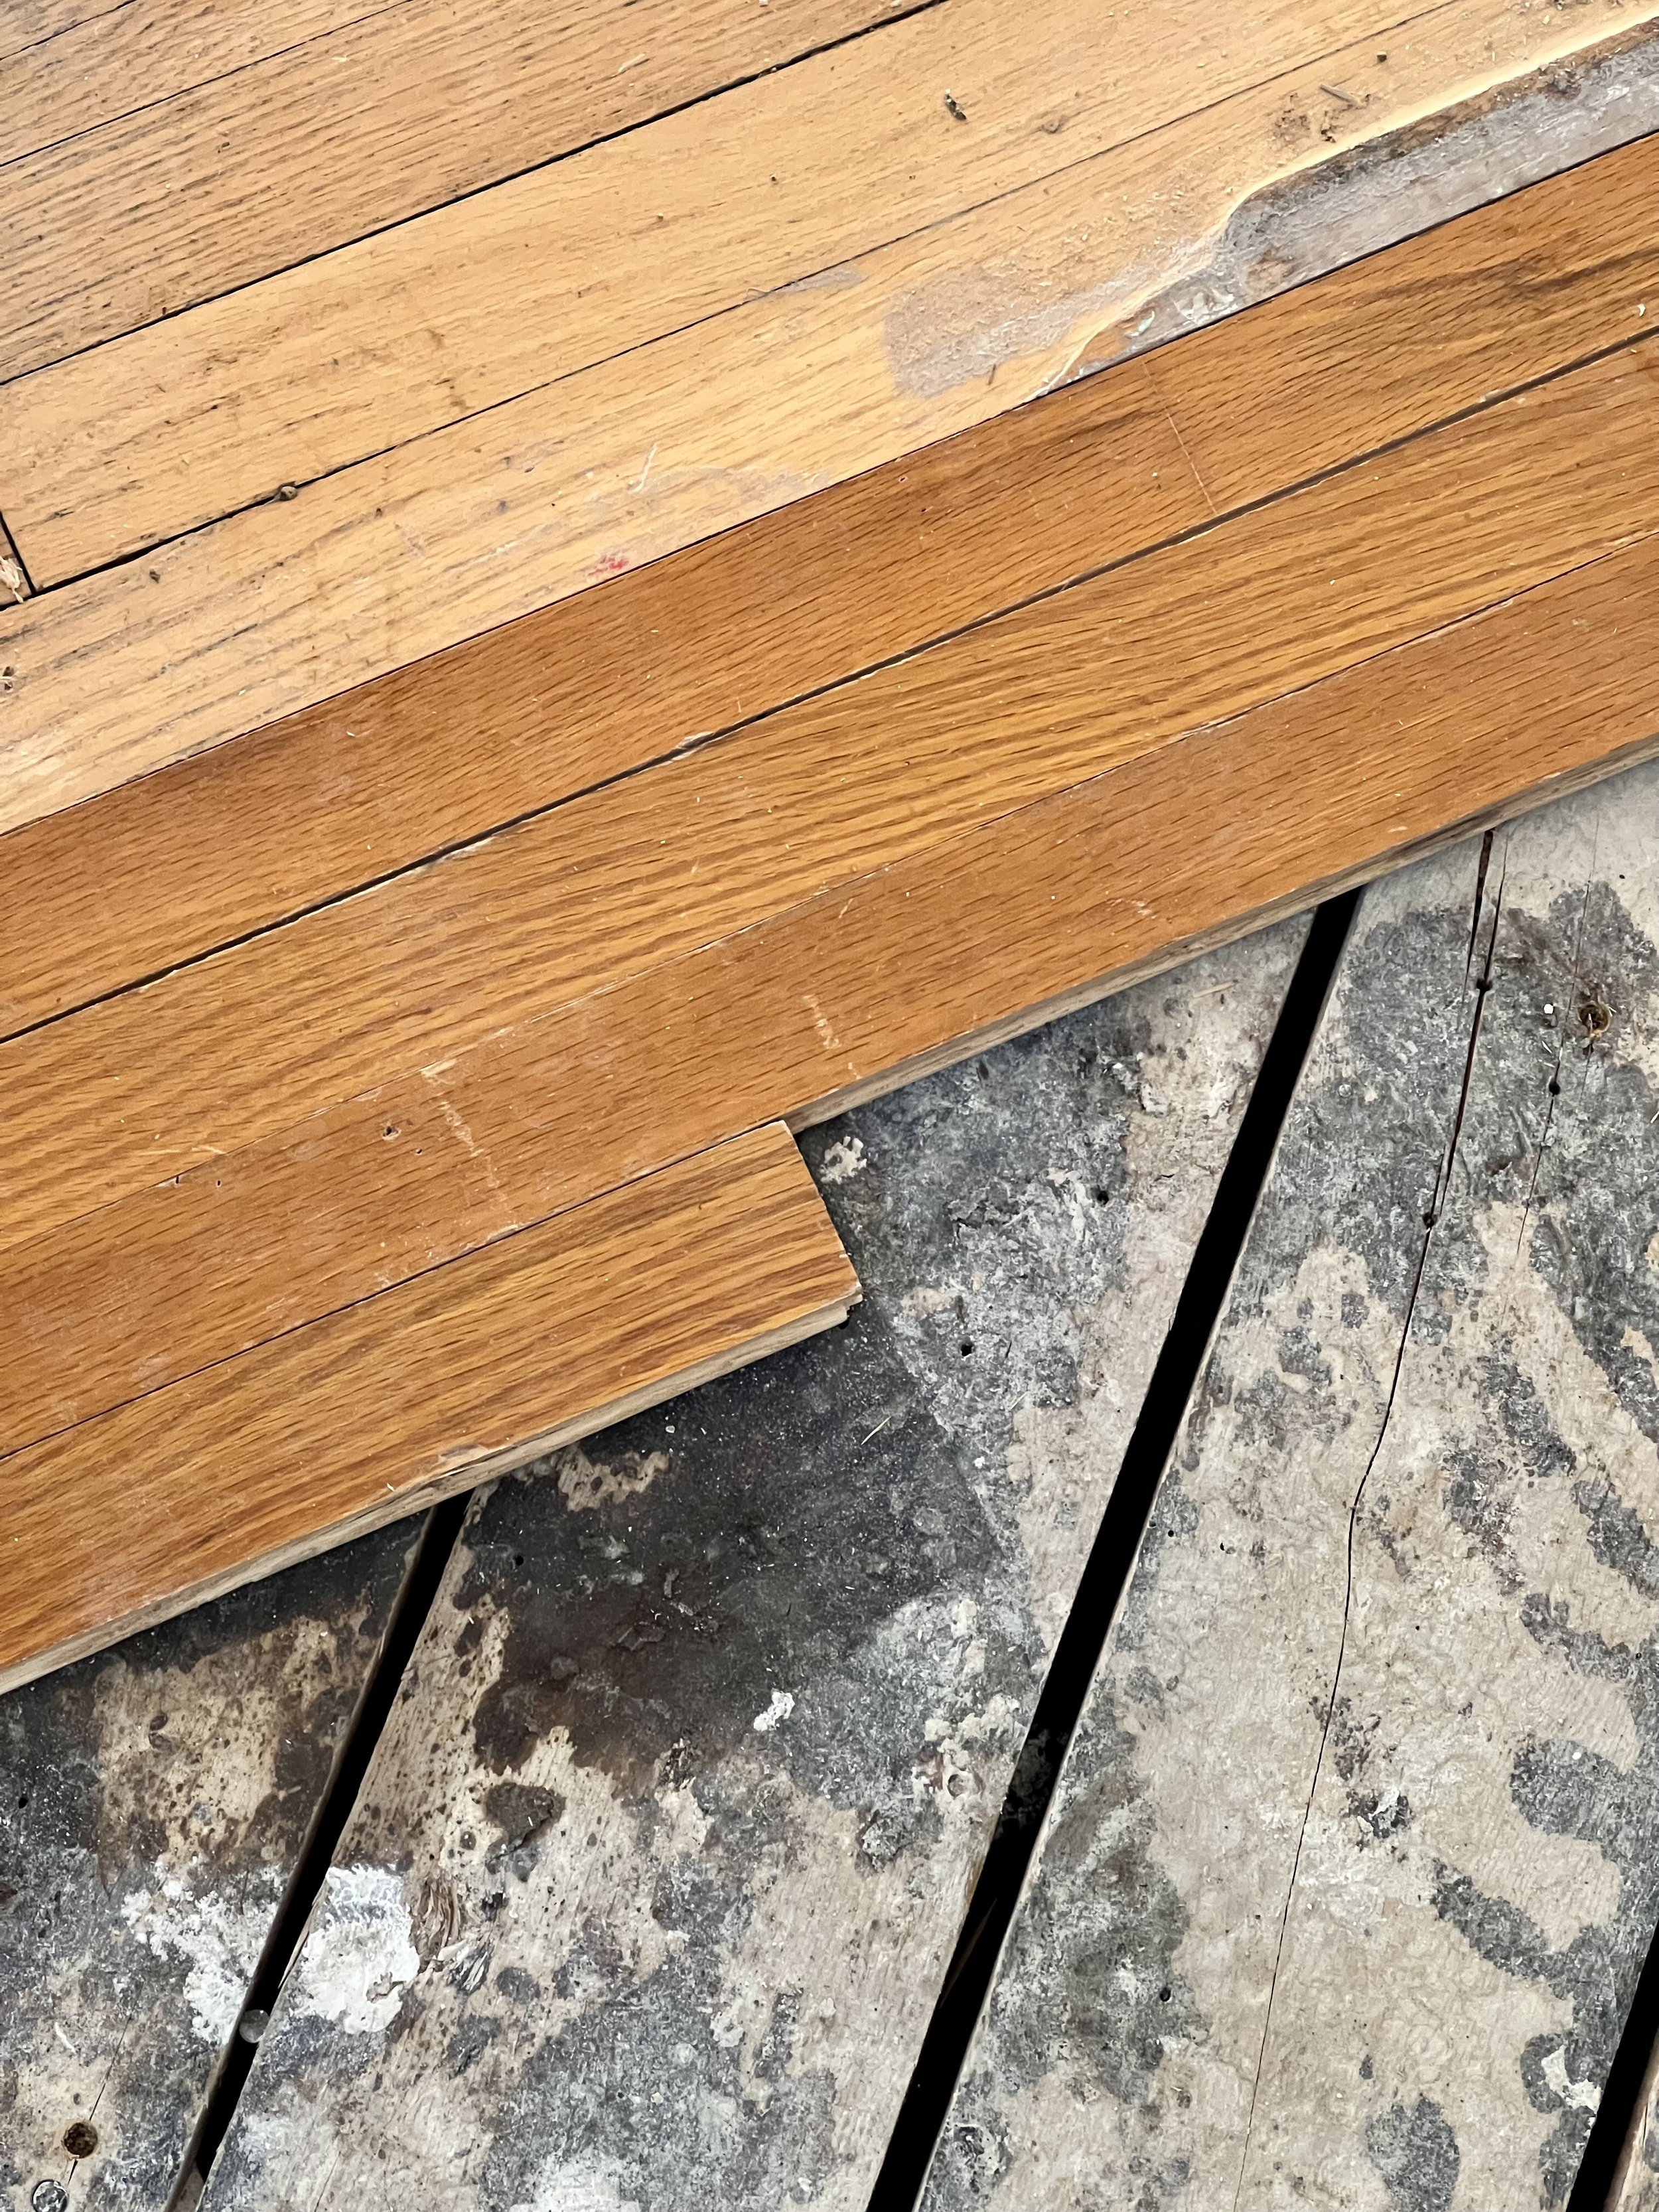
Refinish hardwood floors on main level
Consider moving DR table to LR area in front of garden doors to screened porch
Daily dining needs: seat 3, Hosting needs: seat 6-8, Occasionally host 25
Consider LR furniture plan
No TV in LR
Current LR furniture: sectional & Danish chair
Accommodate temporary office space
Will not live in home during renovation
C currently works from home but will be returning to the office
T works from home – home office on second level
15 year old son
Family has lived in home for 11 years, love the neighbourhood, and plan to stay for the foreseeable future
Budget – $80,000
After the consultation we prepared a design and fee proposal, which was accepted (hooray!), and they joined our waitlist before we started the design process with them.
A couple of months later we took detailed measurements of the space, both in plan view and in elevation. We used that information to draw the as-built plan, which became the foundation for our design concept planning and eventually our demo plan.
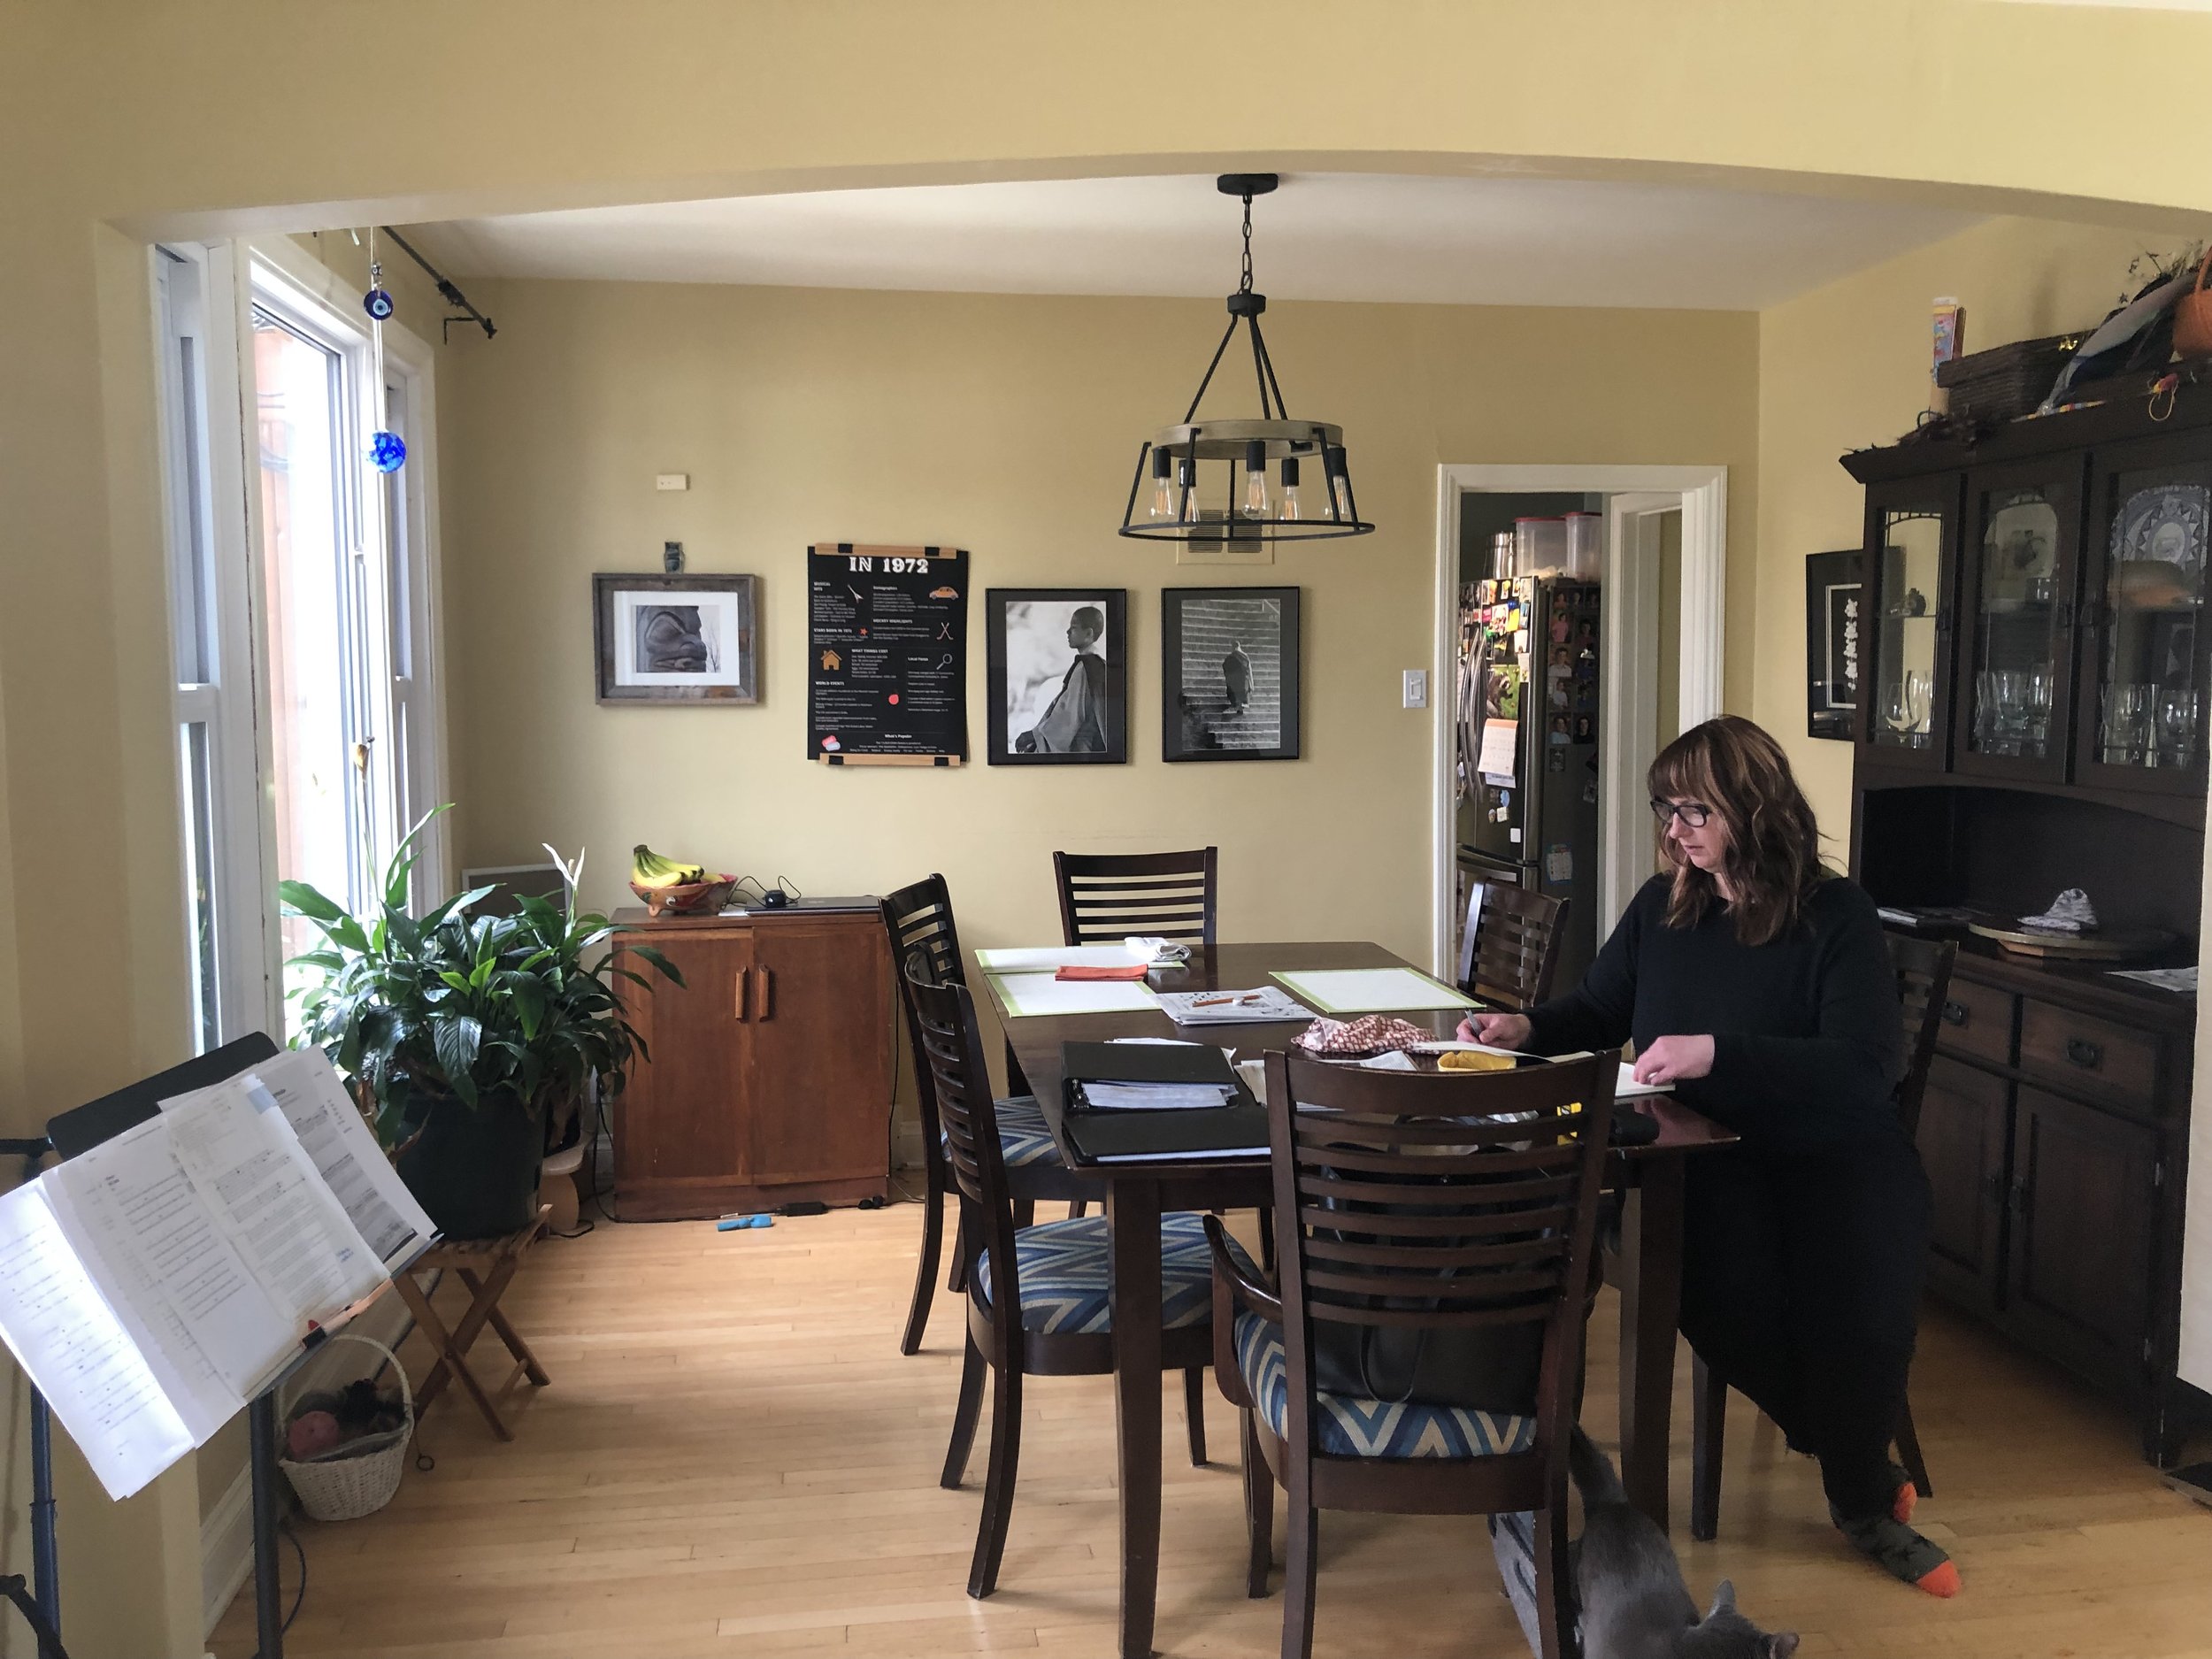
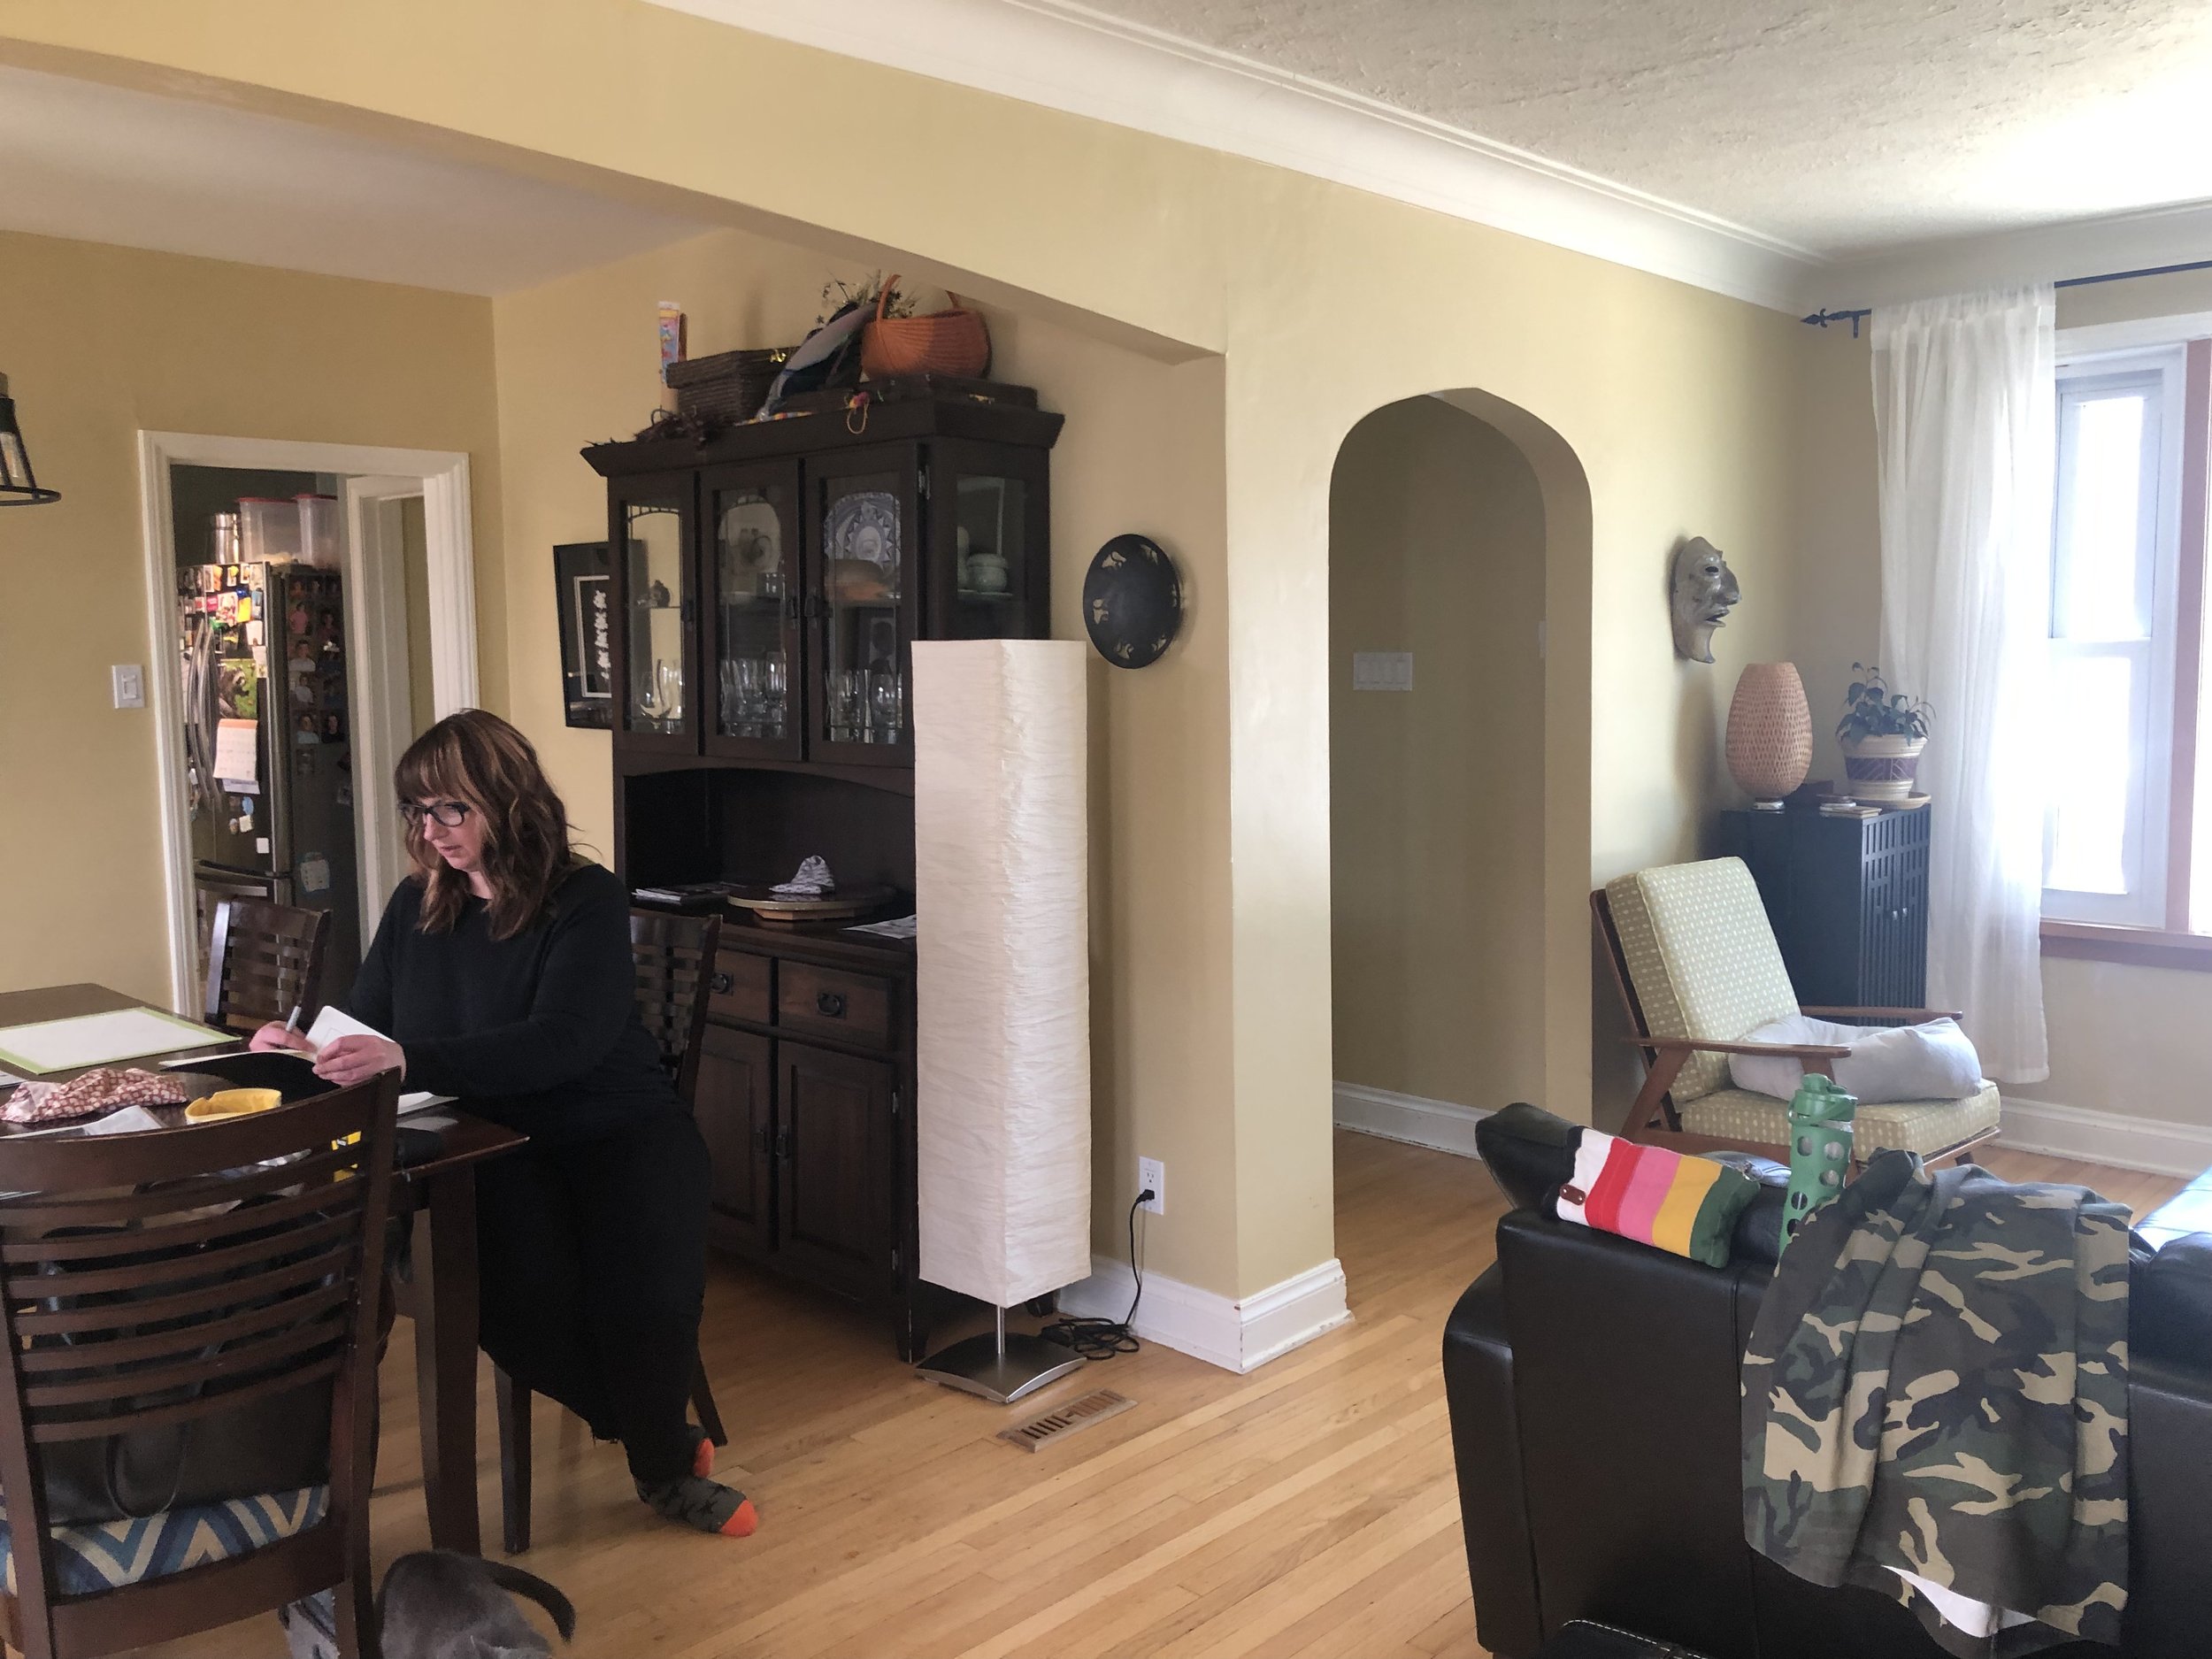
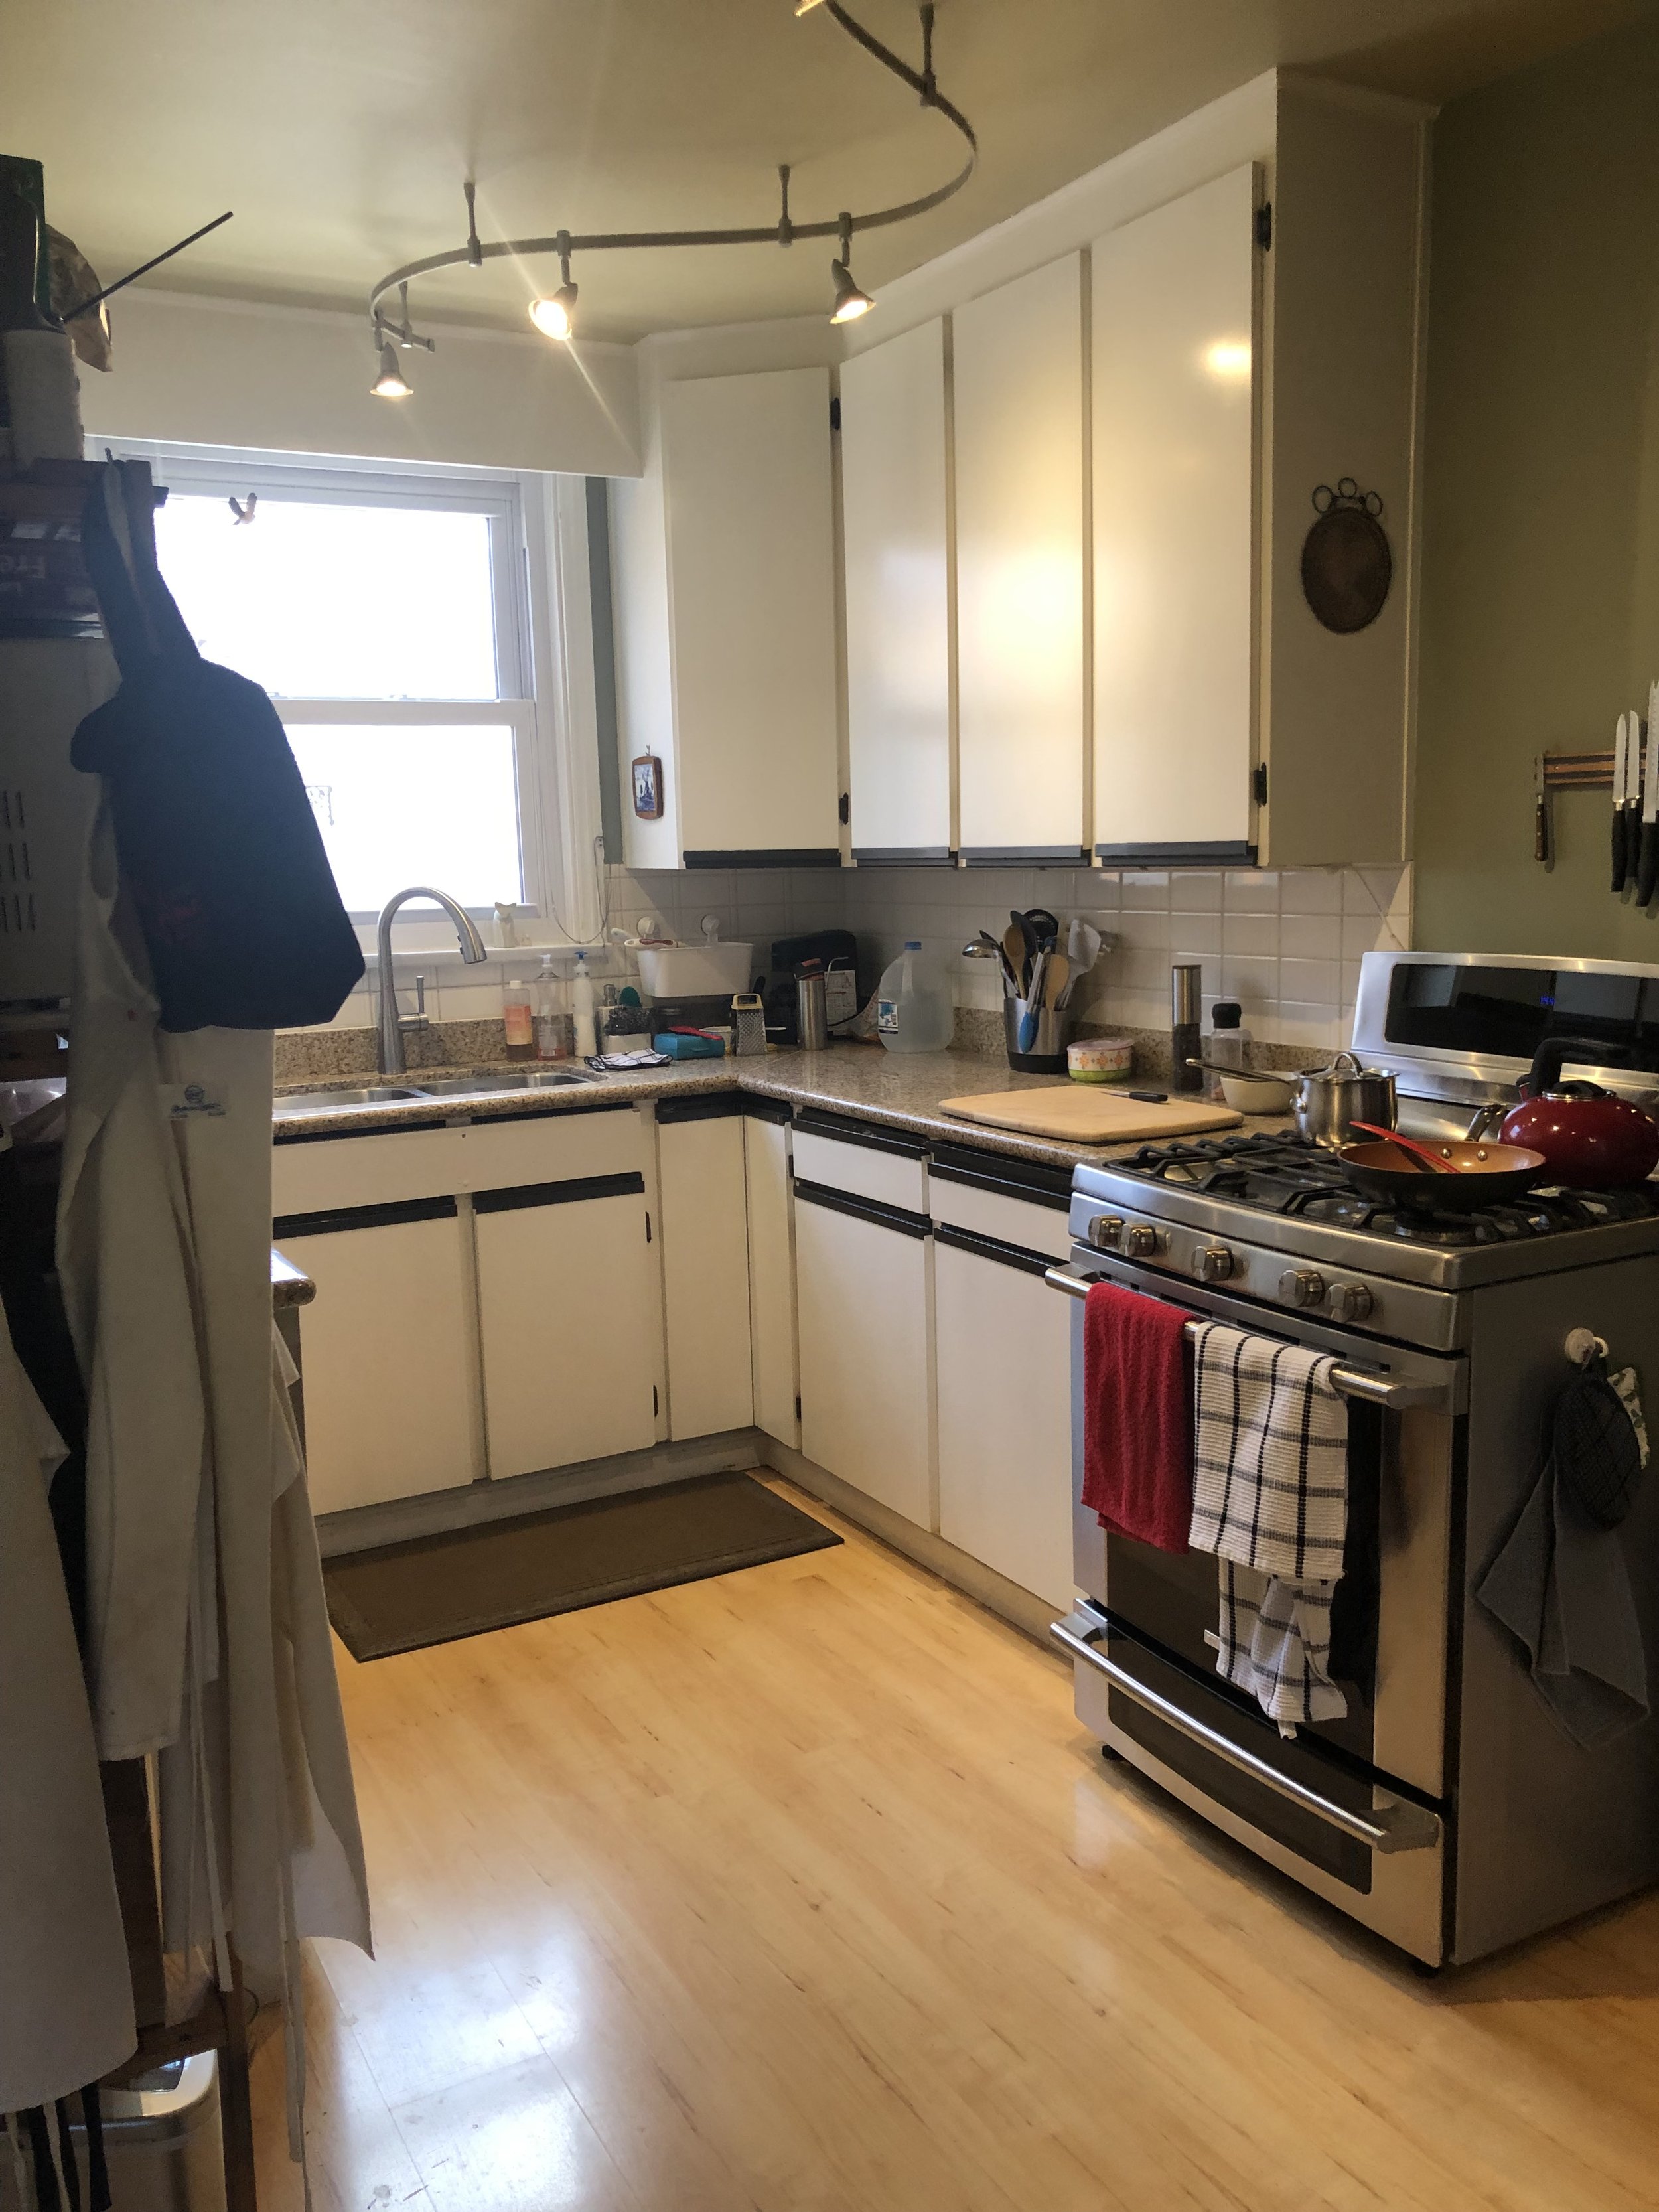
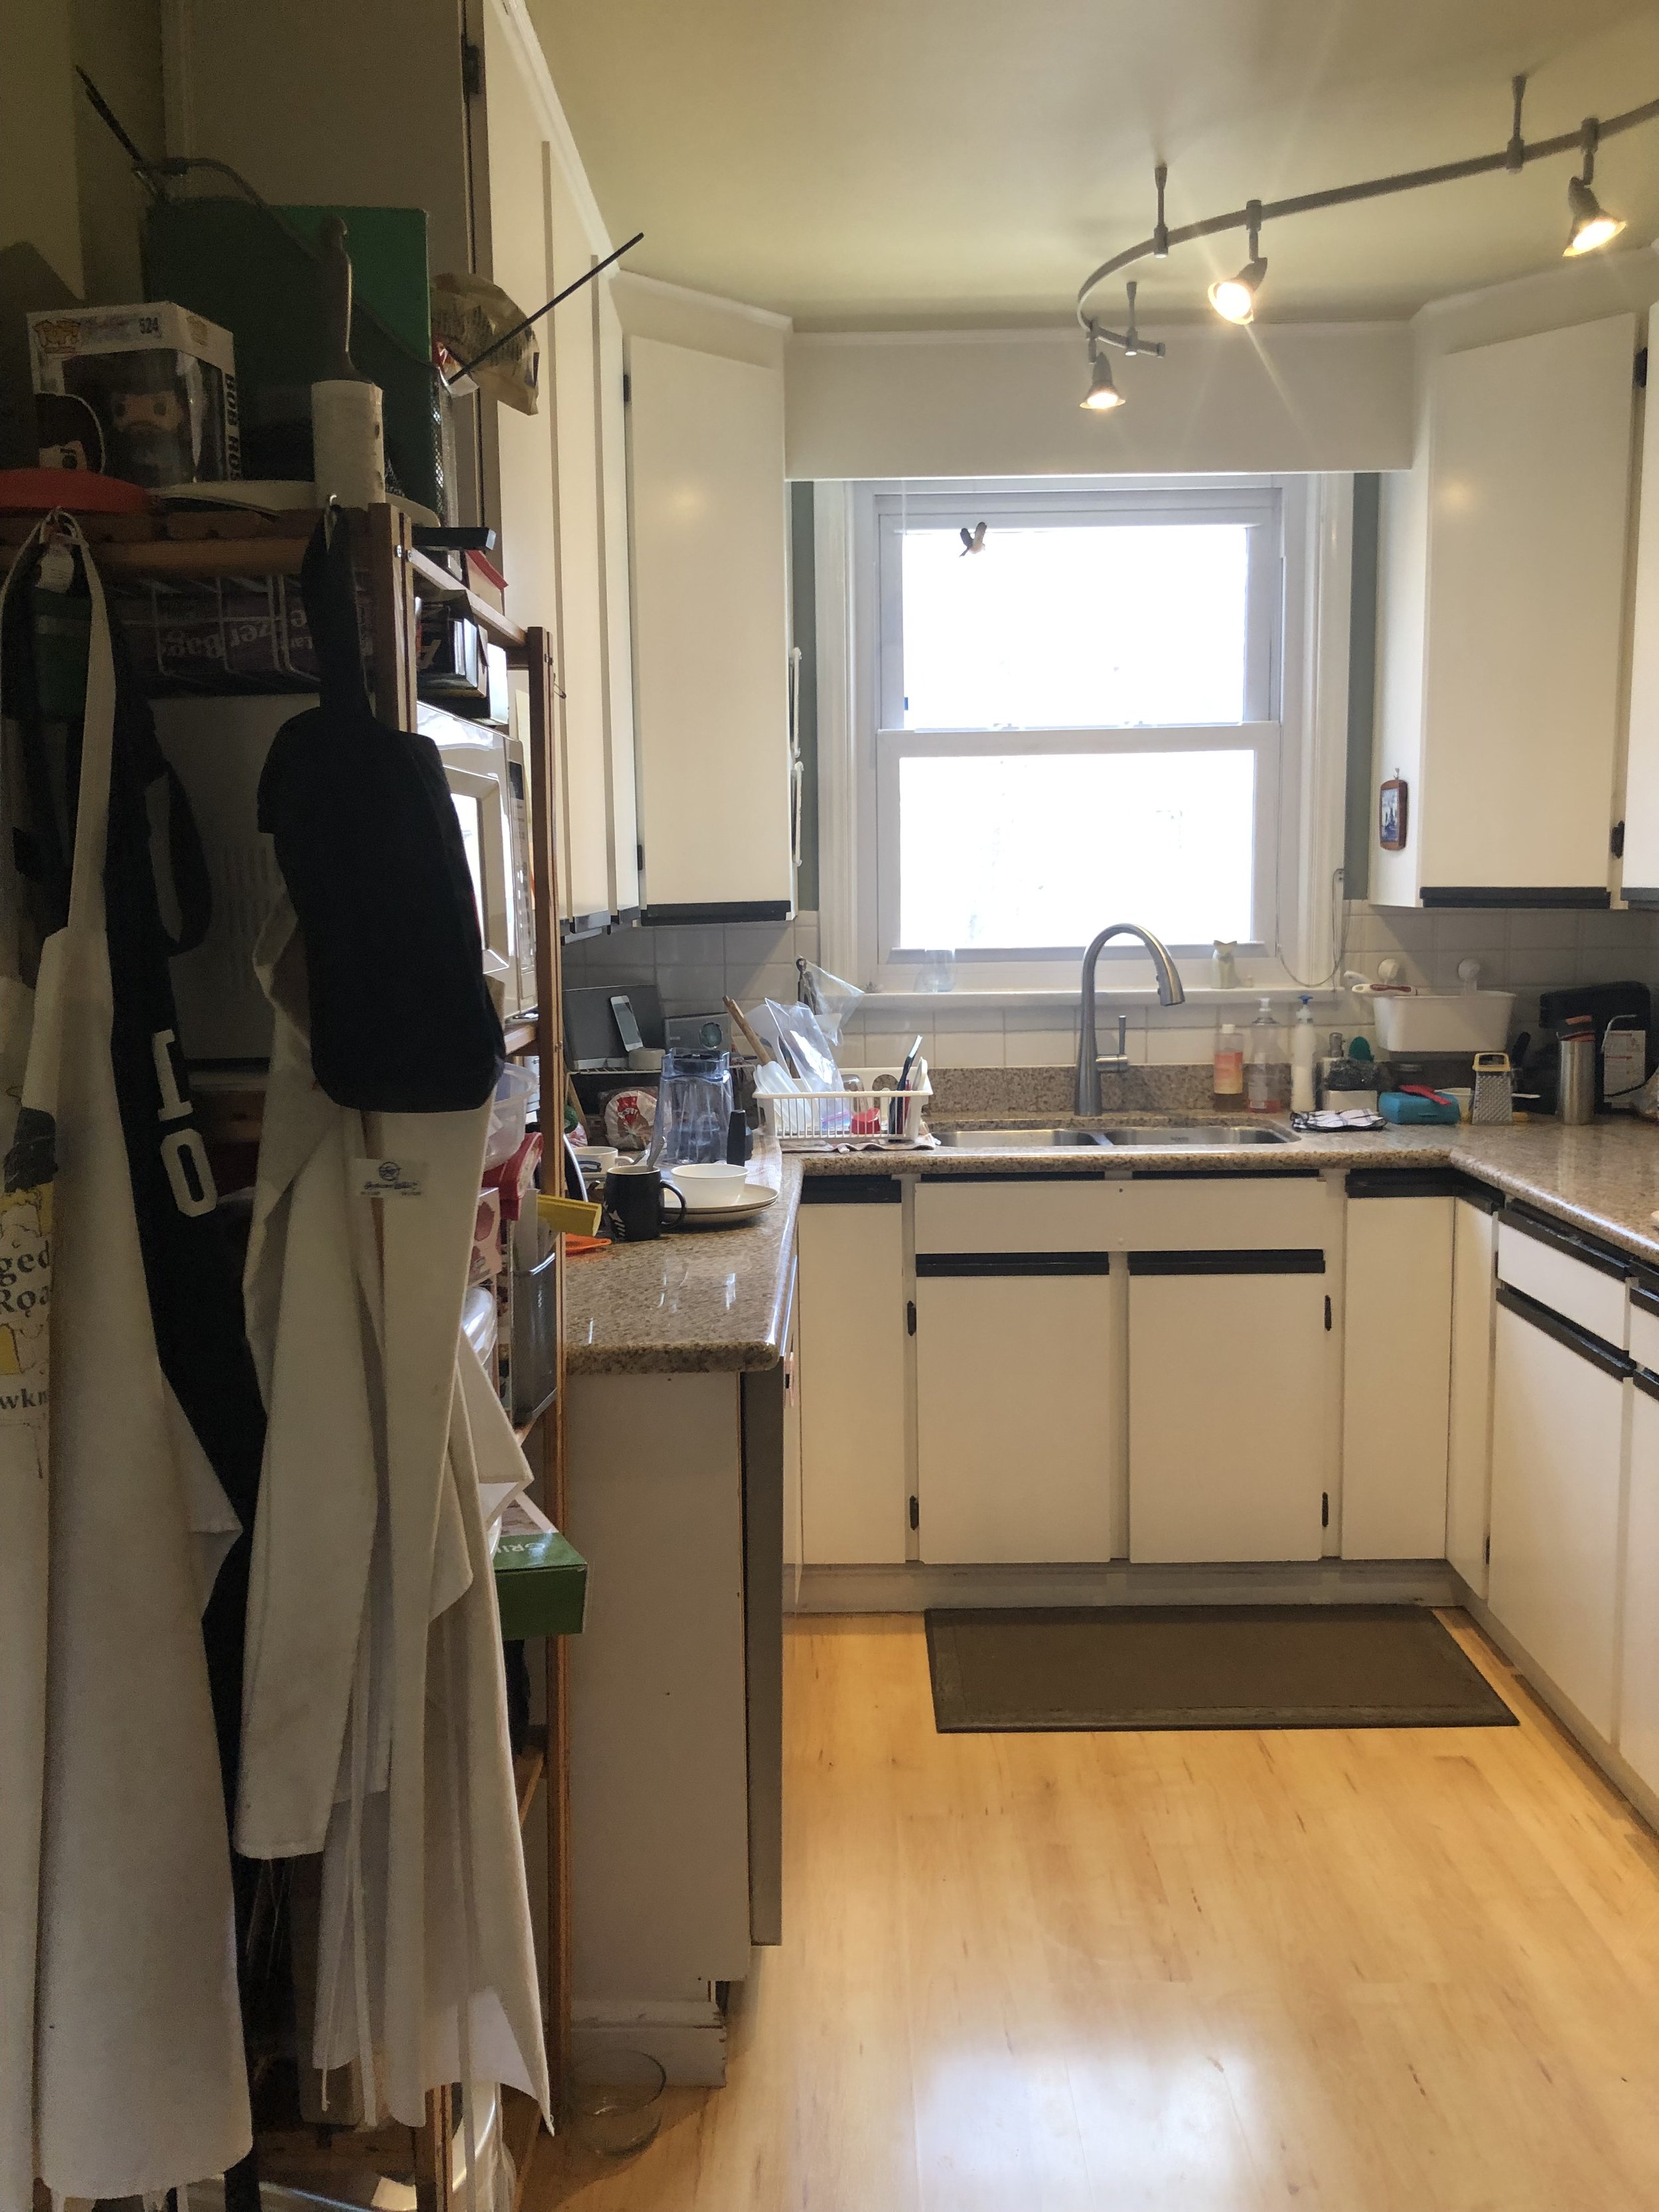
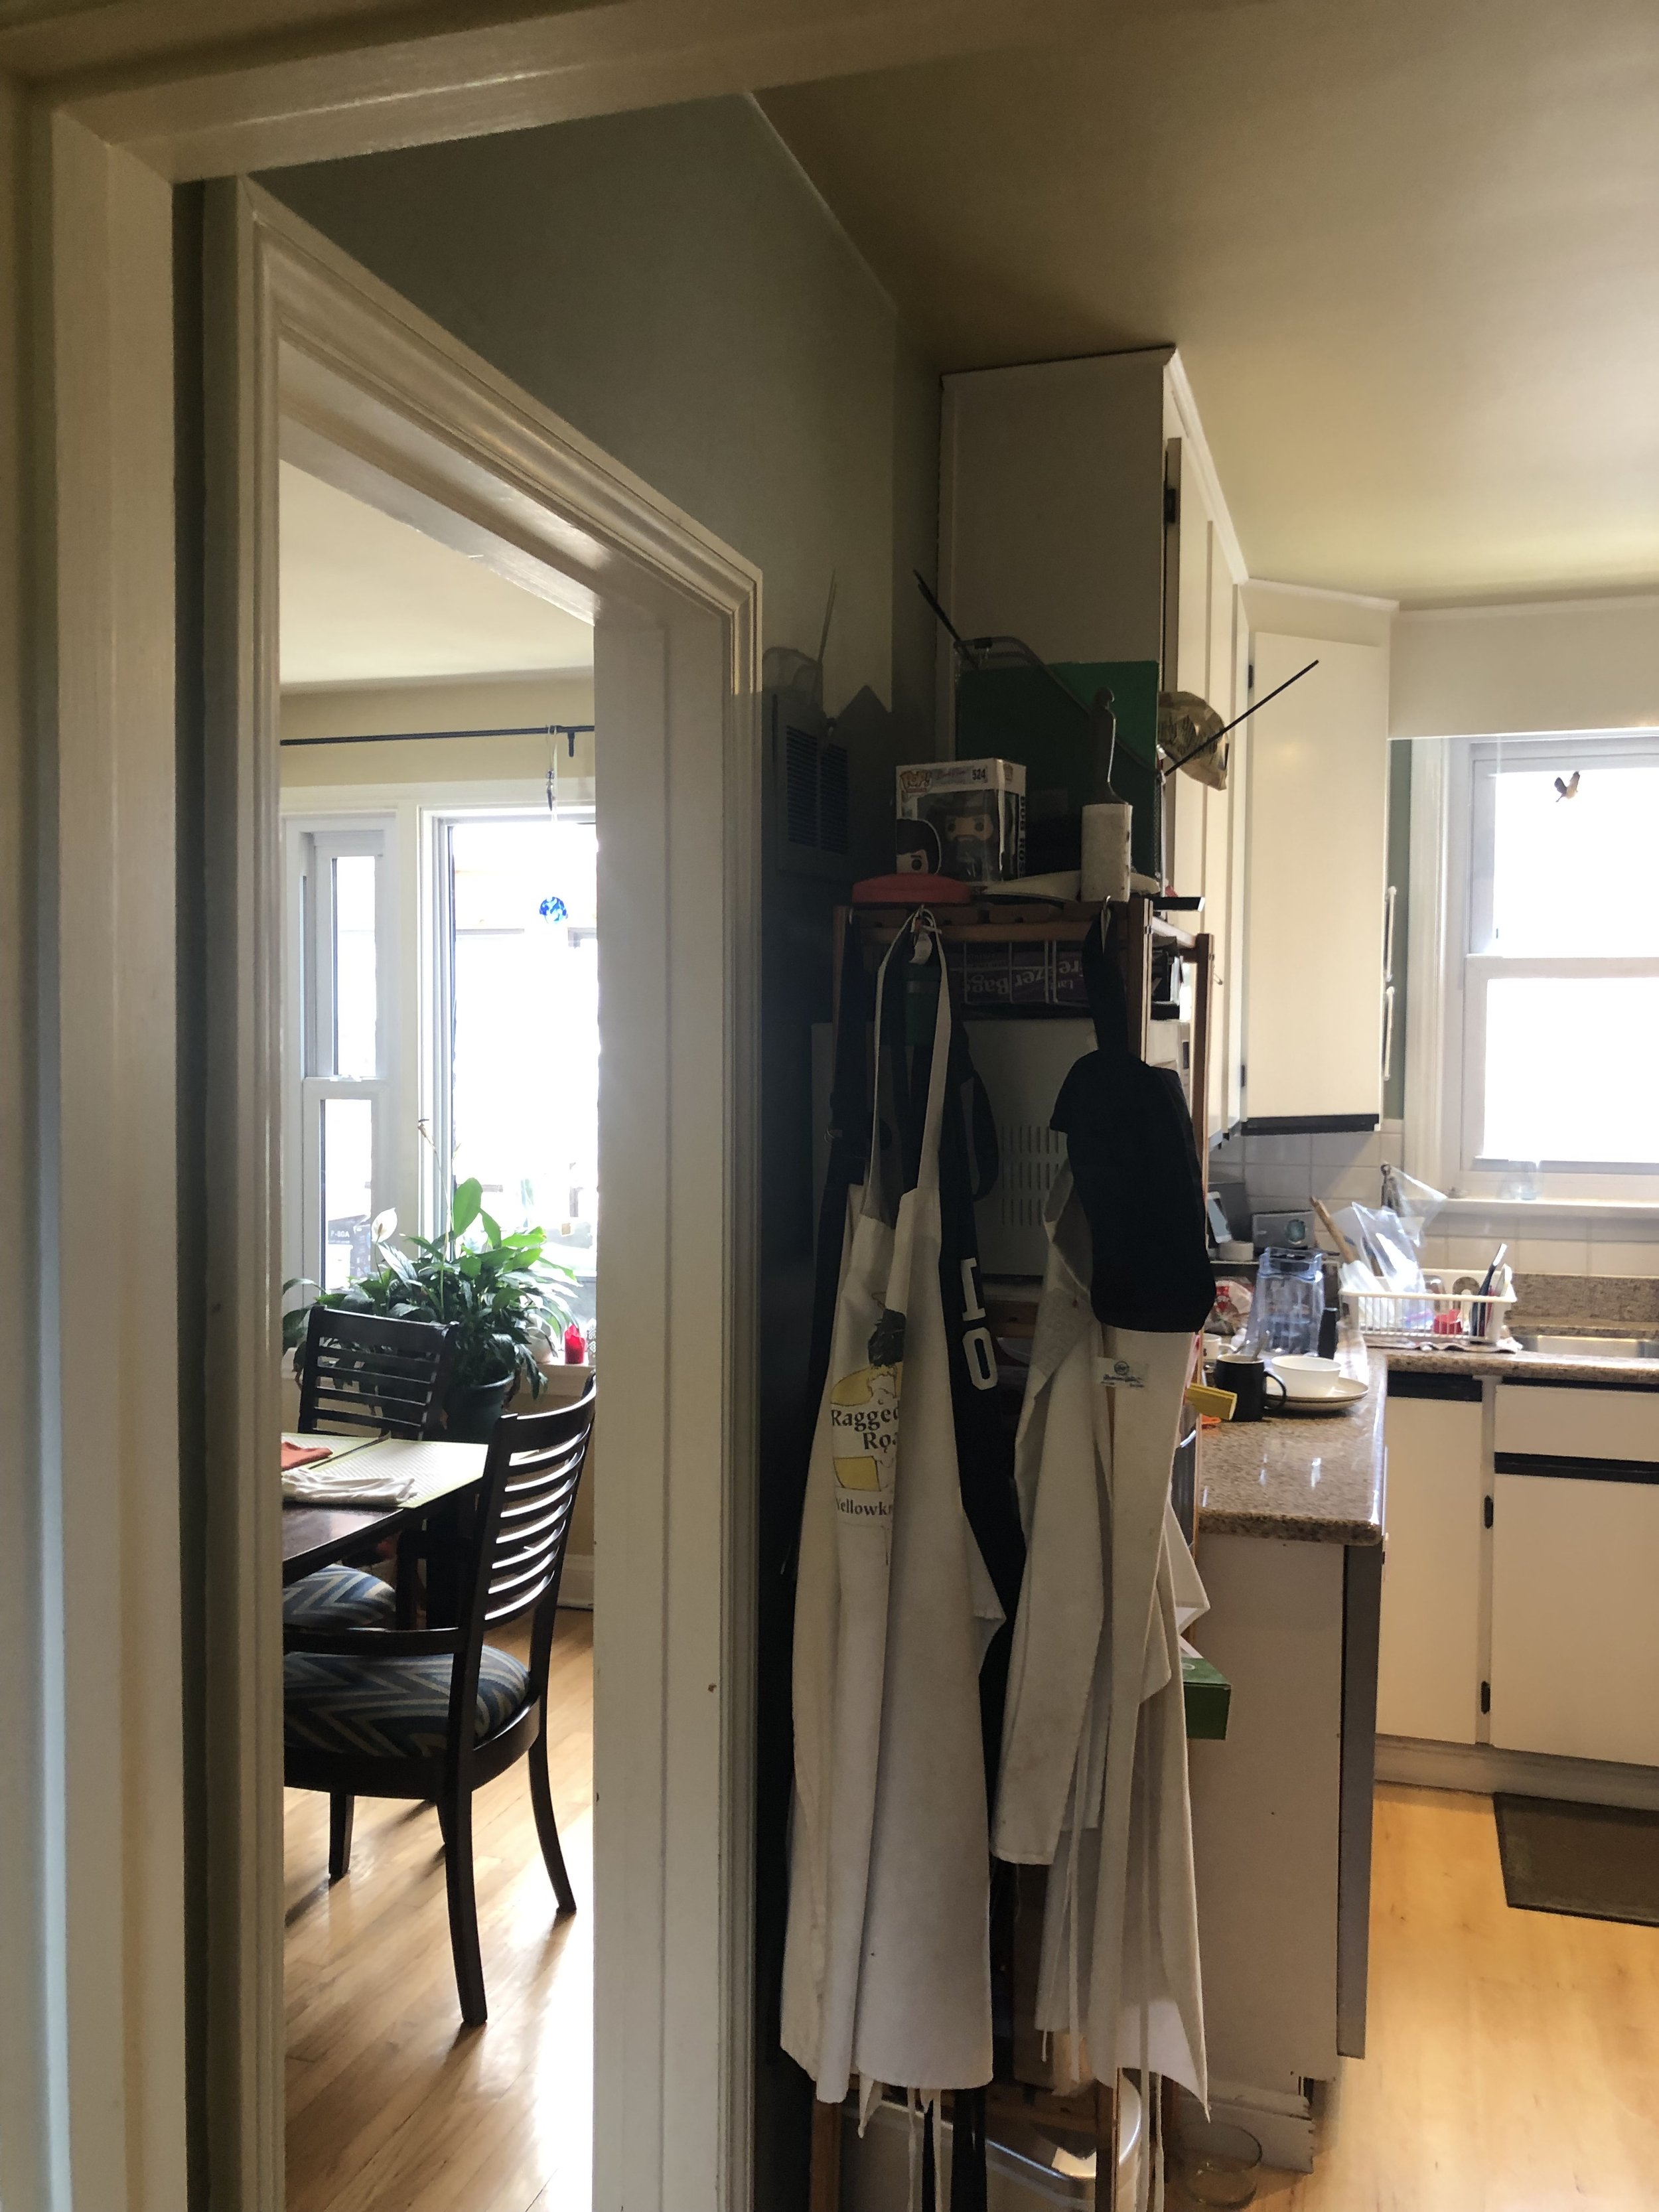
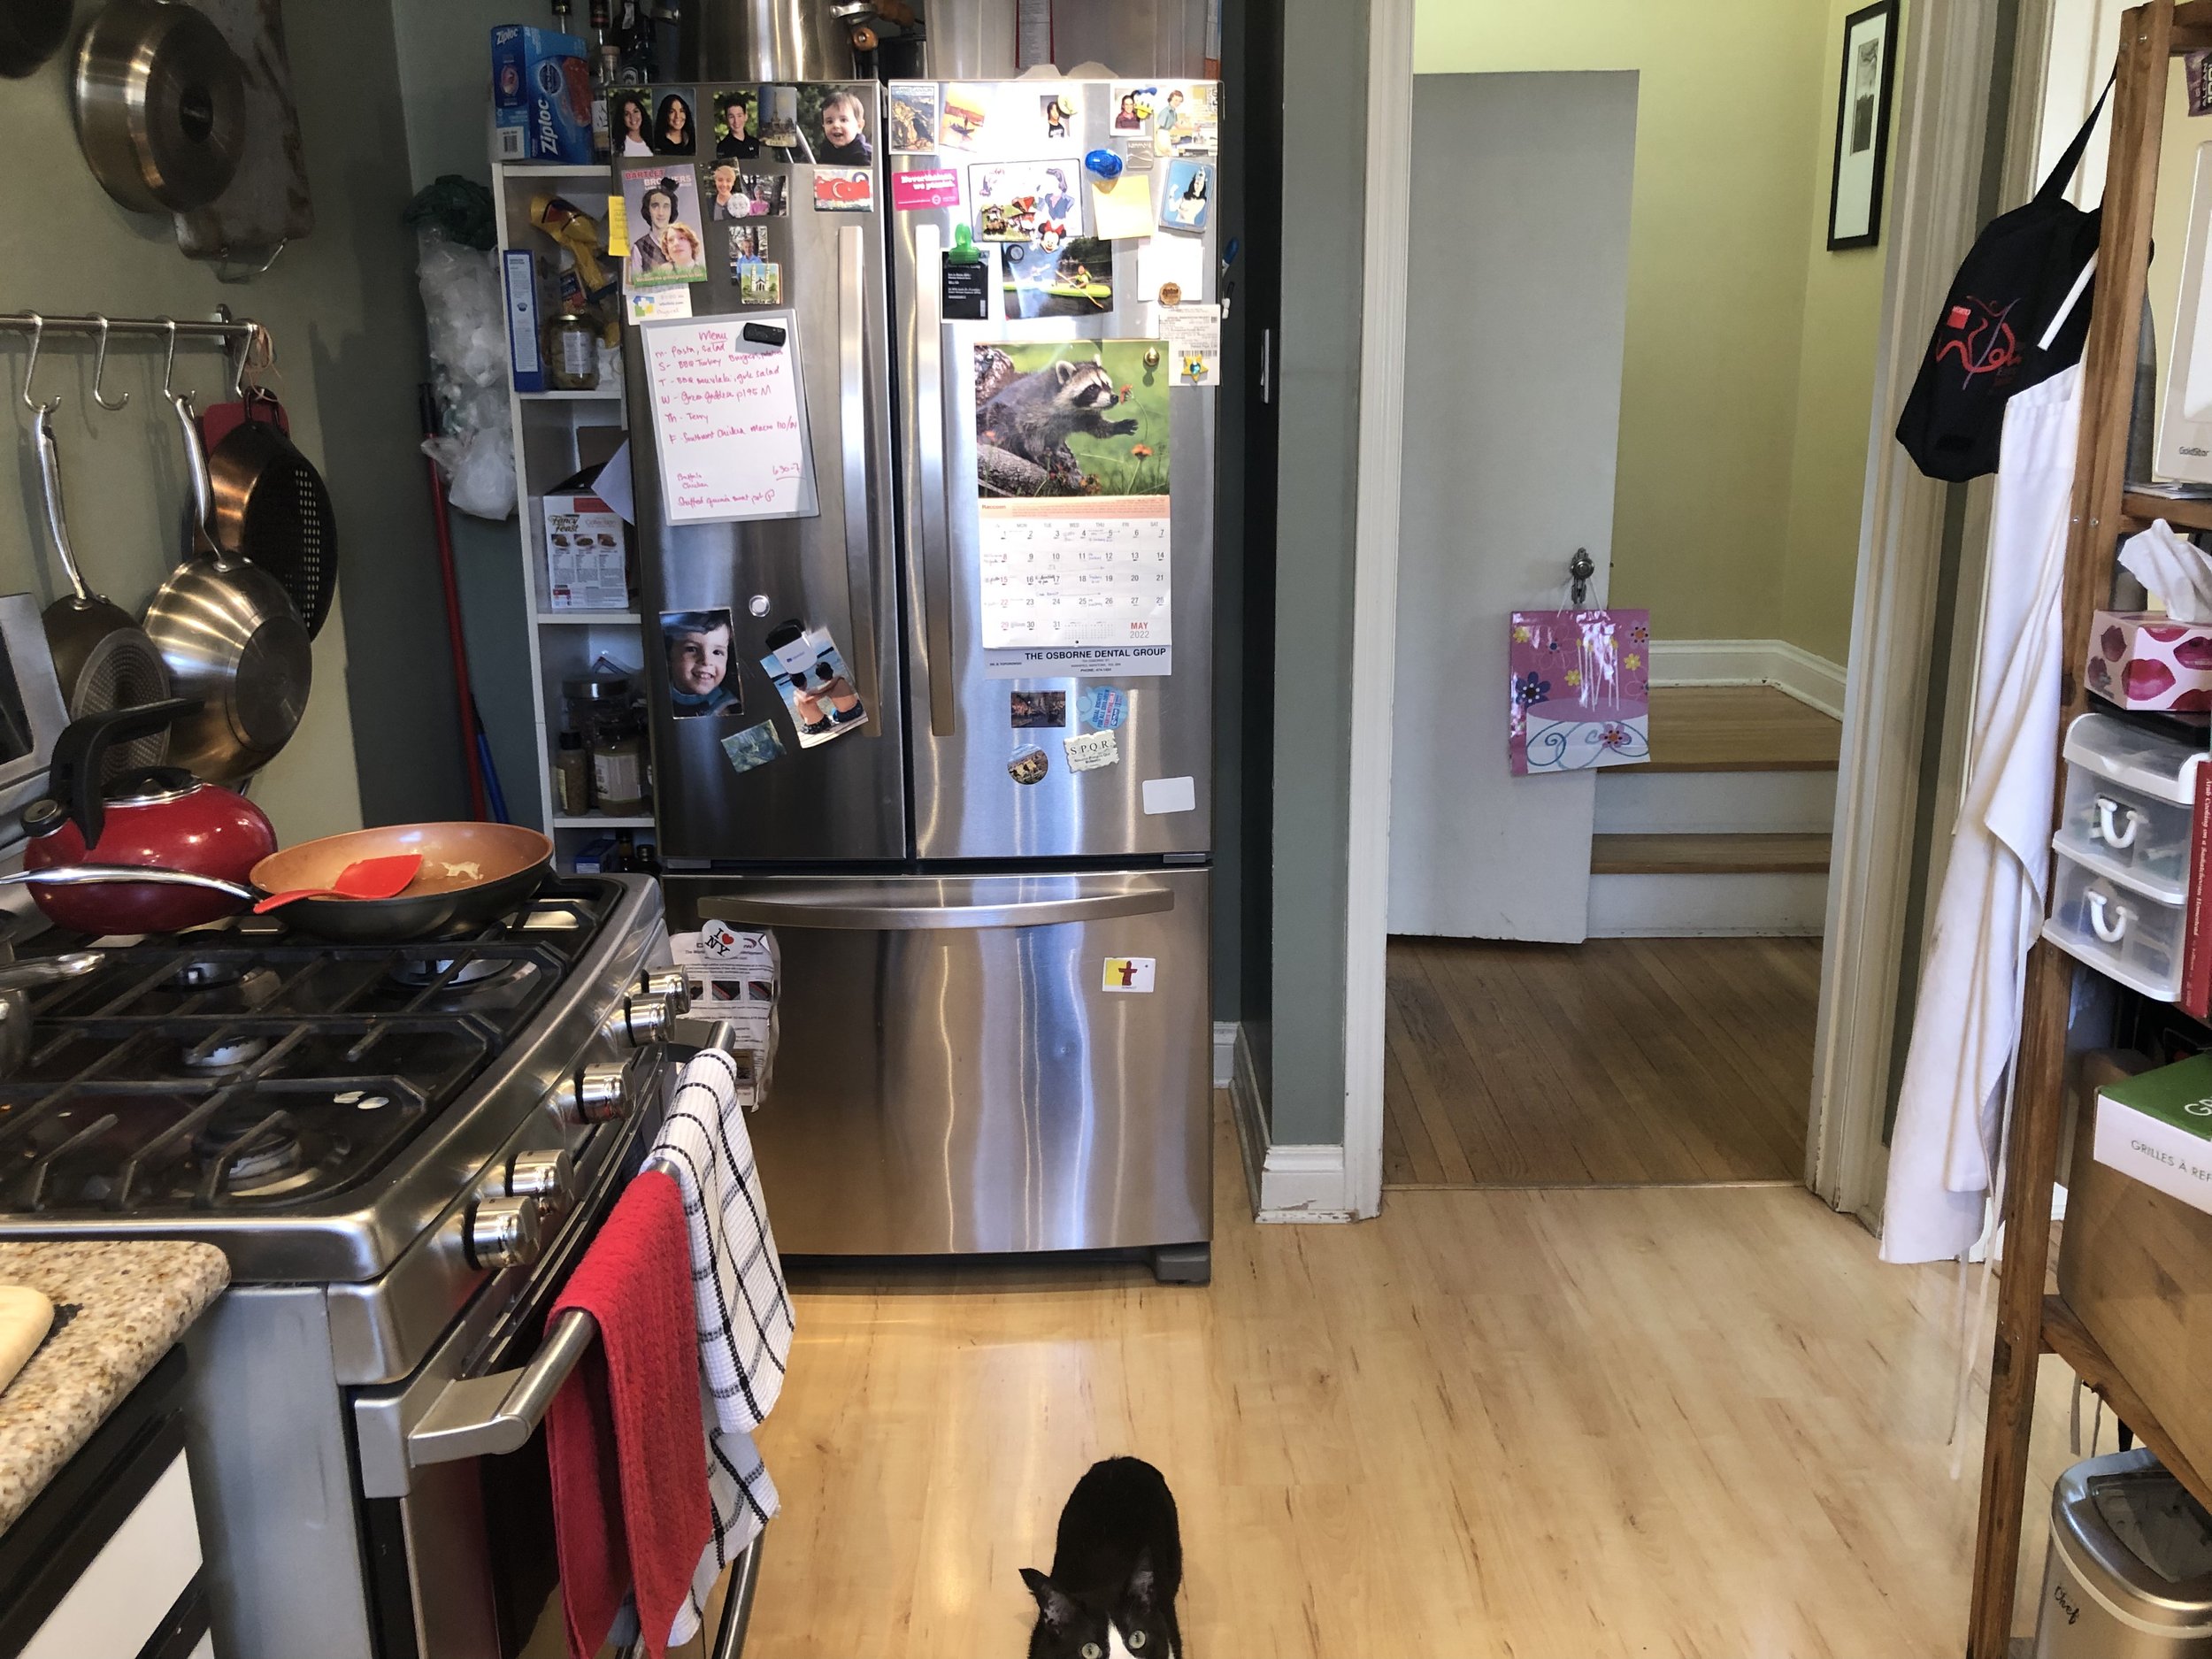
Below you can see some of the sketches and before photos that came from our site measure.


S C H E M A T I C S
From there, three floor plans were proposed. The clients’ collected inspiration images featured wood + white or navy + white, some open shelves, bright + open spaces, and a coffee area. The greatest challenge with this project was figuring out how to maximize storage after removing the wall that had all upper cabinets on it.
Option 1 was an L-shaped kitchen with a banquette, no island, a wall of deep pantries, and a drywall opening shape that mirrored the others on the main floor. In this option some of the existing kitchen space was flipped to the side entry for extra coat storage. However, it meant moving 2 appliances to the dining room wall which C+T didn’t think would work for their family.


Option 2 featured a back wall with fridge + stove, a peninsula, and a wall of shallow pantries. This option seemed to peak their interest the most as it met their goal of feeling open and bright, having various storage options, and fostering connectivity between the kitchen and rest of the main living space.


Option 3 featured deep pantry storage with a wall oven and fridge on the back wall, plus a large island. A chef’s dream for sure but in reality would have been too far above their budget to consider. While we want to respect our client’s budgets, sometimes we need to push the boundaries and show you what’s possible in your home. Some clients fall in love with the big dream kitchen and find the resources to make it happen, others decide it’s more than they need and choose the option that will help them stay closer to their budget goal.


T H E F I N A L L A Y O U T
Ultimately, C+ T chose option #2 and we moved from concepts to the design development phase. As we studied the floor plan and thought about how our clients would move around the kitchen we adjusted the floor plan slightly. We moved the peninsula to the window wall which created better navigation throughout the space by opening the pathways from the side door. The side entrance is the most used and this small change to the cabinet layout would allow family members to easily unload groceries from the car, come up from the basement rec room for snacks, and move freely from the coffee nook to the dining table without having to pass through the kitchen work zone. Instead of flipping the small alcove to the side entrance we kept the space in the kitchen and created a coffee nook in the corner. This would save on renovation costs but also provides the perfect corner to hide away small appliances and keep them out of the main working areas until needed.

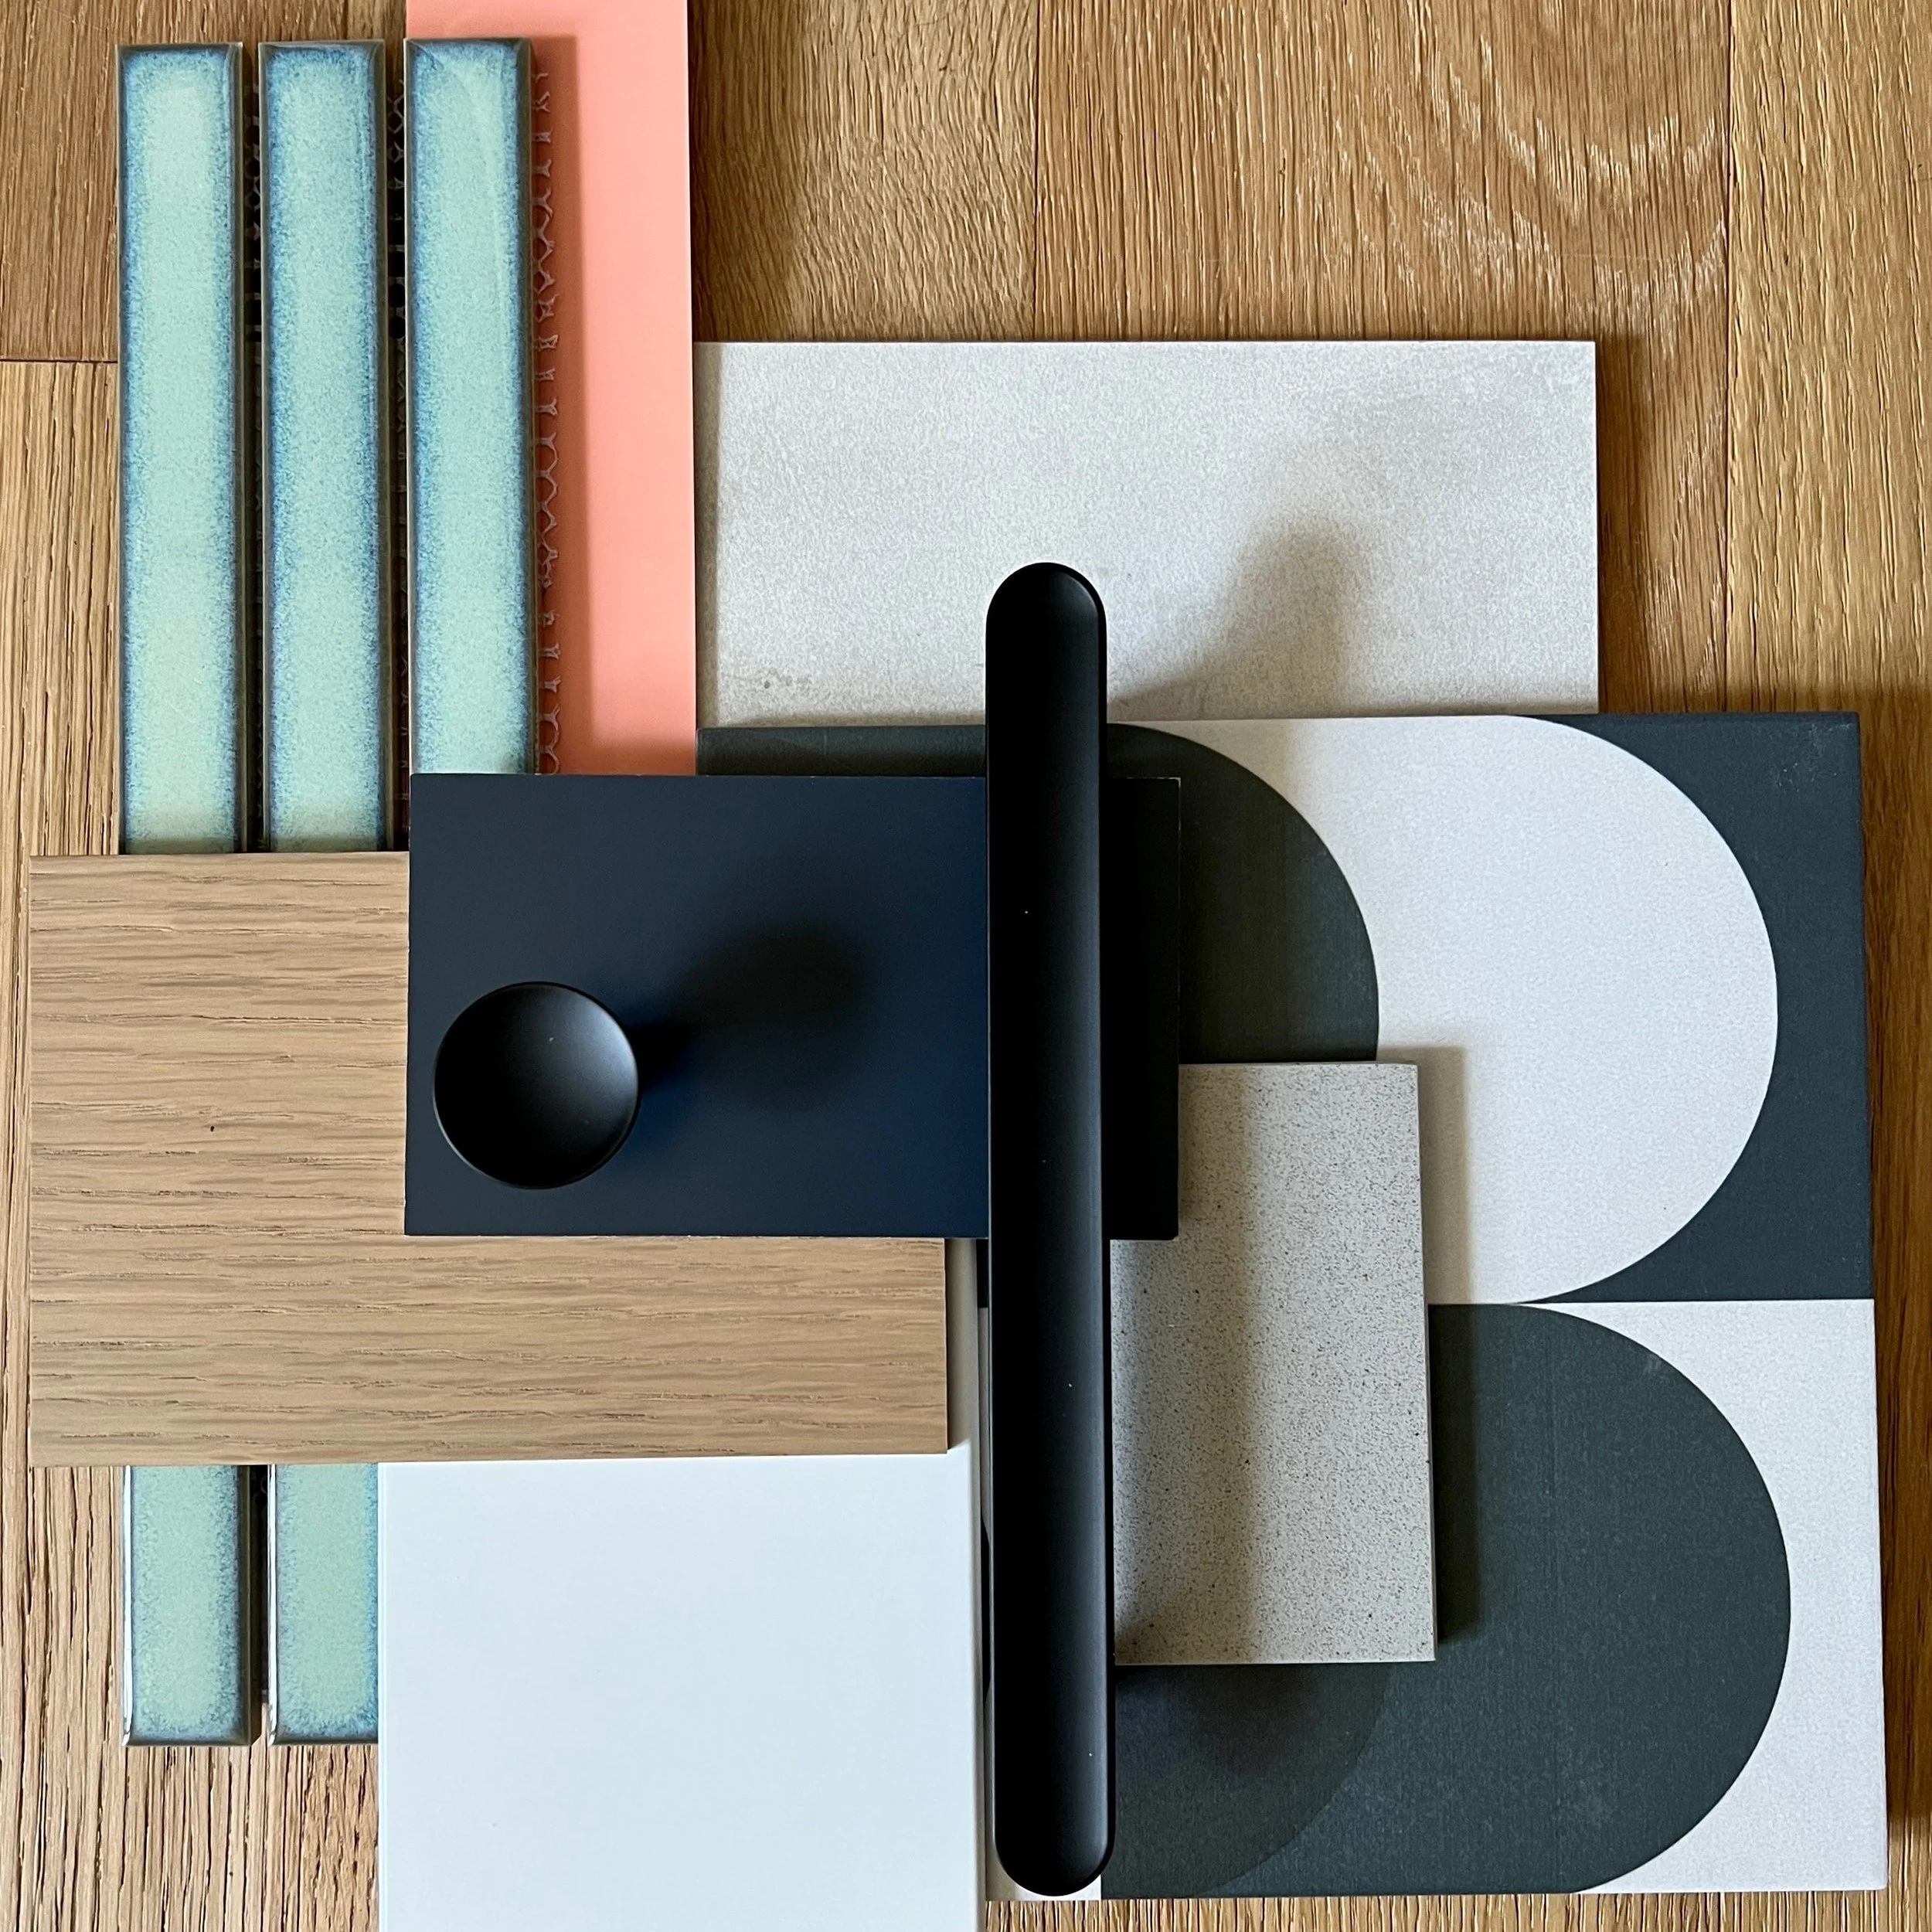
M A T E R I A L S
Initially we presented a brighter colour palette including a bright wall colour, bold tile on the back of the peninsula, turquoise tile for the backsplash, and three colours for the millwork – blue, white + light wood. Perhaps a bit too bold for our clients but what we felt was appropriate for them as an outgoing, casual, and fun family of 3.


T R A D E D A Y
After the updated floor plan was accepted, and knowing that revisions to our material choices might be required, we held a Trade Day. This is when we invite all of our trades to site to view, measure, look at the preliminary drawings, and ask questions about the space in preparation for quotes.
Since we were removing a supporting wall with much of the HVAC running through to the second floor, meeting with the HVAC company was key in determining the design’s feasibility. The initial thought was to create false beams to hide the ductwork but as the ceilings were over 8 feet we ended up dropping the ceiling a few inches instead. This allowed the ductwork to run from the furnace into the wall behind the shallow pantries and above the new ceiling to feed the second floor.
R E V I S I O N S
We made a few revisions based on C+T’s feedback, discussions with our trades, and nailed down the details. As the preliminary design became the final design it became apparent that moving the existing kitchen window down so that the top aligned with the dining room window would be important to the window elevation. You can see in the bottom elevation below that the kitchen window sat a few inches above the larger dining room window and created a stepped effect from the patio door to the right.


Q U O T I N G
To refresh your memory, this client’s initial budget was $80,000. The first quote came in at $110,000. You might be thinking yikes! But C+T took it in stride and we worked through the quote to identify areas that we could either pullback or modify to bring the numbers to a place they were comfortable. This is one of the reasons we provide extremely detailed quotes and provide options right from the first quote. See a blurry example of our quote below (blurred for privacy).
In the end they decided to go ahead with the floor plan as designed but decided against adding sound barrier insulation to the ceiling, switched from oak veneer to melamine wood look cabinet doors, and selected an alternate lower priced faucet. To be fair they also added a new electrical panel, moved the washer and dryer to the project scope since the trades would be onsite and it was something they planned to do in the future. Scope creep is real!
These changes meant that the final cost of the project ended up being about $20,000 more than they initially wanted to spend, a decision they made with our guidance and education.

F I N A L D E S I G N


C O N S T R U C T I O N D R A W I N G S
Once the pricing had been signed off on we alerted all of the trades involved, set a tentative construction schedule, and ordered all materials that had longer lead times. We then began the completion of the construction drawings, finalized the material selections, and added detailed notes. At the end of the drawing process we determined a detailed schedule for the trades, ordered the remaining materials, and started setting up our operations for construction.


P R E - C O N S T R U C T I O N
This is the pre-construction document we send out to all clients at least two weeks before the construction of their project begins. There’s a full breakdown of contact information, a detailed GANTT chart, site expectations so that the homeowners know what we expect of our trades, and finally, what to expect before, during, and after construction and how to prepare.


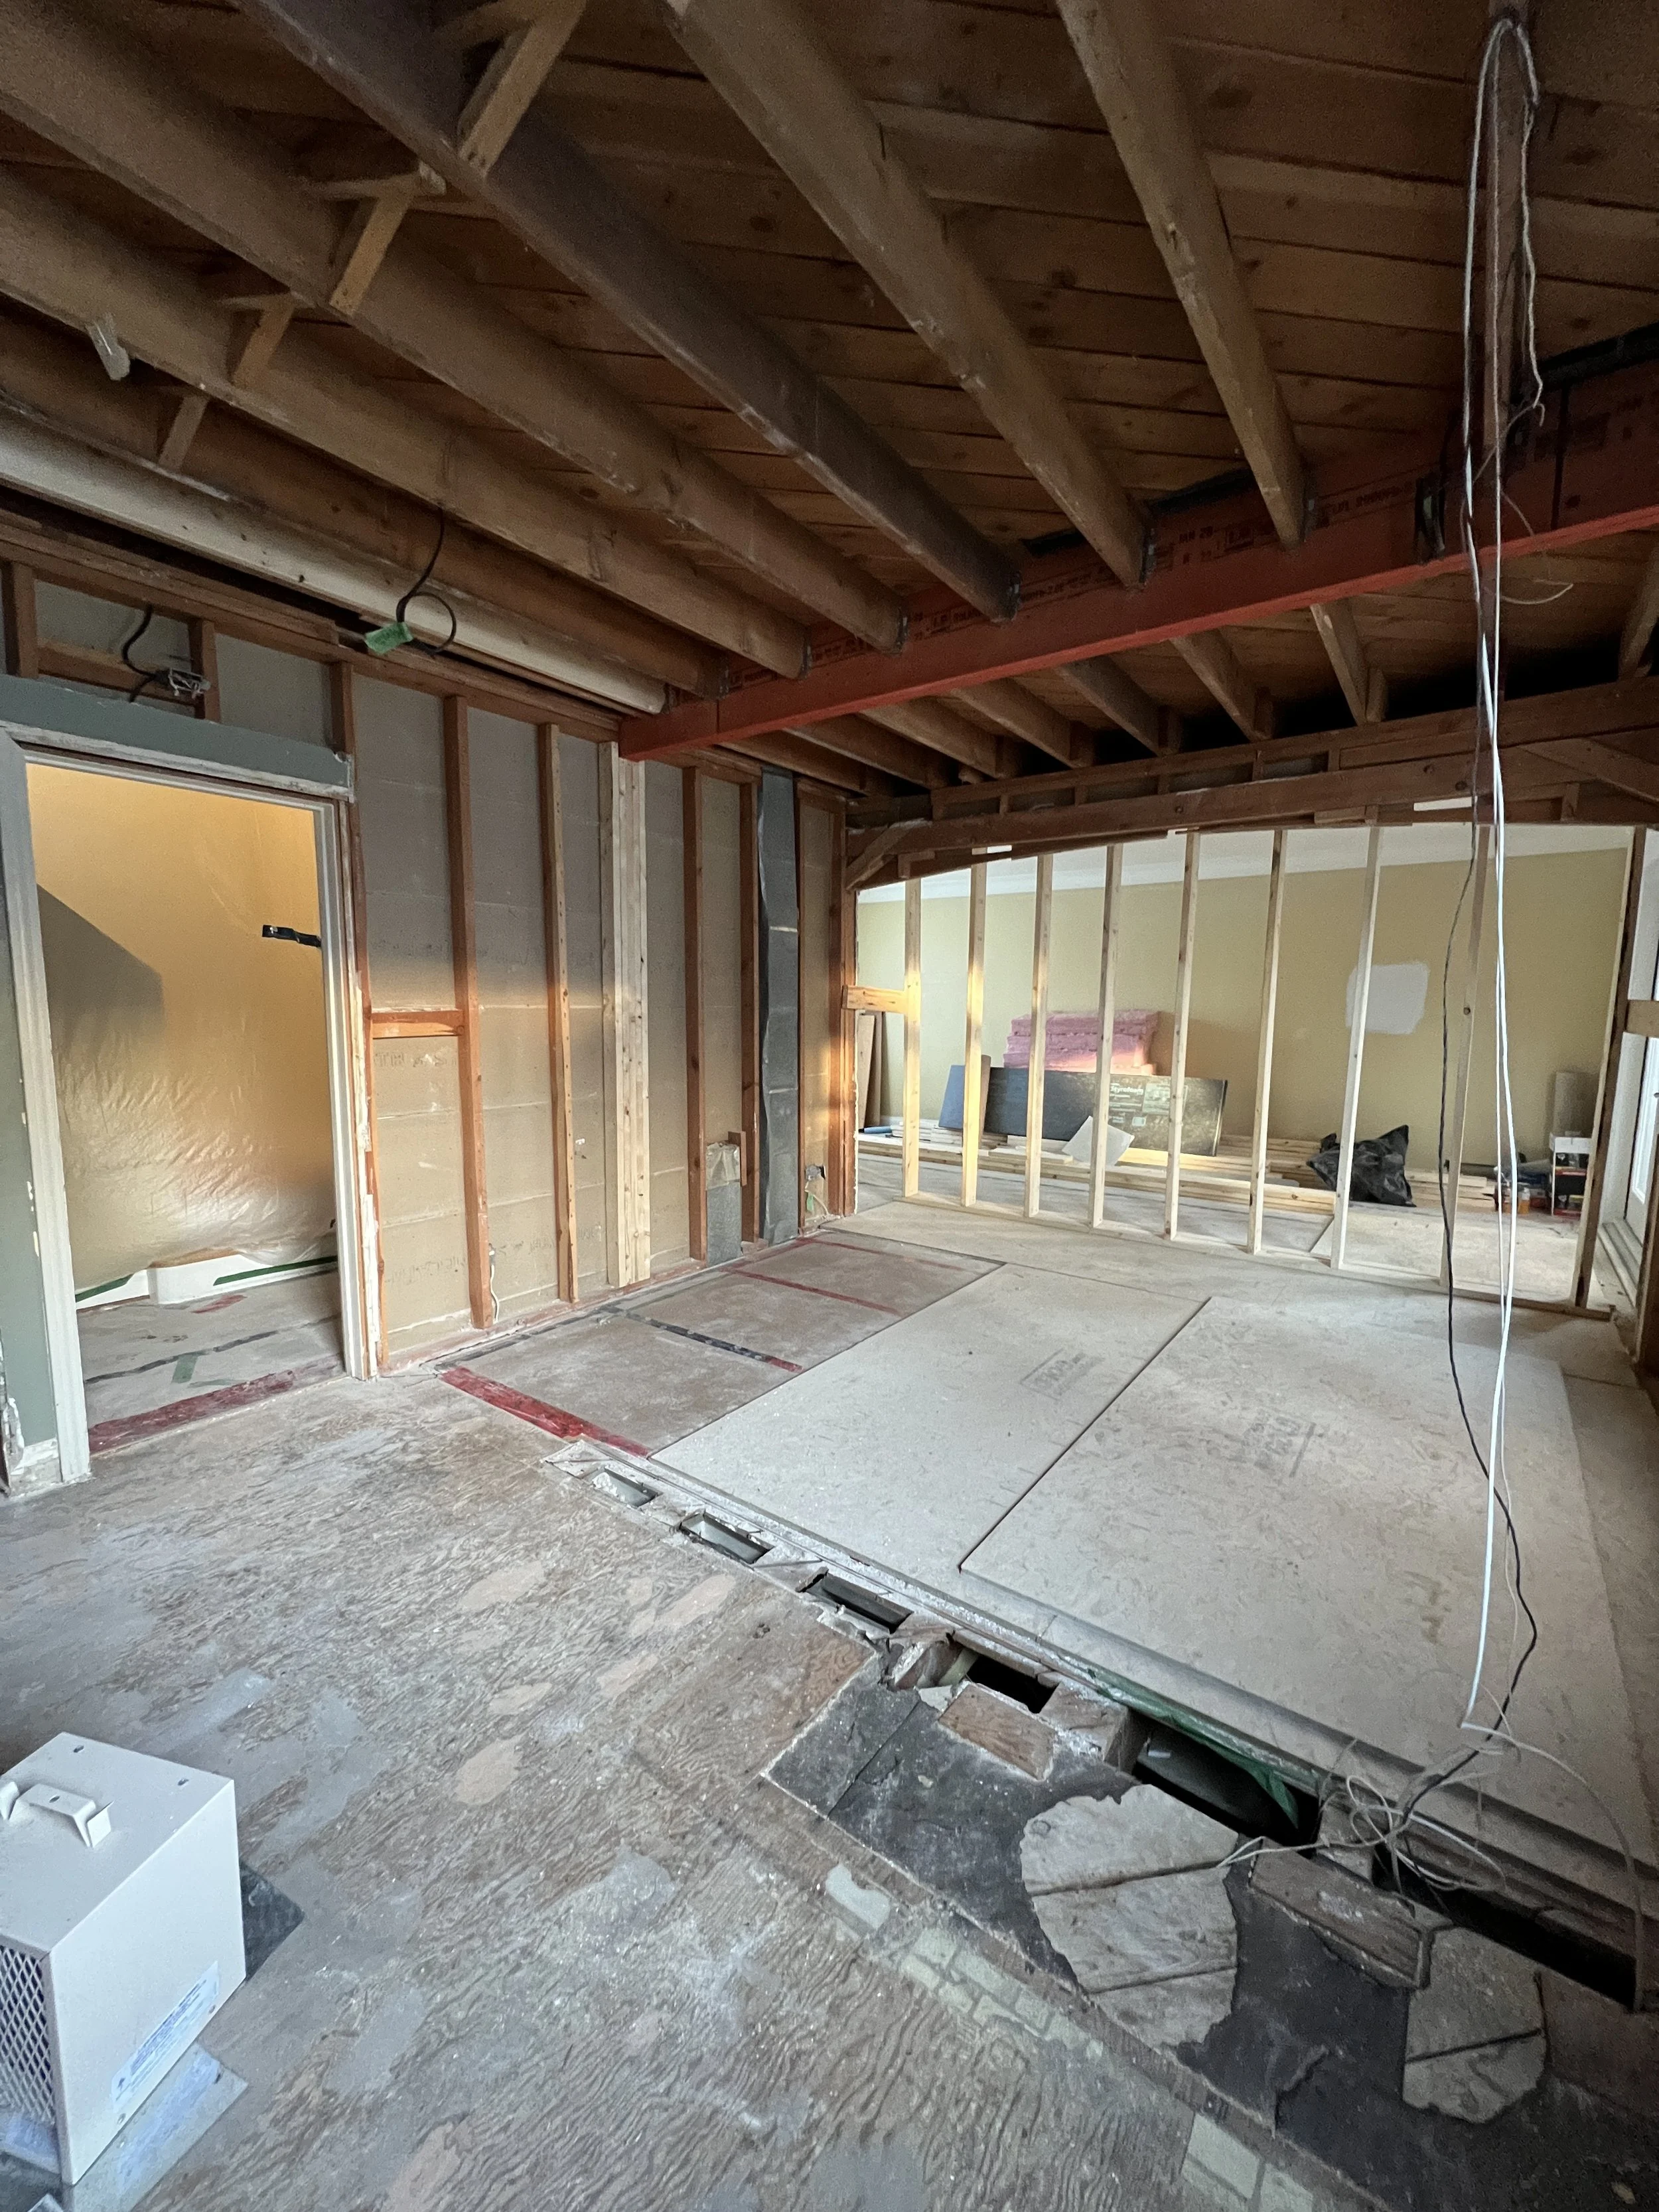
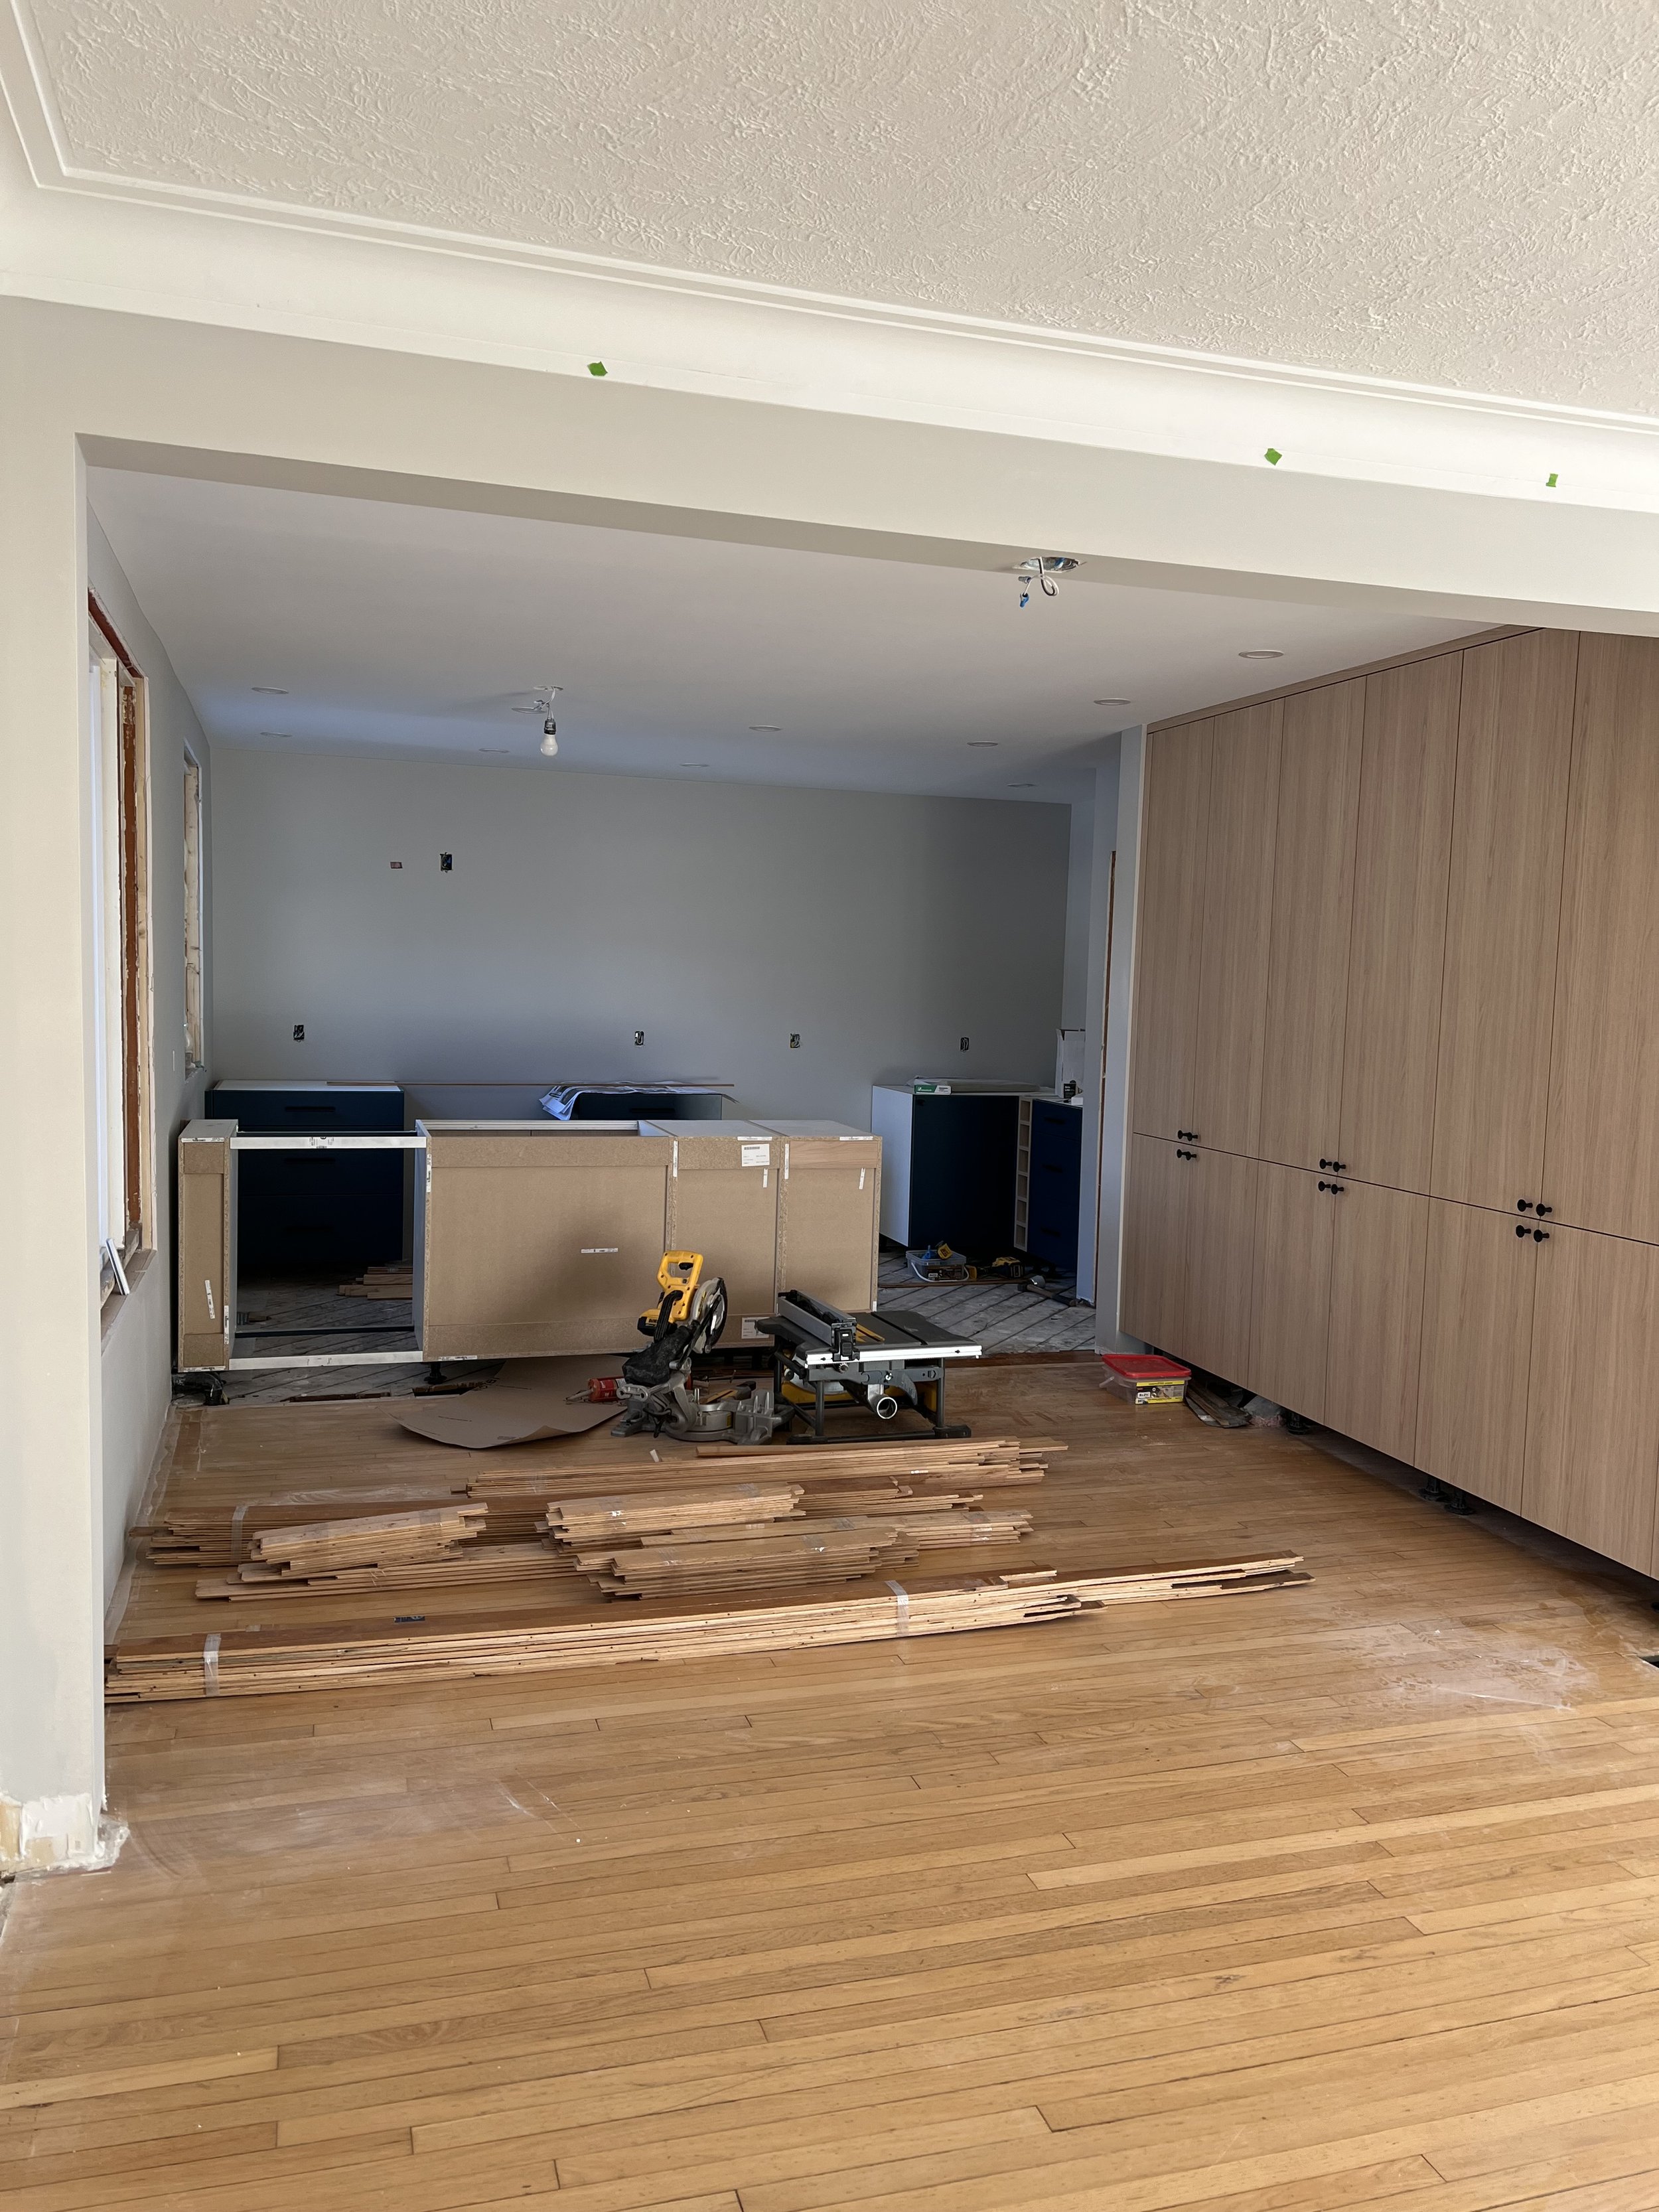
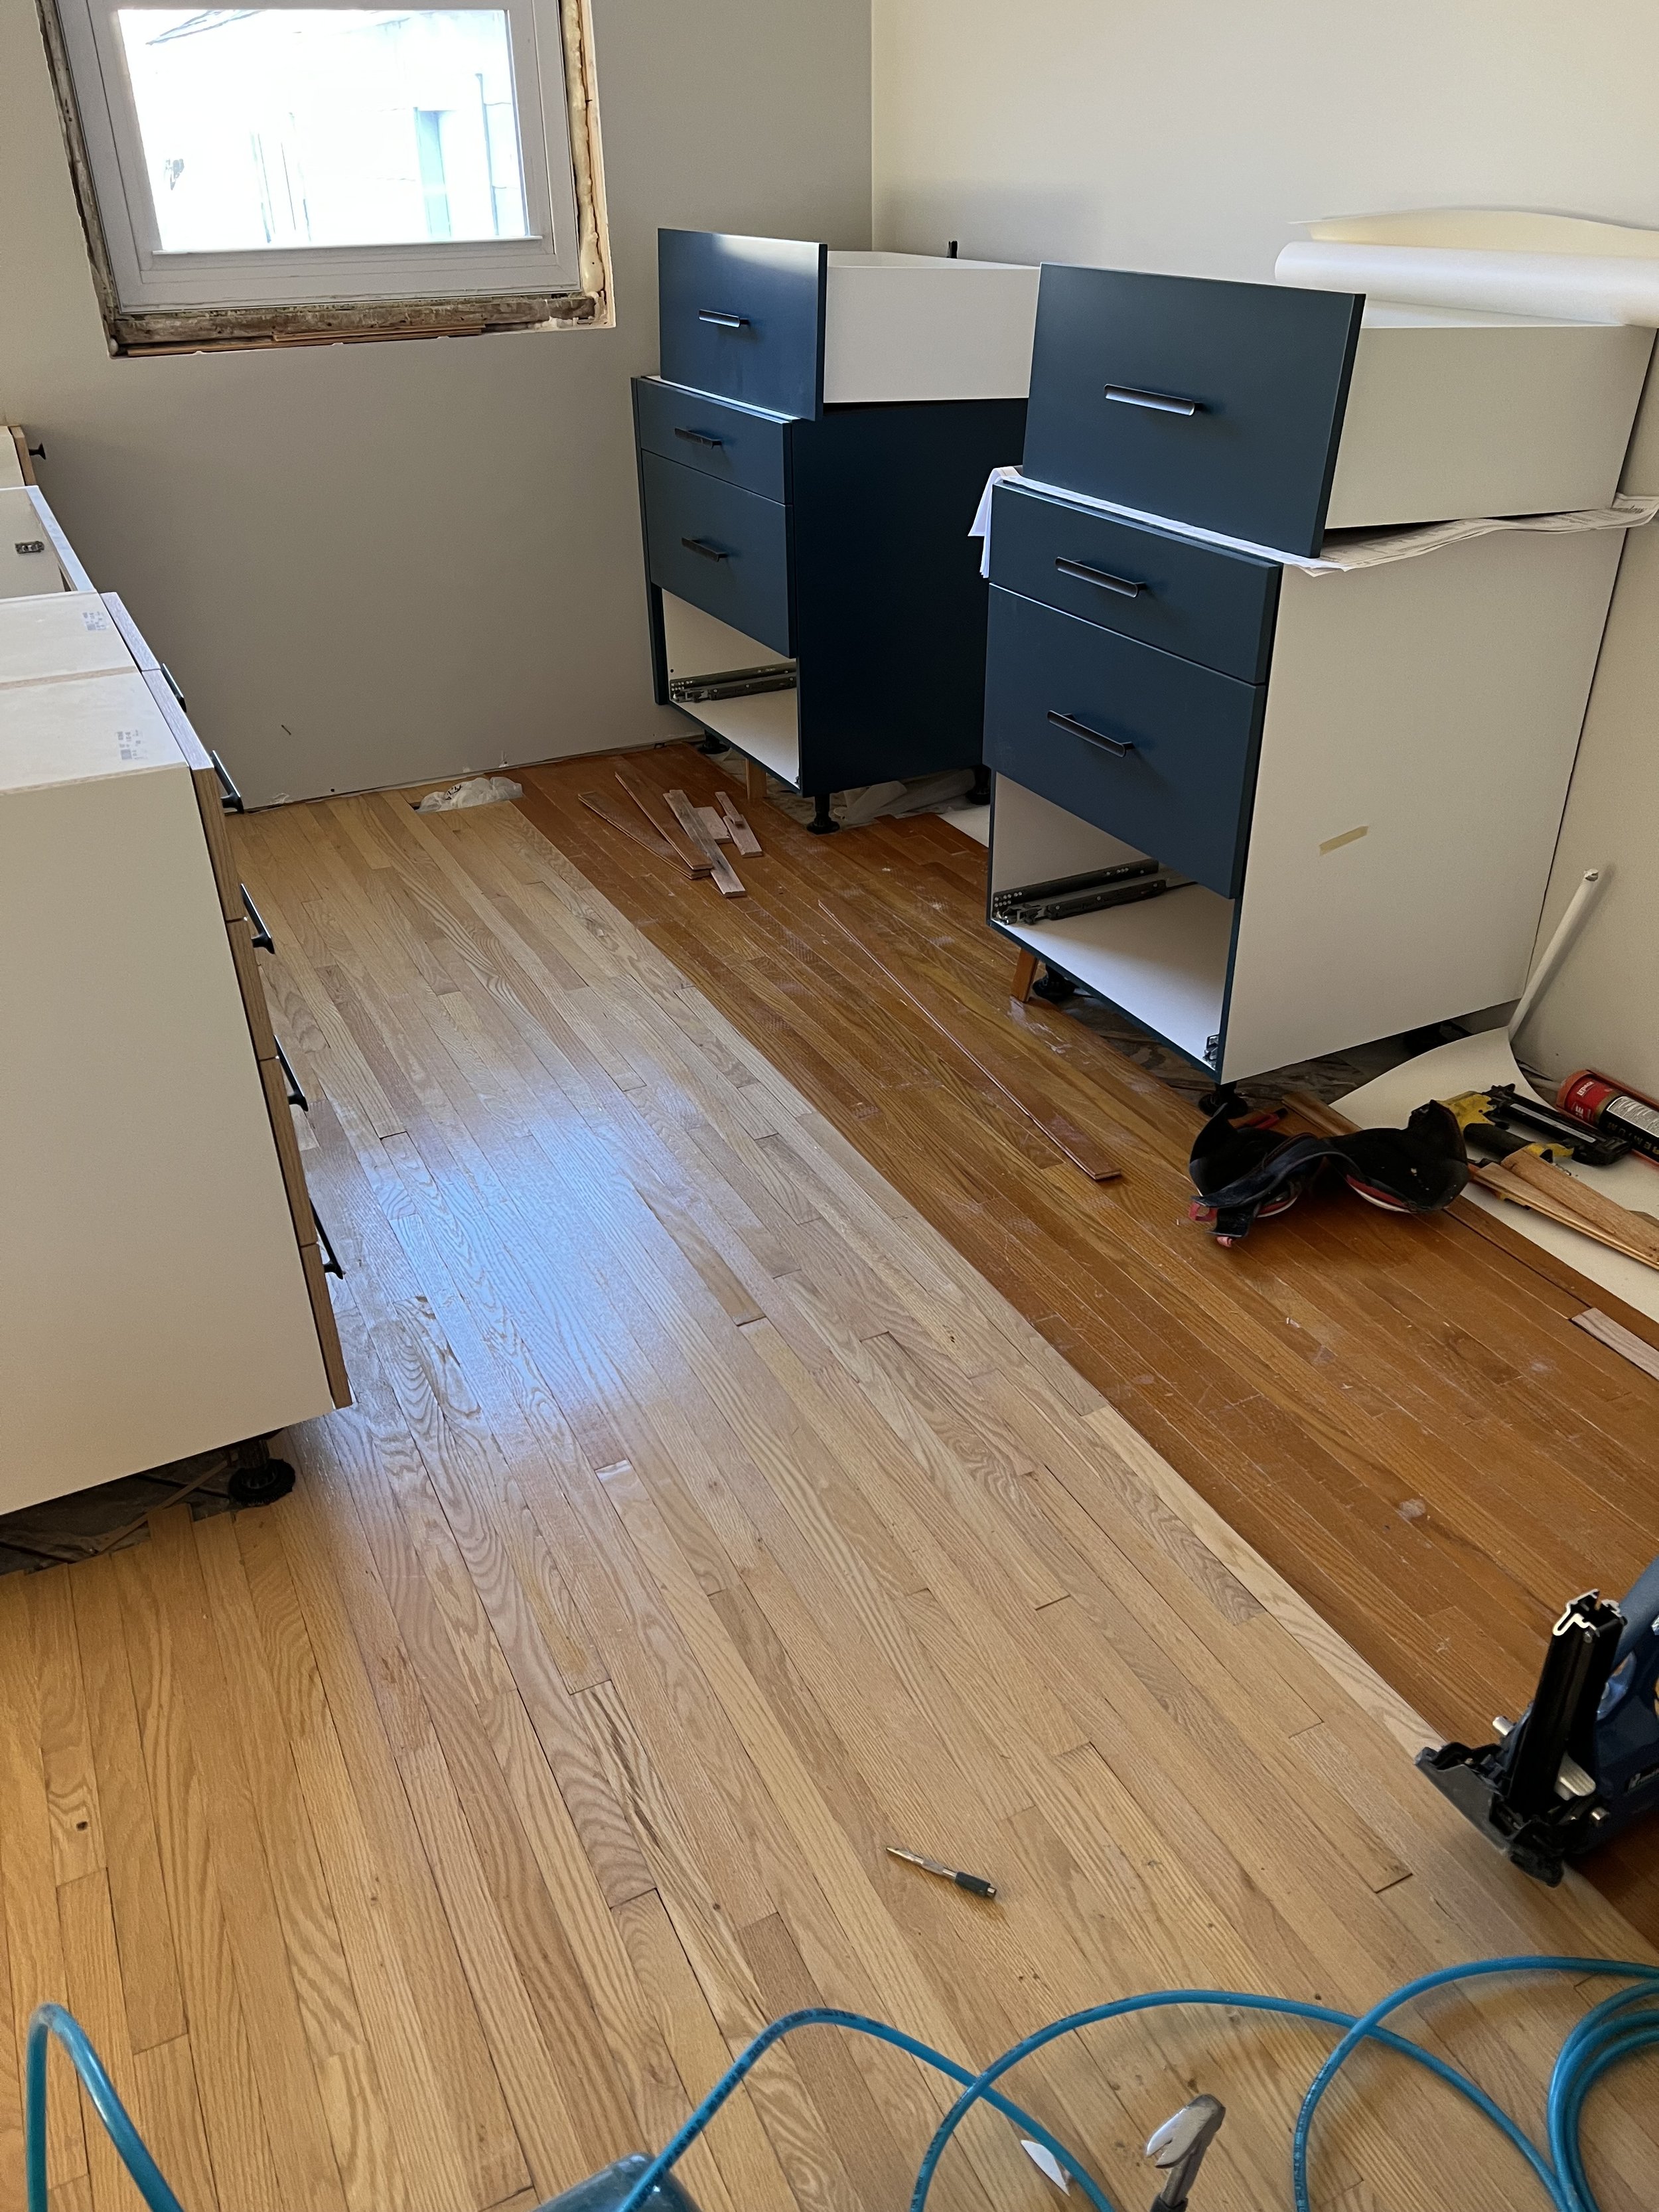
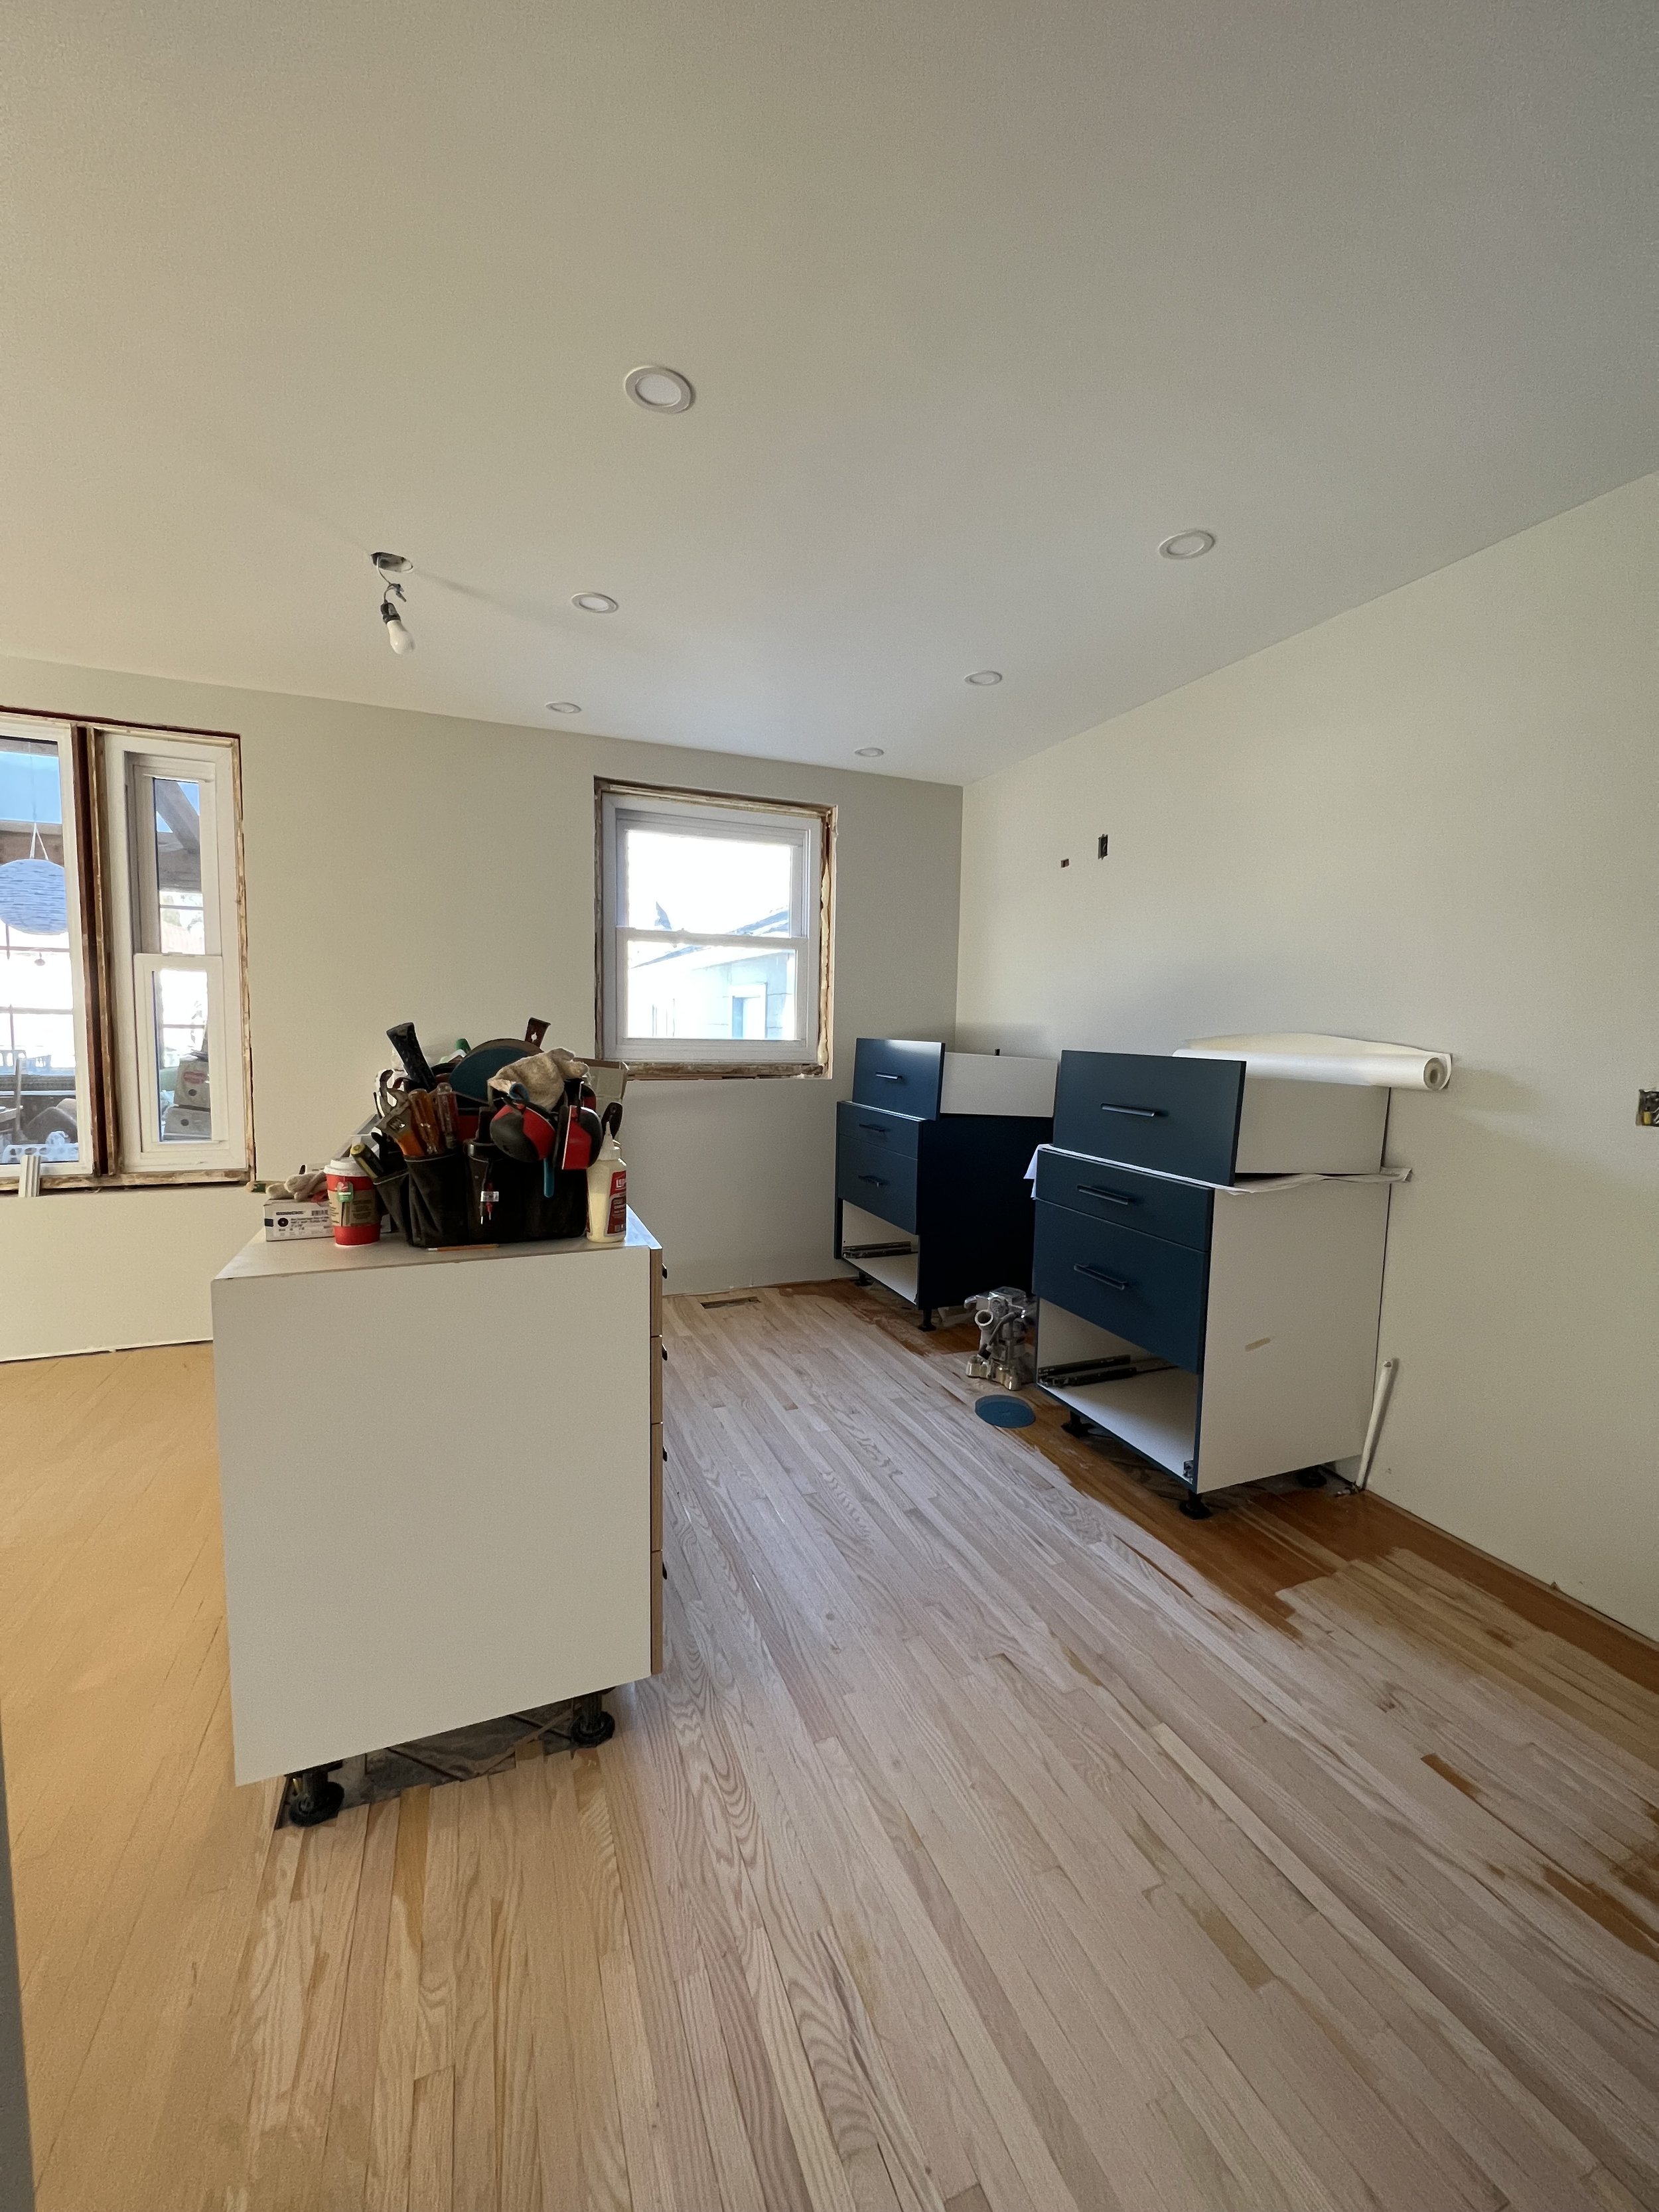
C O N S T R U C T I O N
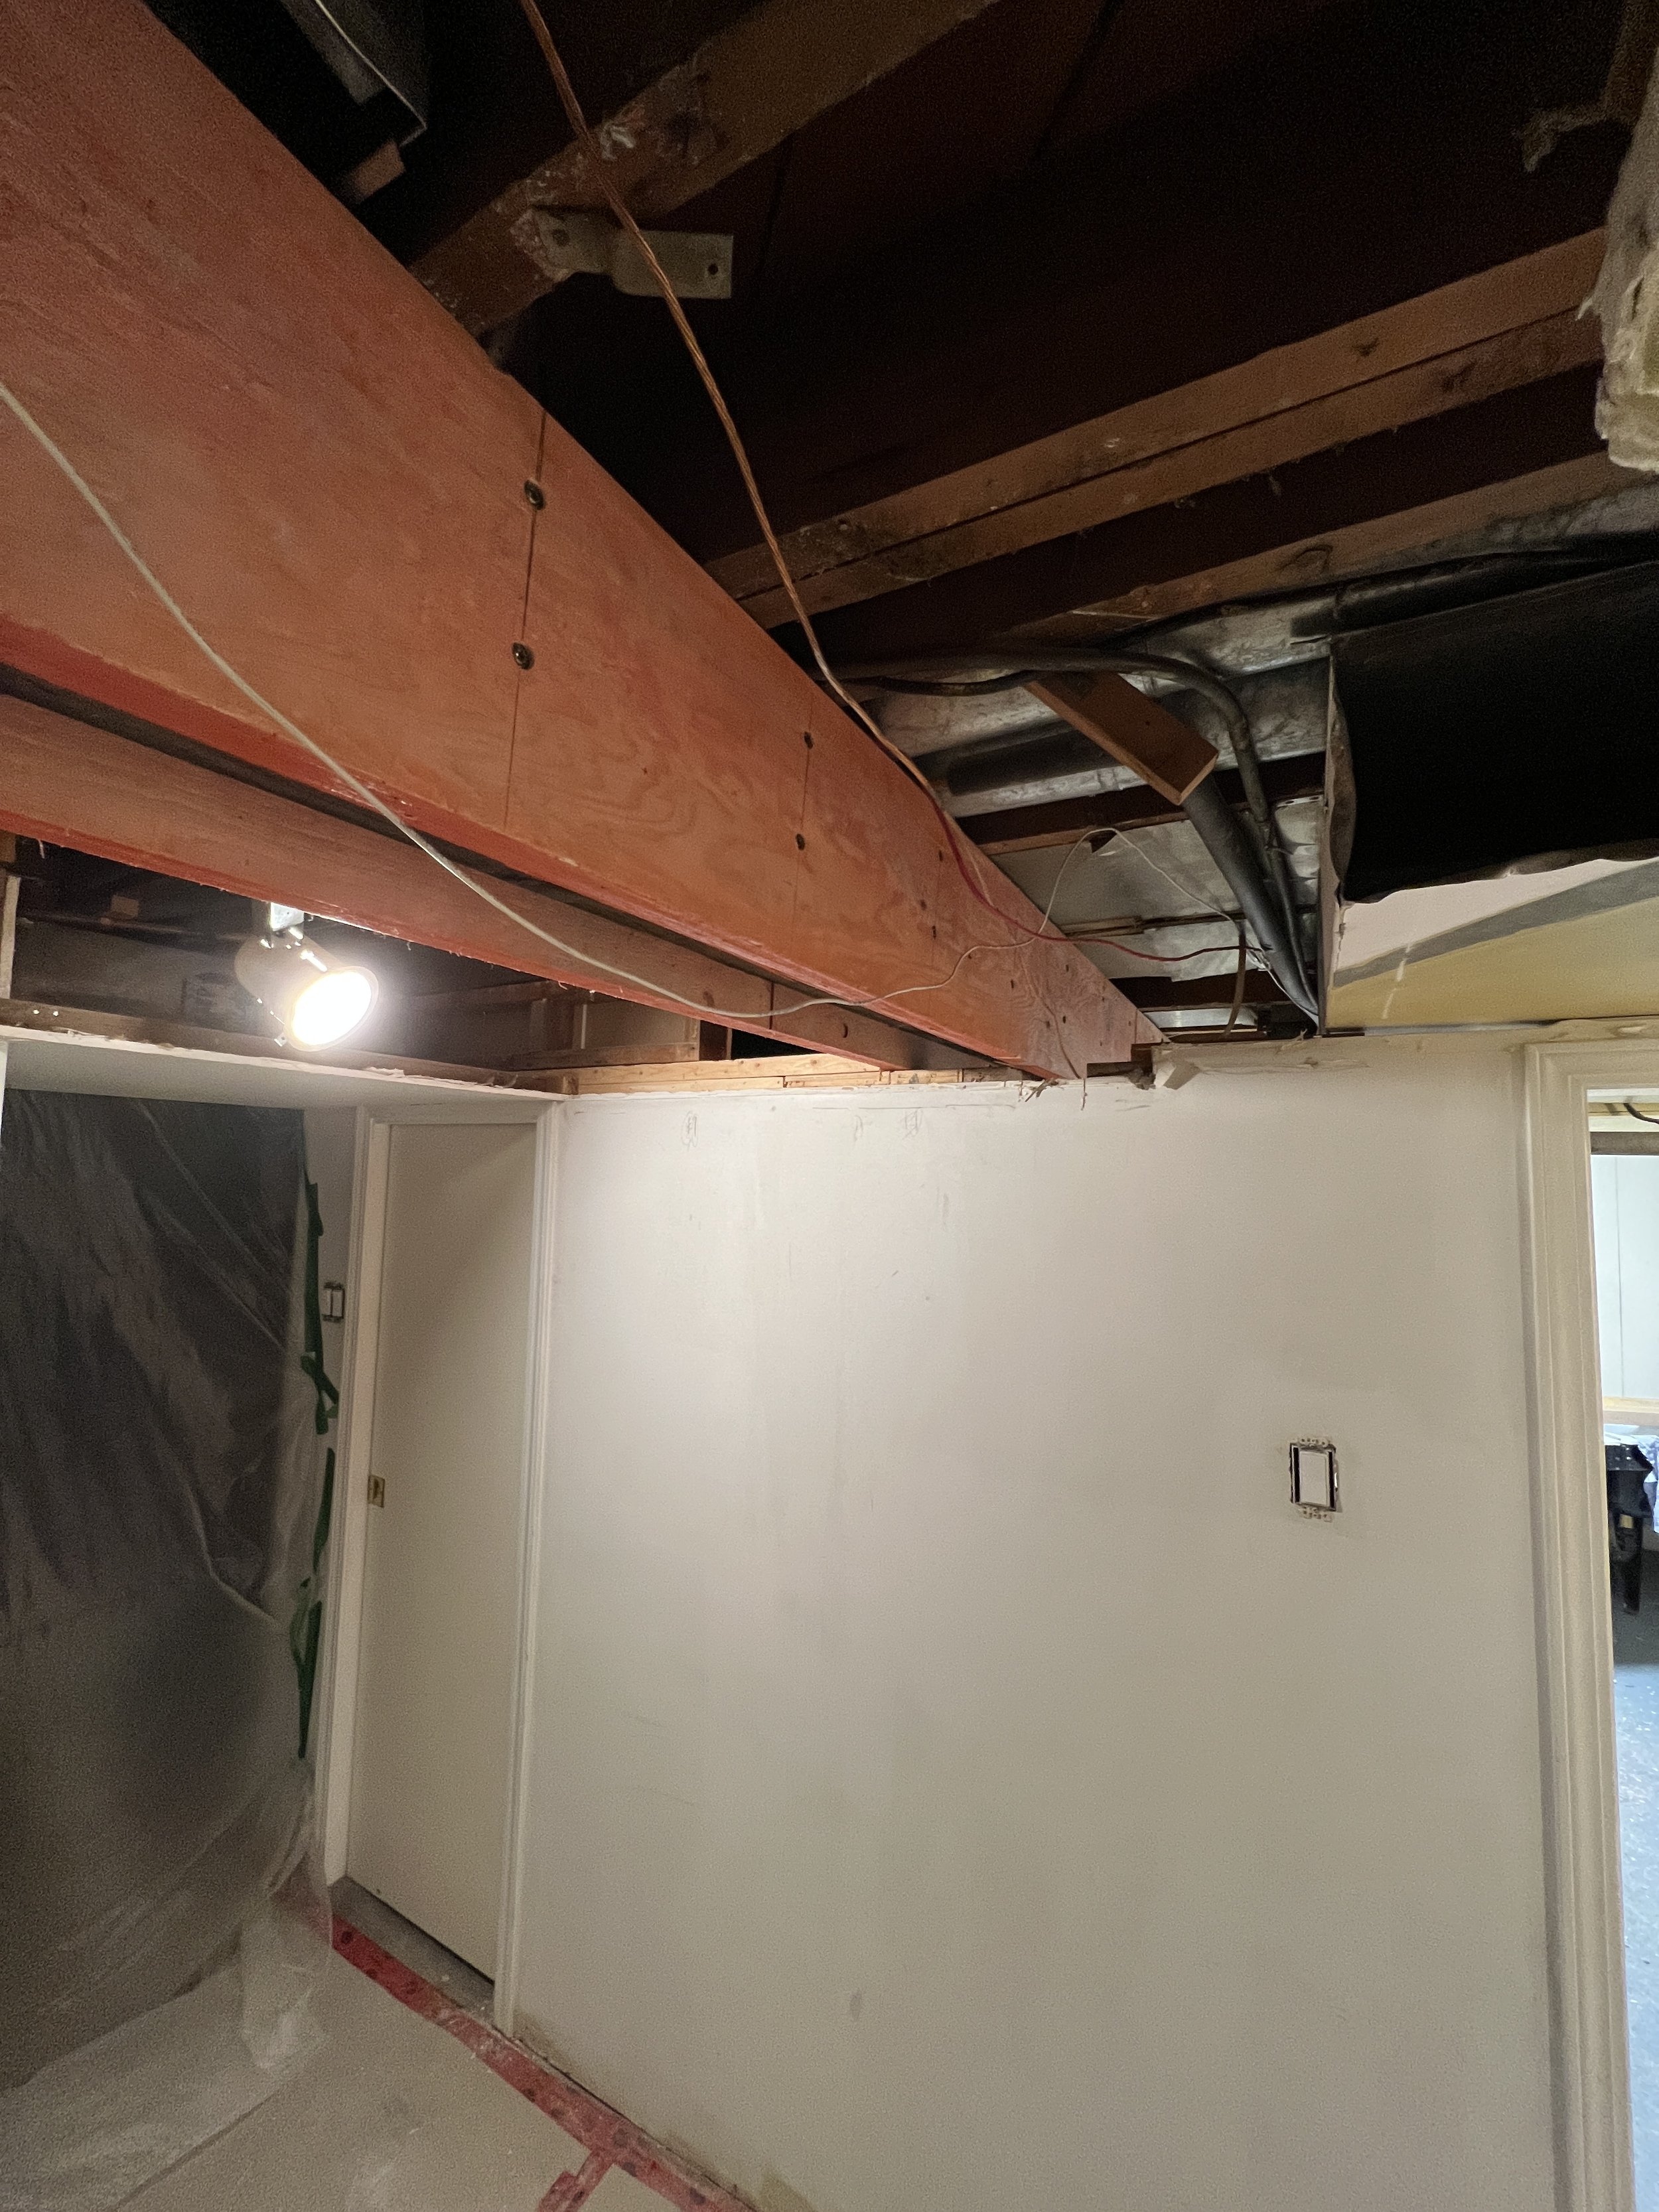
Day one of construction brought about some dramatic change. Our carpentry team removed the wall between the kitchen and dining room, took up the flooring, and completely gutted the kitchen.
Our clients suspected that a previous wall modification hadn’t been done correctly by the former owners but our engineer assured us that since we weren’t touching the beam it would be fine. During demo it was determined that it wasn’t structurally sound and the modification needed to make the opening square meant a new beam was required. There was a slight delay in our timeline and a cost increase to make it right as we had to get the engineer involved again, a quote for the extra work and materials, and reschedule every trade after, but safety always comes first.
Fortunately there were some other structural discoveries that differed from what we and our engineer were expecting that ended up helping to offset the cost of remedying the new structural issues.
Some of the slight delays on this project were unavoidable cabinetry delays due to the ceiling height change which then affected the tile installation timeline, the stone fabricator having to re-cut the sink opening as they installed it incorrectly, and our trades doing some additional work in the basement while they were there, like upgrading the electrical panel and moving the washer and dryer to another wall. We’d scheduled the construction for 10 weeks but in the end it took 12.


C O M P L E T I O N
This main floor renovation was a success in our books. We faced a few challenges but our amazing and supportive trades showed up with good attitudes and were always willing to reschedule as needed to keep the project going. Our clients trusted our process and trusted that we’d do what we said we’d do. C+T were fun to be around, articulated their needs well, made decisions easily, and were understanding of the delays while the structural issues were resolved. In all honesty, one of the biggest factors of a less than normal stress level on this project was that they moved out during the reno. They checked in on progress from time to time and left the rest to us.
It’s always important to us that we make spaces function better for our clients’ busy lives. There’s value in helping them create a home that makes them happier, improves function, and overall feels good. C+T are thrilled with the results and say that the functionality of the kitchen has changed how they interact with each other. They’re spending more time together as a family and can’t wait to entertain more in their wide open space.
FURTHER READING


